
It’s Saturday and that means it’s time for a challenge with my Kraftin’ Kimmie friends (and stamps). This week Vicki has us using two or more KK images to create a scene. I decided to use the boy (minus the dog) and the girl (minus the wagon) from Kimmie’s latest release.
Forever Friends
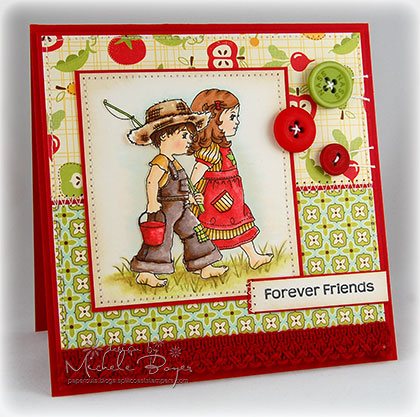
It wasn’t difficult to omit the wagon from the Puppy Love image or the dog from the Gone Fishin’ image, but removing the dog leash was a bit  tricky. After inking the image, I soaked the tip of a pointed q-tip in baby wipe solution (pooled at the bottom of the wipes container) and then wiped away the leash lines from the stamp. After stamping, I then drew back in the missing lines from the overalls and bucket handle using a fine tip black marker.
To make things easier, the boy was stamped, colored and cut out, then adhered over the girl. There was no way I was going to try to mask this. (Plus I like that the ends of the boy’s hat are lifted a bit.)
Be sure to check out the other design team samples on Kimmie’s Challenge Blog HERE. And if you’d like to play along, please post a link on the challenge blog and you’ll have a chance to win a free stamp from Kraftin’ Kimmie!
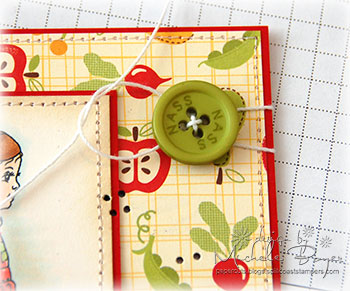
Button Wrap How-to
I’ve had quite a few requests to post a tutorial on how I tie string around my buttons as I’ve done on this card, so I took a few extra photos along the way to show you how I do that. It’s very easy.
![]()
![]()
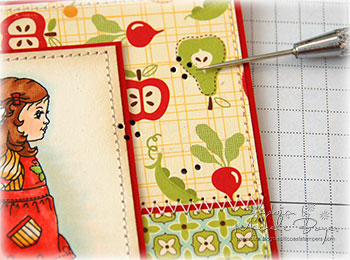
First I mark my button holes with either a pencil or the tip of a paper-piercer. Punch through the marks with the piercer, inserting the piercer as far as it will go so the holes will be large enough to slip a large threaded needle through without tugging.
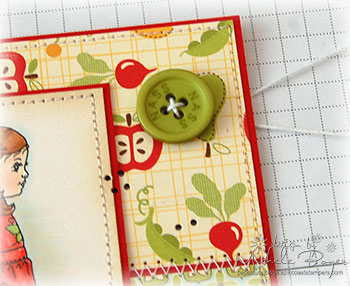
Beginning from the back, stitch your button to the card front, leaving the two long tails of string hanging behind.
Bring the two ends from the back and begin tying the string around the button. At this time you can adjust the distance between the two strings on the right side of the button. Tie tightly once.
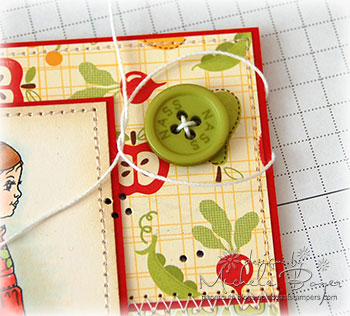
And then tie again, knotting the string. Use sharp scissors to nip off the ends of the strings just beneath the edge of the button. Done. 🙂
Thanks so much for stopping by! Have a great day!
Stamps: Kraftin’ Kimmie“Puppy Love,” “Gone Fishin” and “Kimmie’s Everyday Sentiments” Ink: Memento Tuxedo Black, VersaMagic Wheat Cardstock: Stampin’ Up Real Red, Papertrey Ink Vintage Cream Patterned Paper: October Afternoon Farm Fresh 8×8 paper pad Accessories: Copic markers (E000, E00, E31, E33, E35, E50, E51, E57, E71, R14, R17, R20, YR31, Y17,YG03, YR0000, B0000), Prismacolor pencils, Maya Road crocheted trim, PTI buttons, white string, sewing machine, dimensional boosters, sponge. Finished size 5” x 5”.


20 responses to “A Kraftin’ Kimmie Challenge and a Button Wrap How-to”