Hello. 🙂 Today the My Favorite Things design team is featuring the second of the two new à la modes sets, What’s Cooking?, available tonight at 10 p.m. EST along with this month’s WTG VIP. I had a bit of fun with this set so please bear with me. Lots of photos and a little tutorial.
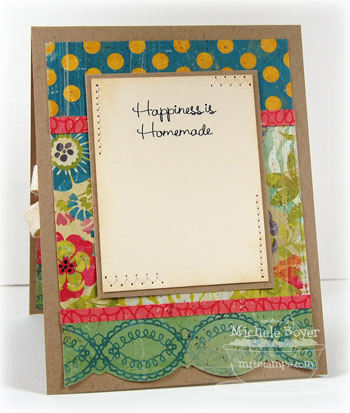
Happiness is Homemade
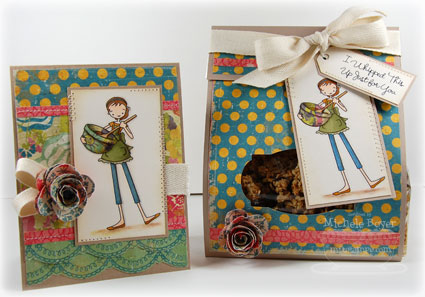
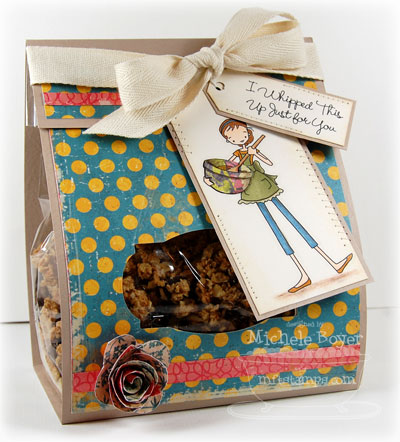
I created a card with a matching goody bag cover. Inside the bag is some yummy granola.
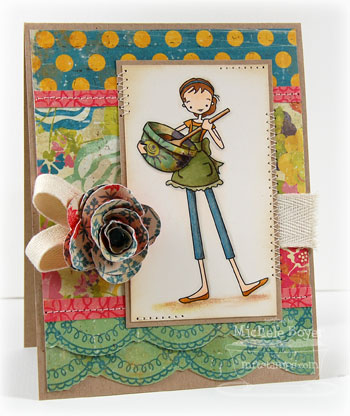
On my card, I colored the girl with markers and pencils, paper-pieced the bowl and added some straight and zig-zag stitches here and there.
The inside was finished simply, adding bits of stitching to jazz it up just a bit.
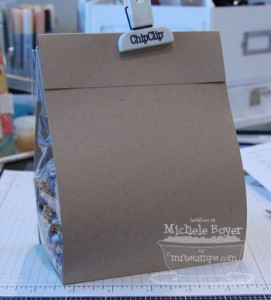
My bag cover was fit to wrap around one of MFT’s large Perfectly Clear flat-bottomed gussetted bags. (It seems ‘small’ is the only size currently available, but the pattern can easily be altered to fit any size bag.)
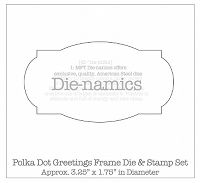
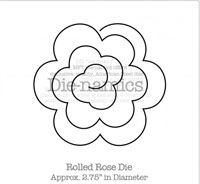
On the front of my bag, I used MFT’s Polka Dot Greeting Die-namics die to cut the window, and on the front of the bag and my card I used the Rolled Rose Die-namics die (currently out of stock).
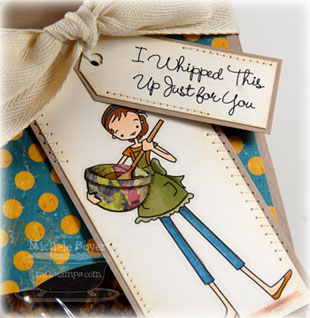
Here’s a close-up of my tag combo. I added the stitches to the sentiment tag to give it a bit more of a homemade feel (and so it would match the other one).
Here’s how I made my Goody Bag Wrap. You’ll need two sheets of 8 1/2″ x 11″ cardstock.
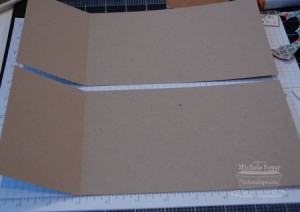
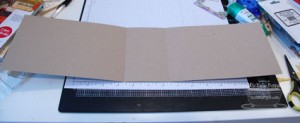
Cut two strips of cardstock to fit the width of your bag. Mine was 5 1/4″. Measure the depth of your bag bottom. Mine was 3″ so I scored and folded one end of each piece at the 3″ mark.
Place two rows of double-sided red-line tape on one of the 3″ ends and adhere the two pieces together, overlapping the 3″ ends. This will become the bag cover bottom. At this point, you should have one long strip, 5 1/4″ wide, with a scored middle section 3″ wide.
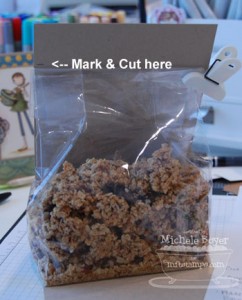
Place your 1/3 filled bag onto the center of the scored strip. Bring up the front side and, holding the cardstock against the bag, mark the top of the bag. Cut (remove) the area at that mark.
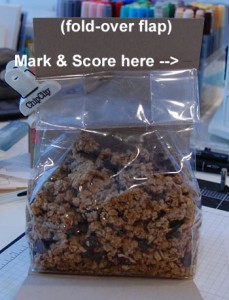
Place your goody bag back into the center of the strip. Fold up the back and, holding the cardstock against the bag, mark the top of the bag again. This will be your score line and will create the front fold-over flap.
Now your goody bag cover is ready to decorate. If you’d like to die-cut a window in your bag cover, simply position your die in the desired spot and run it through your die-cut machine. You can mark the spot using light pencil marks if that helps. And the Die-namics will easily cut through a sheet of cardstock layered with patterned paper so layer away! 🙂
To see more samples using this fun new set, please check out Kim’s blog HERE after 11 a.m. EST. Then I hope you’ll come back tonight for our WTG VIP hop at 10 p.m. EST, at which time the two new à la modes sets as well as the WTG VIP package will be available.
Thanks for stopping by! Have a great day!
Stamps: MFT “What’s Cooking?” (à la modes) Ink: Memento Tuxedo Black and VersaMagic Wheat Cardstock: Prism Kraft, MFT cream Perfect Paper Panel Patterned Paper: Crate Paper Restoration 6×6 paper pad Accessories: Copic markers (E000, E00, E31, E33, E35, B95, YR23, YR24, YG93, YG91, W00, W1, W3, YR0000), Prismacolor pencils, MFT Polka Dot Greetings and Rolled Rose Die-namics, twill, sewing machine, sponge. Finished card size: 4 ¼” x 5 ½”. Finished Bag size: 5 ¼” x 6 ¼” x 3”.



Pingback: Project: Folded Cardstock Treat Bag · Stamping | CraftGossip.com