
Happy Saturday! It’s challenge day with Kraftin Kimmie! Today Kimmie is challenging us to use dots or spots on our cards. I like dots. 🙂 If you’d like to play along, please post a link to your card here on the Krafty blog. You could win a free Sabrina the Spinner image from Kimmie’s latest release!
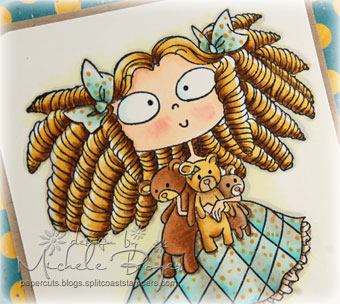
Sending You Bear Hugs
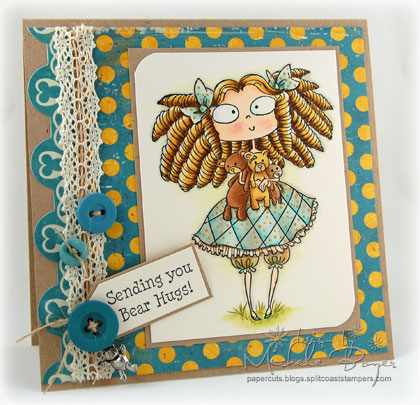
I decided to use Goldilocks with her three little semi-scraggly (much loved) bears. Since the image is a bit large, I kept the layout very simple, adding some crocheted trim, jute string and one of those border stickers I never seem to use. I also hung a little bear charm from the bottom button.
I’ve had quite a few requests for a little “Twisty Girl hair” coloring tutorial so I took some pics as I went along. Every time I explain how I color something, I feel the need to say that I am not an expert, there are others FAR more talented than I, and that this is just how *I* do it. I hope it helps.
First, I always color the face/skin areas before anything else. It’s an important area, and if I mess it up (i.e. too much color on the cheeks), I don’t want to have to start over. Plus I use such light colors on the skin, I don’t want to risk pulling a darker color from the hair or other surrounding area onto the lighter color.

First I added Y21 to the curls, leaving some of the areas uninked .
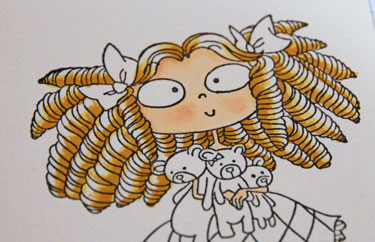
I then added YR23, covering most but not all of the Y21.
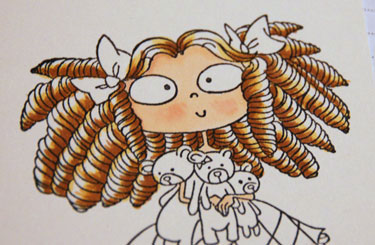
Then I added E35, again covering some of the YR23 but not all.
Next, I added more Y21, covering the previously laid colors to blend but still leaving some of the uninked sections exposed.
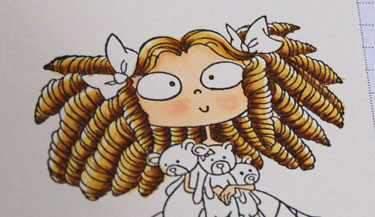
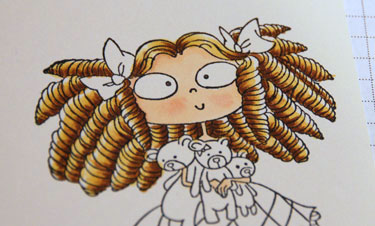
Lastly, I added tiny bits of E57 along the inside edges of each curl and then blended a bit more with Y21.
So basically, I always start with the lighter color, add shading a little at a time, then blend the edges using the lighter color (or one of the lighter colors). When there are waves (as opposed to curls), I add the darker shading in the corners of the waves, touching my marker to the corner and “wisping” out, away from the corner. I also try to darken the area on each side of the neck because that is always a naturally darker area.
I hope that helps. Eek! 🙂 Thanks for stopping by! Have a great day!
Stamps: Kraftin Kimmie “Gabrielle” (Moonlight Whispers) Ink: Memento Tuxedo Black Paper: Papetrey Ink Kraft. Vintage Cream, Crate Paper Restoration Collection “Refinish” Accessories: Copic markers (E000, E00, E11, E31, E33, E35, E57, BG0000, BG01, Y21, YR23, YG0000, W00, W1), Prismacolor pencils, May Arts trim, natural jute string, linen thread, buttons, charm (source unknown), Crate Paper Restoration sticker strip, corner rounder. Finished size 5 1/2″ x 5 1/2″.


12 responses to “Seeing Spots and a Step-by-Step on Coloring Twisty Hair”