
Hi everyone! Tonight the November release will be available at My Favorite Things but first, we’re here to share a bit more inspiration using our new Die-namics dies.
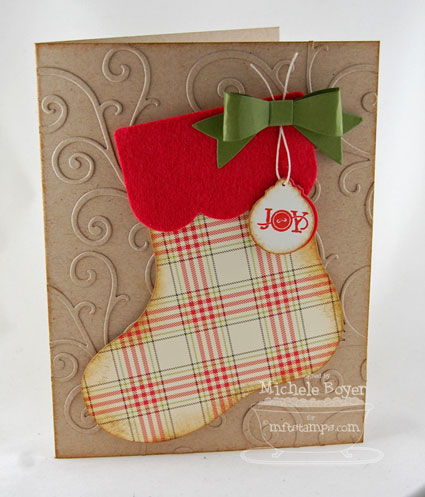

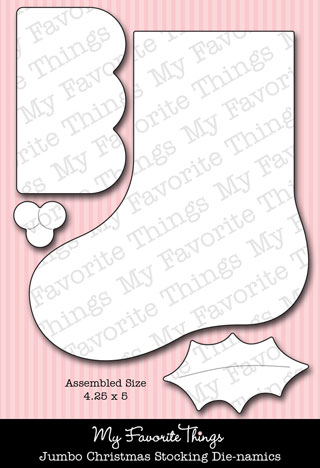
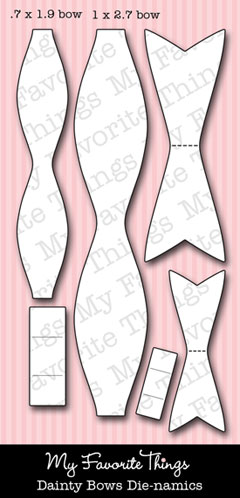
I adore our new Jumbo Christmas Stocking along with Dainty Bows Die-namics.
After die-cutting the stocking from October Afternoon’s “Holiday Style” plaid, I added a cuff cut from Wild Cherry felt.
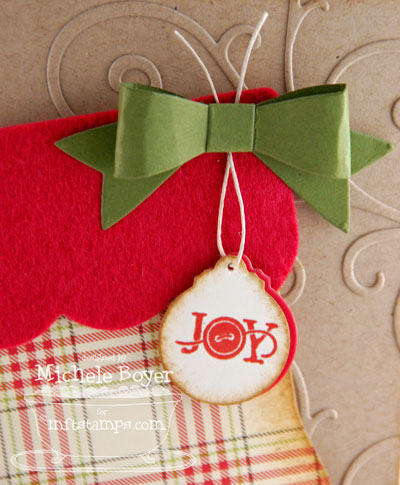
The bow was cut from Jelly Bean cardstock, adhered with X-Press It double-sided tape and leveled on the right with a piece of foam tape.
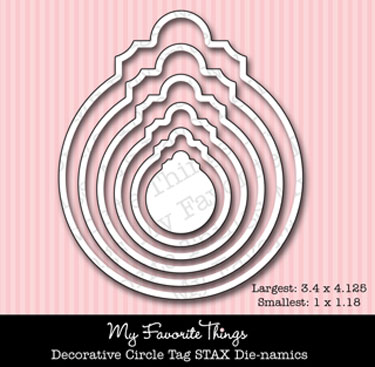
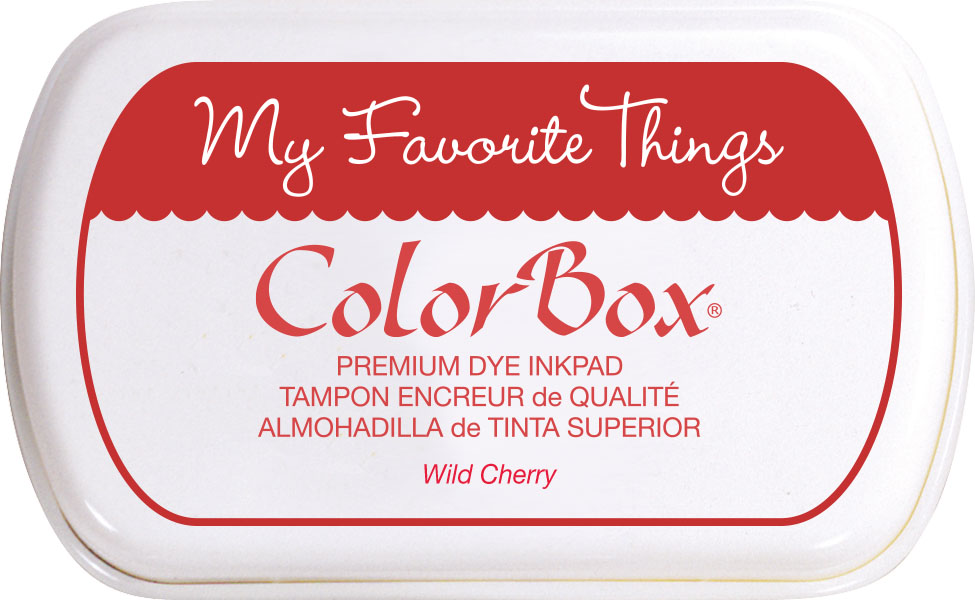
As you can probably tell from my last few posts, I’m loving the tiniest of the Decorative Circle Tags STAX too. I stamped my sentiment, from Stitched Stockings, using MFT’s Wild Cherry ink. I “hung” my tag using Hemp Cord and secured it to the stocking using foam tape.
I adhered my assembled stocking over faux embossed Kraft cardstock (tutorial below) using additional foam tape.

On the inside, I stamped another sentiment from Lisa’s Stitched Stockings.
I felt my card was still a bit plain so I created a faux embossed background. (You can click on the photos below to see in a much larger format.)

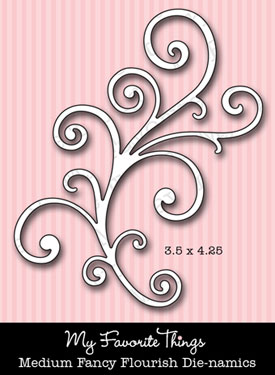
Begin with a 5″ x 6 1/2″ Kraft card base, additional kraft cardstock and our new Medium Fancy Flourish.
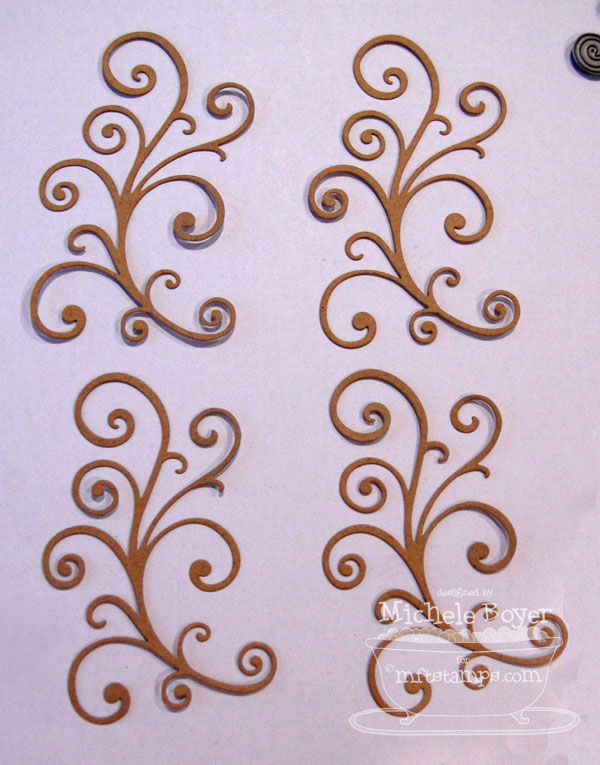
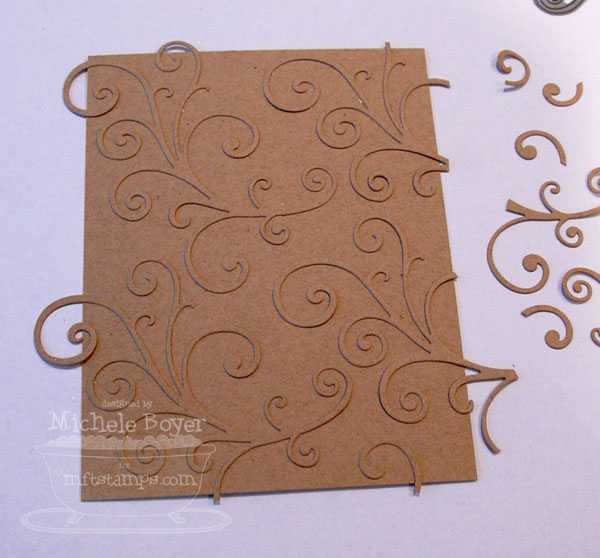
Die-cut four flourishes from kraft cardstock, carefully removing each flourish from the die in order to keep the swirls as flat as possible.
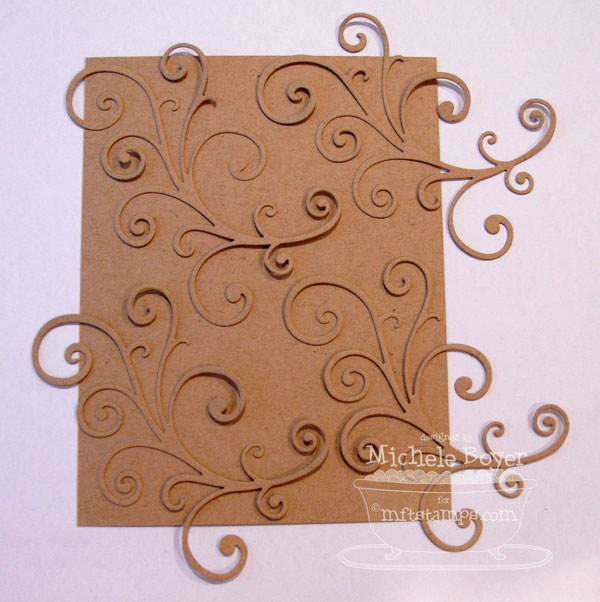
Lay the flourishes on the card front to get an idea of placement.
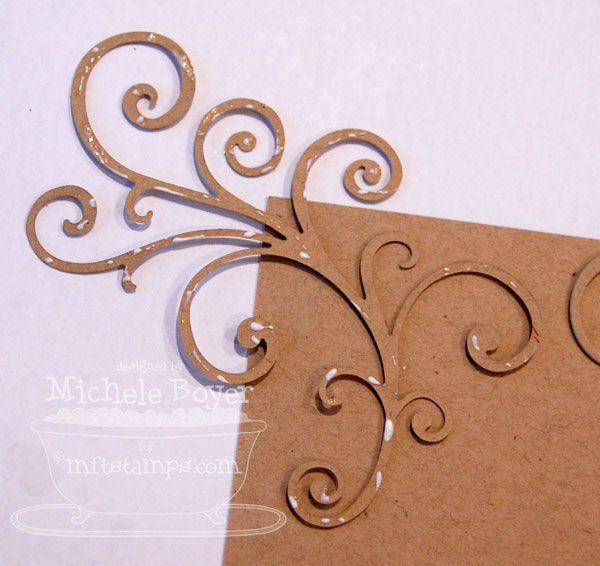
Leaving all flourishes in place, remove one and add bits of glue (or your choice of adhesive) to the back. Leaving the remaining flourishes in place helps to position each flourish.
Continue to adhere the remaining flourishes. I nipped off some of the extending pieces before adhering so I’d know where to end the glue. And as you can see at the bottom, my flourishes didn’t end up exactly where I had them initially, so I used one of the nipped flourish swirls to fill the bit of empty space.
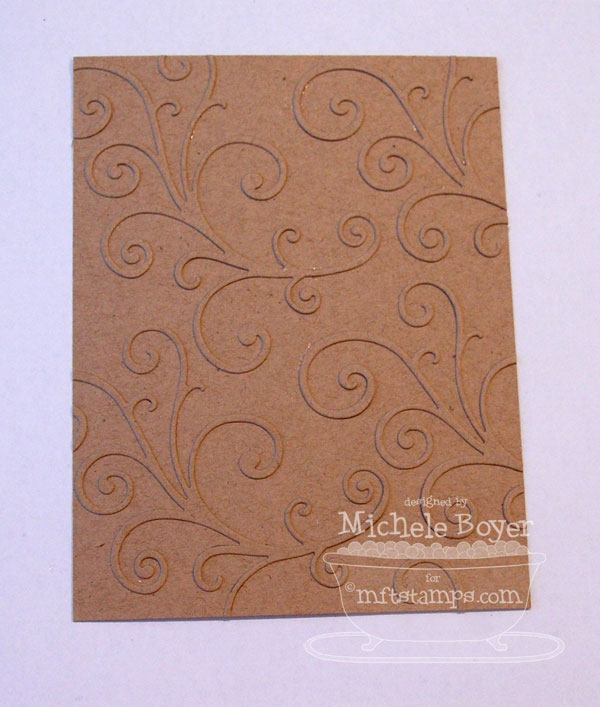
Once all the glue dries, use a paper cutter to trim all sides for smooth edges.
I’ve used this technique with die-cut (or punched) stars or circles on kraft gift bags for a super-quick “dress-up” of an otherwise plain bag.
Here are the details about the upcoming release:
- You can attend the New Release Party tonight from 8-10 PM EST HERE in the MFT forum, where you can WIN PRIZES and find out who our next Guest Designer will be!
- You’ll find all the newest products HERE at 10 PM EST.
- If you’d like to see all the teasers for today, please click on over to the MFT Blog. Be sure to leave comments as you go for the chance to win one of two $10 gift certificates given away daily. The winners will be posted on November 13 just before the release party, on the MFT blog.
I’ll be back tonight at 10 PM, EST! Hope to see you then!

Stamps: MFT “Stitched Stocking” (Lisa Johnson Designs) Ink: MFT Wild Cherry, Ranger Brushed Corduroy Distress Paper: MFT Kraft and Jelly Bean Green, October Afternoon “Holiday Style” (8×8) Accessories: MFT Jumbo Christmas Stocking, Dainty Bows, Decorative Circle Tag STAX and Medium Fancy Flourish Die-namics, hemp cord, X-Press It double-sided tape (to adhere felt cuff) and X-Press It 1/2″ foam tape, sponge. Finished size 6 1/2″ x 5″.


28 responses to “Joy Stocking (and Faux Embossing Tutorial)”