Monthly Archives: February 2014

I Wish You Were Here

It’s time for another fun sketch with My Favorite Things!

This week I used part of the PI Wish You Were Here image, inking only the girl and having her sit on the Fishtail Flag instead of the bench.

She was stamped onto X-Press It Blending Card and colored with Copic markers. Beneath the Fishtail Flag, I placed an Open Scallop Doily and Pierced Circle STAX.  I used a background of Electric Red, embossed with Hugs & Kisses Cover-Up and the tiny heart is from Blueprints 8.

Inside I stamped the whole image and added a little heart (again from Blueprints 8), stitched to the bench.

Here’s the sketch if you’d like to play along.  You can find all details for the challenge on the MFT Blog.

Thanks for stopping by!

Additional info/supplies:  Memento Tuxedo Black ink, Copic markers (E00, E11, R01, R02, Y21, E31, E35, R29, R89, E40, E41), Kool Tak clear foam squares. Finished size 4 1/4″ x 5 1/2″

February Creative Challenge – Stenciling (x3)

Hi everyone!  It’s time for another Creative Challenge with My Favorite Things. This month we explored the different techniques used with stencils.  Once I got started, I couldn’t stop so I have three samples, each using  a different technique.

My first card uses Scallops Stencil with Best Friends and Sno Cone, Berrylicious and Blu Raspberry inks.

I first stamped the image in the lower right corner of X-Press It Blending Card then colored her with Copic markers.  I secured the panel to my craft sheet using removable tape then secured the stencil over the panel (again with tape). Beginning in the upper left corner and holding the stencil firmly in place, I inked a blending tool with Sno Cone ink then used circular motions to apply ink through the stencil.  As I moved lower toward the image, I applied less ink and avoided inking over the image.  I repeated with Berrylicious and Blu Raspberry, creating a gradual color blend.

Inside, I repeated the process (without coloring the image.)

My next sample uses Spring Flowers Stencil with Cheerful Blessings and Liquitex Modeling Paste.

This is my favorite stencil technique as the modeling paste applied through the stencil reminds me of little cookies.  🙂  Here, I secured the stencil to Insulation Pink card stock and used a spreading tool (or spatula) to evenly apply the paste.

The sentiment, stamped in Kraft ink is layered atop a Well Worn Greetings label with a horizontal strip from Blueprints 1.

Inside, I added a second “stitched” strip and stamped a second sentiment, also from Cheerful Blessings.

This next technique was the easiest (and least messy).  I held the Stargaze Stencil over Nightshift Blue card stock and used an opaque white pen to trace each star.  The stripes at the bottom were created using Electric Red ink and Stripes Stencil.


To finish the inside quickly and easily, I adhered another strip of stripes and stamped a row of stars using Nightshift Blue ink and Subway Art.

Be sure to check out the MFT Blog for direct links to more stencil technique samples!

Thanks for stopping by!

hello card

Additional supplies:  Memento Tuxedo Black ink, Copic markers (E00, E11, Y21, E31, E35, BG10, BG11, C00, C1), ink applicator, MME enamel dots, twine, X-Press It 1/2″ foam tape, Corner Chomper.  Finished size 4 1/4″ x 5 1/2″.
special blessing card

Additional supplies:  Liquitex Modeling Paste, X-Press It 1/2″ foam tape. Finished size 5 1/2″ x 4 1/4″.
let’s celebrate card

Additional supplies:  Signo White Pigment Pen, ink applicator, MME Enamel Dots. Finished size 5 1/2″ x 4 1/4″.

I’m here if you need me

Hello.  🙂  Just popping in with a sample for MFT‘s Lovefest Challenge.  You can find all challenge details HERE on SplitcoastStampers.

My card didn’t turn out exactly as it looked in my head…but close enough.  🙂

I used my new gelatos to create the pink background.  After scribbling the color onto the bottom portion of watercolor paper, I used a water brush to sweep the color up, leaving a higher concentration at the bottom.

I die-cut a Delicate Doily from Whip Cream card stock, then layered a couple of Sweet Tooth Felt Mini Royal Roses and a sentiment from Peaceful Wildflowers. The pearls were colored to match using an RV34 Copic marker.

I liked the bit of shimmer from the gelato but decided to add more using MFT’s Sheer Shimmer Mist Mix-ables.  The shine is so pretty in person.

Don’t forget to check out the challenge details HERE. Have fun!  🙂

Additional info/supplies:  Trim (discontinued from Michaels), watercolor paper.  Finished size 3 3/4″ x 5″.

I Dig You

Hi, everyone!  Today I’ve used another set I bought a while ago and never got around to using.  I adore this Welcome Gnome set by Taylored Expressions.  So cute.  And so many possibilities.  🙂

After stamping the little gnomes onto X-Press It Blending Card, I colored them with Copic markers, then cut them out.  I created the “door” using MFT’s Rounded Banner STAX, adding an enamel dot for the doorknob.  The bow and scallops were die-cut from Electric Red card stock using Blueprints 3 and I used an opaque white pigment pen to doodle the tiny “stitches.”

Aren’t they adorable?  I love the cheeks.

Thanks for stopping by today!  I will be back very soon.  🙂

Additional supplies/info:  Copic markers (E00, E11, E13, E15, E18, E31, E33, E40, E41, E42, R01, R02, BV000, R24, R29, R89, G43, G46, Y21, W00, W1, W3), Recollections Valentines Enamel Dot, Signo White Pigment pen, X-Press It 1/4″ foam tape.  Finished size 4 3/4″ x 4 3/4″.

One Day at a Time

Happy Thursday, everyone!   It is so sunny this morning with temps reaching the 50’s today and 60’s tomorrow!  Unseasonably warm, which I will take any day over the unseasonably frigid cold we’ve had this winter.  I’ll be so happy when spring arrives!  (And then we’ll having a miserably hot and humid summer and I’ll be looking forward to winter again.)  🙂

I needed a ‘get well’ card for my uncle who recently underwent a very scary and serious heart surgery.  It’s a rather long road to recovery but he seems to be plugging along, a little better each day.  I often have a hard time with any type of card for a man, but First Aid Kit by Paper Smooches helped this card come together quite easily.


How could I resist using the cute little stethoscope with the heart shape?

Here’s the inside where I also placed a gift card to a local restaurant, for when he’s feeling up to going out to dinner…which I hope is soon.

Thanks for stopping by today.  🙂

I Think You’re Amazing

It’s time for another MFT sketch challenge!  This week I used Simply Fabulous Sayings along with Polka-Dot Cover-Up.

After stamping and clear embossing the Black Licorice sentiment, I die-cut the panel using Pierced Oval STAX, added several dots of Black Enamel Accents and a black Heirloom Label beneath the oval.  Flags were cut using Fishtail Flags and Fishtail Flags Layers.

Inside, I stamped an additional word from Simply Fabulous Sayings and added two rows of die-cut circles to the bottom.

Here’s the sketch if you’d like to play along.  All details can be found HERE on the MFT blog.

Thanks for stopping by!

Additional supplies:  X-Press It 1/2″ foam tape, Kool Tak Clear Foam Squares, Inkssentials Black Glossy Accents.  Finished size 4 1/4″ x 5 1/2″.

When You’re Happy, I’m Happy…

Hi everyone.  This weekend I was going through some stamp bins and found a few Stamping Bella images I’d purchased and never used.  (Not all that shocking…)  Anyway, I took a few moments to create a somewhat quick card using Lulu’s Morning Fix.  🙂

The image and sentiment were stamped onto a panel of X-Press It Blending Card using Memento Tuxedo Black ink.  I colored her very, very simply, using only a couple Copic markers on her robe with grays for the phone and a light brown for her coffee.

She was layered atop patterned paper from Lily Bee Designs’ Sweet Shoppe cut to fit a Sweet Tooth base.  (Corners rounded using a Corner Chomper.)

Thanks for stopping by today.  I’ll be back soon!

Additional info:  Copic markers (EOO, E11, BG70, BG72, E40, W00, W1, W3, W5, E31).  Finished size 4 1/4″ x 5 1/2″.

You’re Sweet as Can Bee

Hi everyone!  Today I have a sample using MFT‘s Wednesday Stamp Club sketch.  I used Doodle Garden Sweet as Can Bee with flowers from new Blueprints 12 and Trellis & Vine, and a color combo of Steel Grey, Safety Orange and Sweet Tooth.


My little bee was stamped onto X-Press It Blending Card with Memento Tuxedo Black ink then colored with Copics.  The body was colored using the technique described HERE.

After die-cutting the tiny flower(s), I rolled each one on a foam pad, using the ball end of a quilling tool to curl the petals upward.

Inside, I stamped a simple row of hearts from Hearts & Stitches using Safety Orange ink.

Here’s the sketch if you’d like to play along.  All details can be found here on the MFT Blog.

Thanks for stopping by today!

Additional supplies/info:  Copic markers – E00, E11, BV000, R01, R02, Y21, E31, E35, YR24, E40, W3, W5, W7, N9; MME Enamel Dots, Corner Chomper.  Finished size 5 1/2″ x 4 1/4″.

Release Rewind, Zip it Up

Hi everyone!  Today and tomorrow the MFT team is revisiting our recent release.  There were so many great products, I didn’t have much of a chance to play with Zipper Die-namics.  Today I have two cards to share using this fun new set of dies.

First, I die cut two zipper strips and a pull from Electric Red, Razzle Berry, Orange Fizz, Lemon Drop, Sour Apple, Blu Raspberry and Grape Jelly.


I fit the two strips of each color together and formed a rainbow of color.    The sentiment is from Clearly Sentimental about Art.  Fun.  🙂

Next, I created a “zipped” panel, using an Opaque White pen to add stitching.

From the zipper I hung die-cut lips then added the sentiment, cut using new Little Lowercase Letters.

The inside was finished very simply by stamping a sentiment from Simply Fabulous Sayings using Black Licorice ink.

Be sure to check out the MFT Blog for direct links to more Release Rewind posts.

Thanks for stopping by today!  🙂


Splash of Color card

mwah card

MFT Feb. New Product Launch, PI Sailor Girl x 3

Hi everyone!  Welcome to MFT‘s February New Product Launch!  All new products you’ve seen previewed over the last week are now available to you right HERE!

Be sure to visit each of the MFT Designers’ February Product Launch posts linked on the MFT Blog and leave a comment by the end of the day on Thursday, February 13 for your chance to win one of two $100 Gift Vouchers. (WOW!)  The winners will be chosen at random and the prizes will be sent out on February 14.

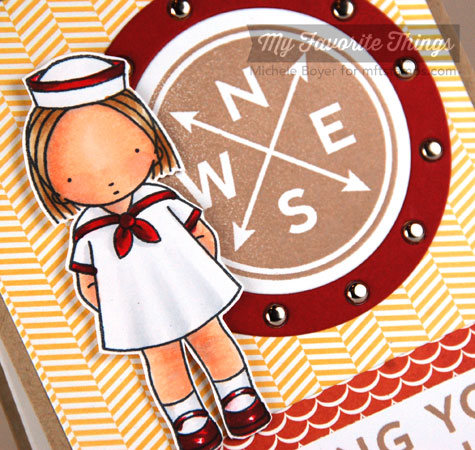
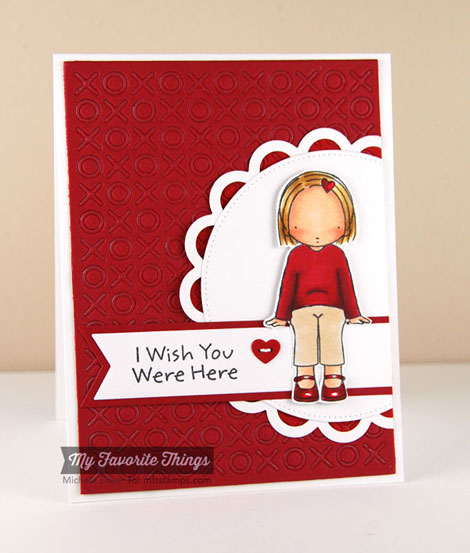
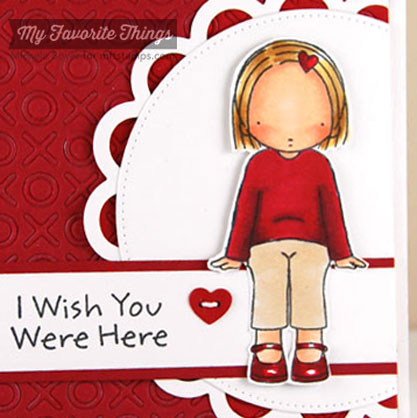
My first card uses PI Sailor Girl with Go Overboard and Let’s Get Nautical Die-namics.

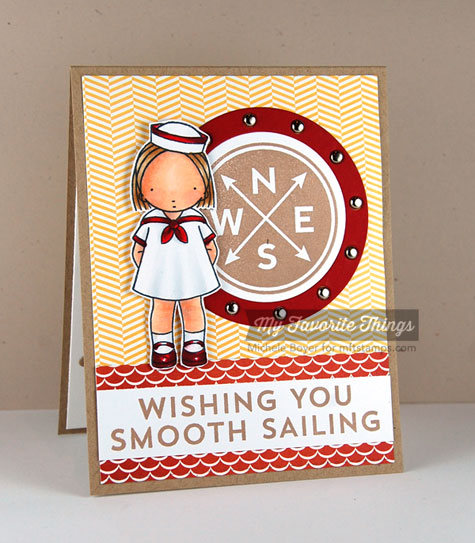
As with all of my colored images, she was stamped onto X-Press It Blending Card, colored with Copic markers, then cut out and adhered over the die-cut compass using foam tape.  The compass was stamped in Kraft ink and framed with Electric Red.

Inside, I stamped a sentiment from Celebrate Big.

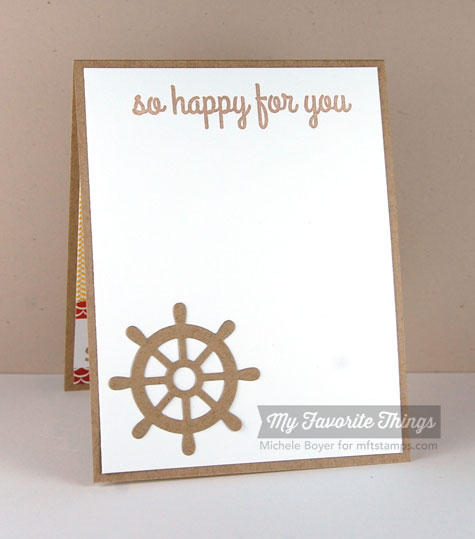
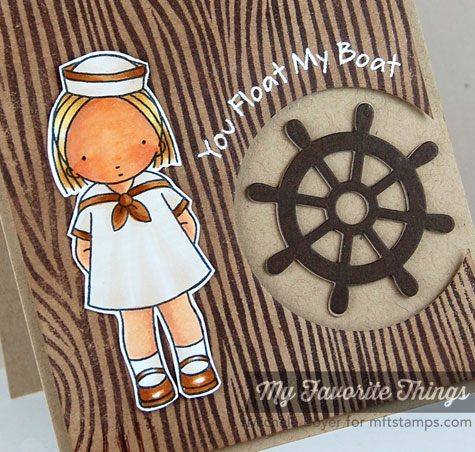
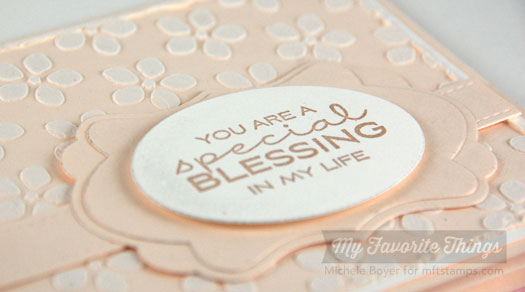
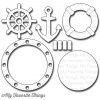
My next card uses Sailor Girl with Woodgrain Background and a ship wheel cut from Let’s Get Nautical.

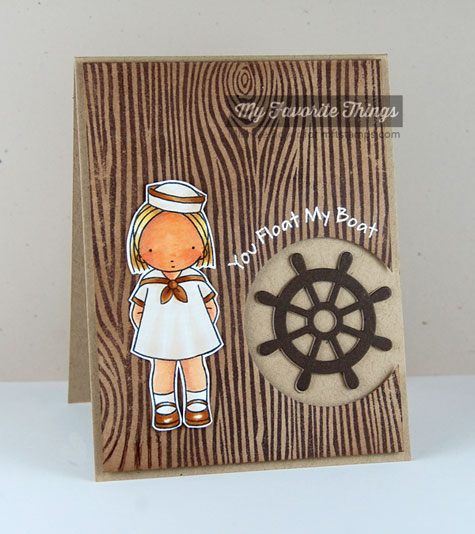
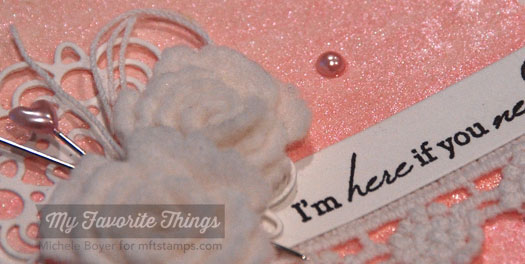
The sentiment was stamped in Whip Cream ink and heat embossed using Vanilla embossing powder.

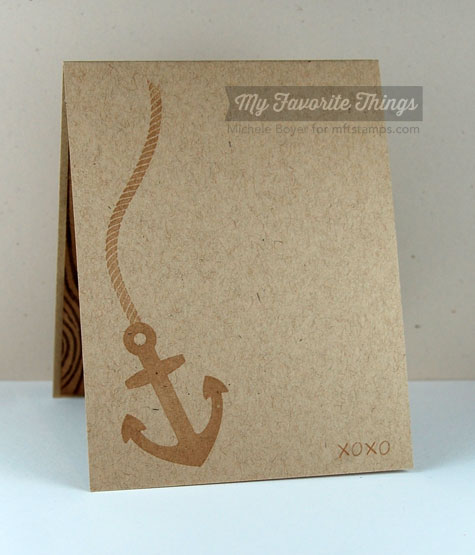
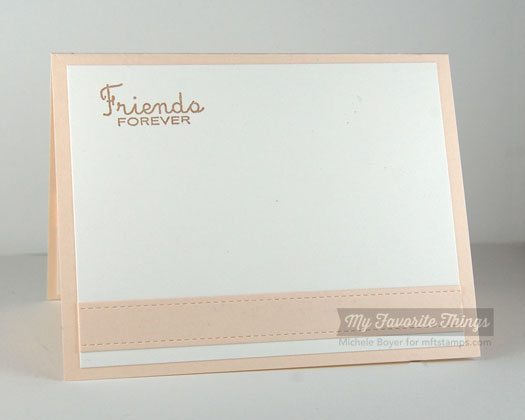
I finished the inside with a simple stamping of the anchor and rope from Go Overboard.  The small XOXO in the corner is from PI All Occasion Sentiments.

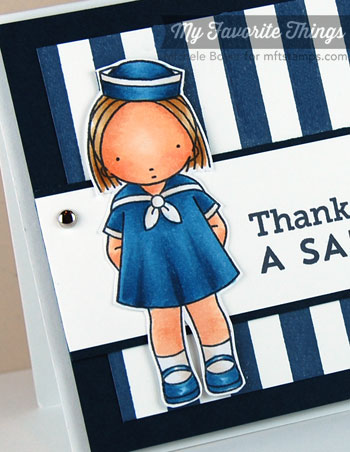
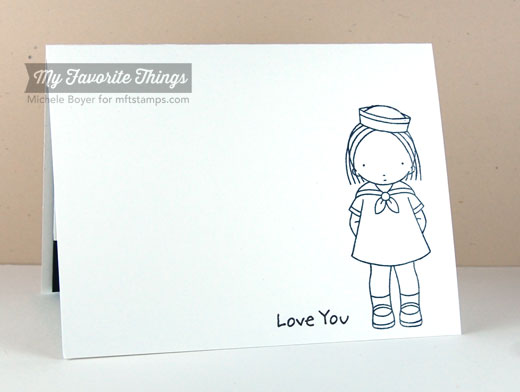
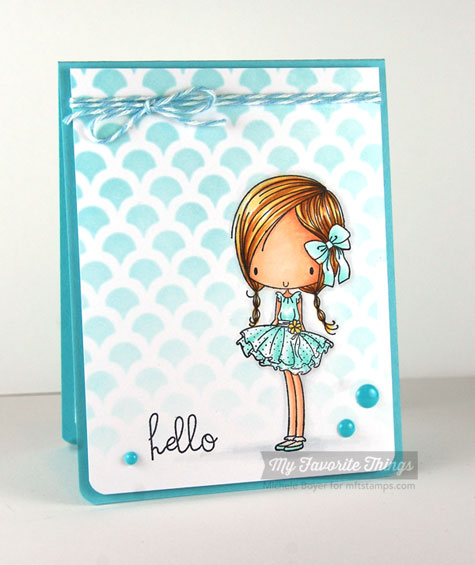
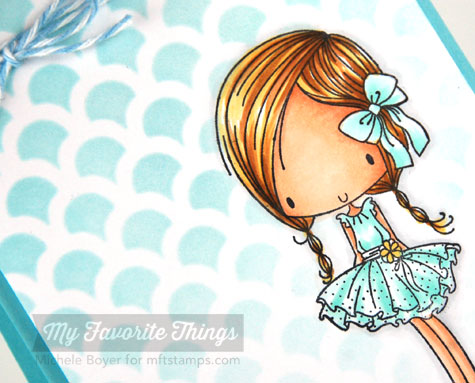
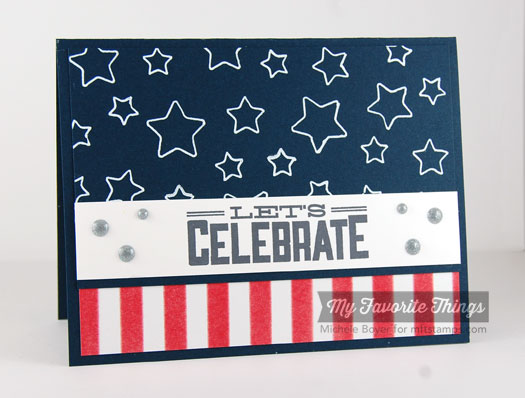
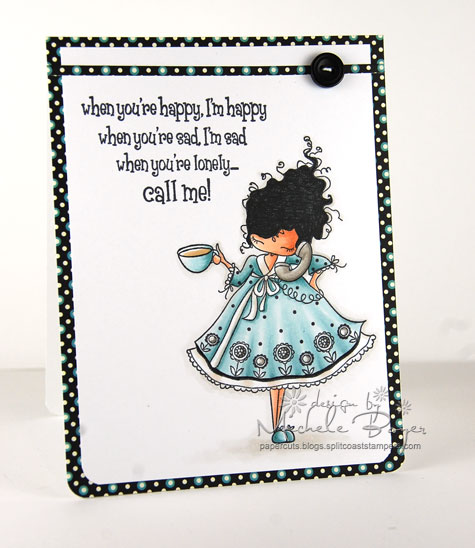
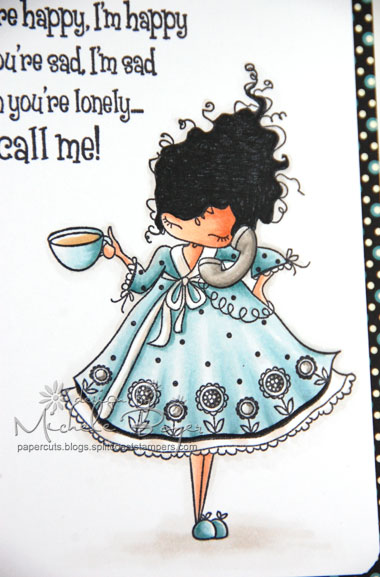
On my final card, I used Sailor Girl along with new Striped Background.


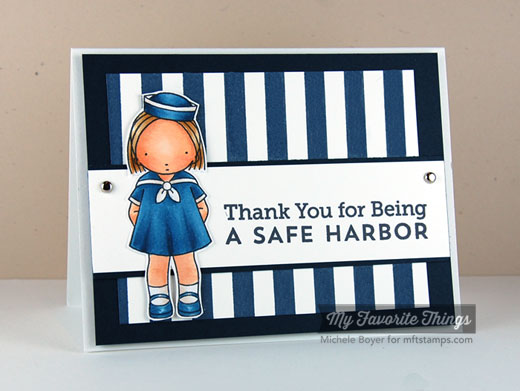
The stripes (and sentiment) were stamped using Nightshift Blue ink.

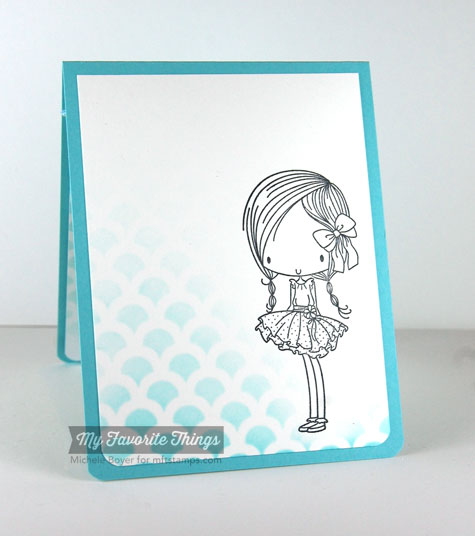
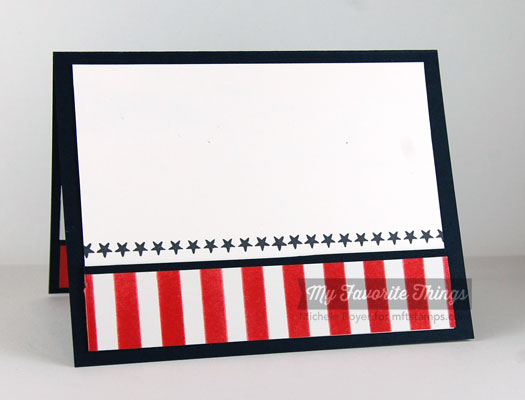
Inside, I stamped the girl in Nightshift Blue ink and the sentiment in Black Licorice.  The “Love You” sentiment is from PI Love is in the Air.

Don’t forget to check out the MFT Blog for direct links to samples using all of the new products!   And as you look, don’t forget to comment for your chance to win one of TWO $100 Gift Vouchers!!! :)

Thanks SO much for stopping by!
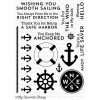
Smooth Sailing card

Additional supplies used:  Memento Tuxedo Black ink, Copic markers (E00, E11, BV000, R01, E31, E35, C00, C1, R29, R89), Michaels brads, Kool Tak Clear Foam Squares.  Finished size 4 1/4″ x 5 1/2″.
______________________________________
You Float My Boat card

Additional supplies used:  Memento Tuxedo Black ink, Copic markers (E00, E11, Y21, E31, E35, E40, E41, R01, R02, BV000), Vanilla embossing powder, X-Press It 1/2″ foam tape.  Finished size 4 1/4″ x 5 1/2″.

______________________________________
Safe Harbor card

Additional supplies used:  Memento Tuxedo Black ink, Copic markers (E00, E11, BV000, R01, R02, E31, E35, B95, B97, B99, E40), Michaels brads, X-Press It 1/2″ foam tape.  Finished size 5 1/2″ x 4 1/4″.