Daily Archives: June 10, 2014

MFT June New Product Launch, Every Day is a Picnic

Welcome to MFT‘s June New Product Launch!  All new products you’ve seen previewed over the last week are now available to you right HERE!

Be sure to visit each of the MFT Designers’ June Product Launch posts linked on the MFT Blog and leave a comment by the end of the day on Thursday, June 12 for your chance to win one of two $100 Gift Vouchers. (WOW!) The winners will be chosen at random and the prizes will be sent out on June 13.

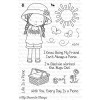
I have three cards to share tonight, all using varying degress of new Birdie Brown Designs Every Day is a Picnic.  🙂

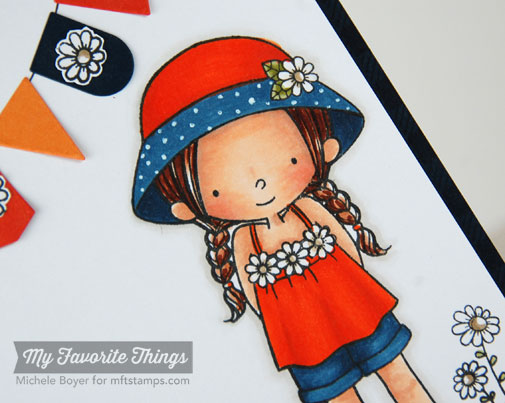
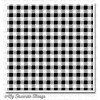
First, I used the cute girl with flowers and banners die-cut using Blueprints 16.  It doesn’t show in the photo, but I also used new Gingham Background with Nightshift Blue ink on a Nightshift Blue base.

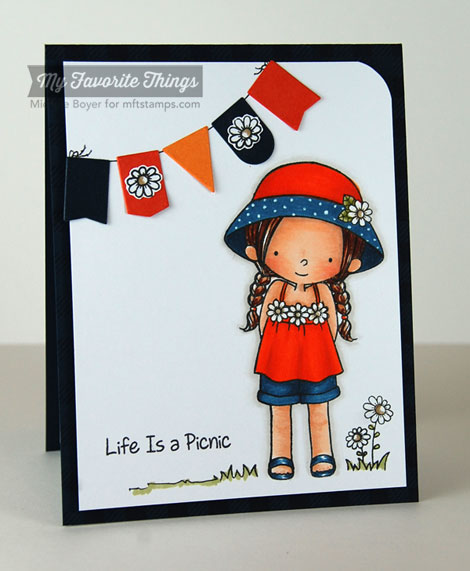
She was stamped onto X-Press It Blending Card and colored with Copic markers. The banner string was traced using one of the rounded dies from Blueprints 16 and a 0.25 Black Copic Multi-liner.

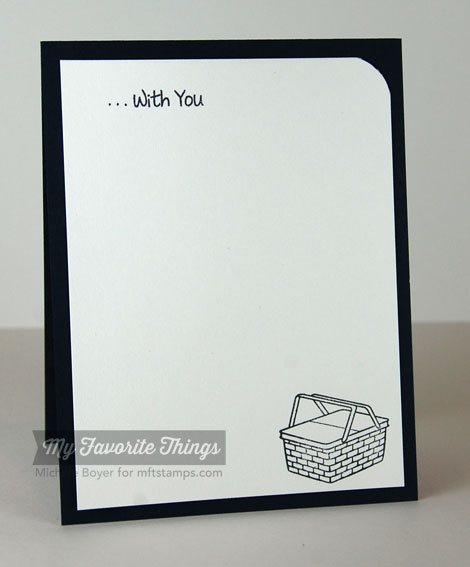
Inside, I continued the sentiment and added a little basket.

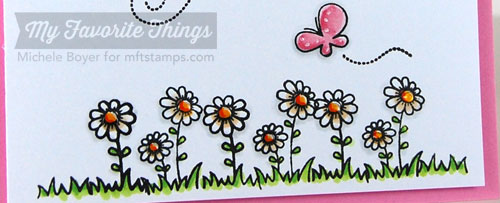
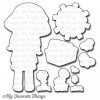
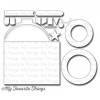
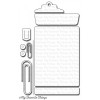
Next I used the accessory images included in the Picnic set along with Every Day is a Picnic Die-namics. The sentiment strip was cut using Blueprints 16 and the paperclip was die-cut from Cotton Candy card stock using Office Supplies Die-namics.

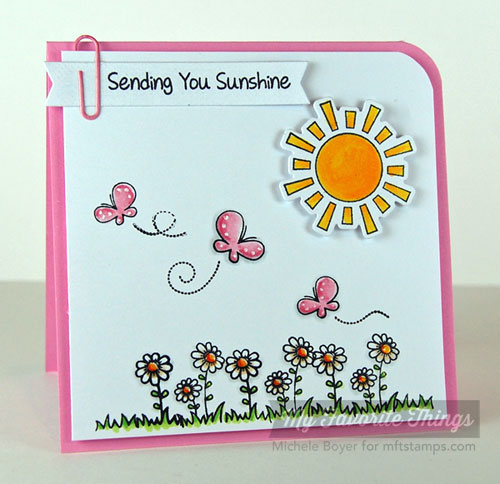
The sun is raised on foam tape and I added Glossy Accents to the center of each flower.

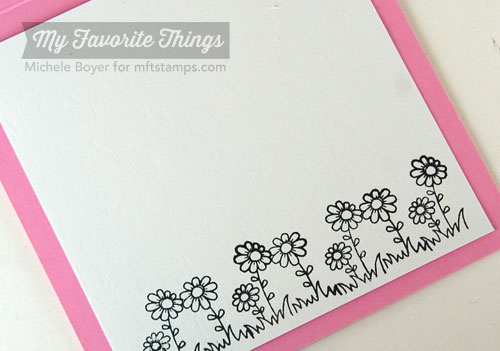
Inside, I added a row of flowers stamped in Black Licorice dye ink.

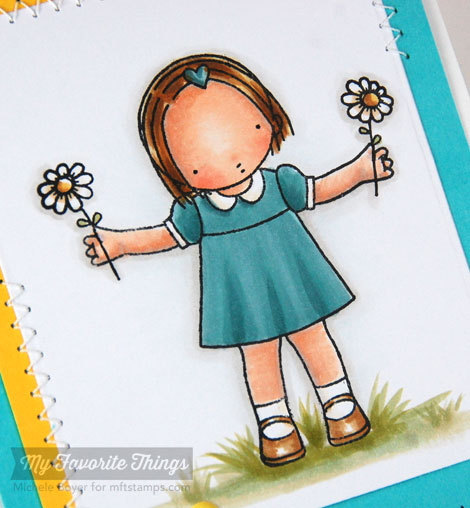
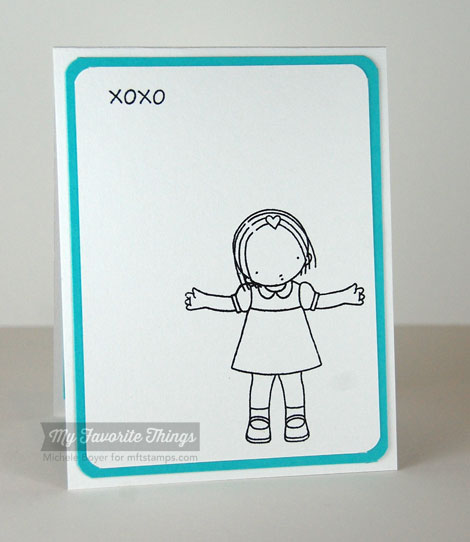
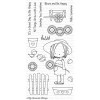
On my last card, I used only the flower images from Every Day is a Picnic, combing them with Pure Innocence Sending Big Hugs.

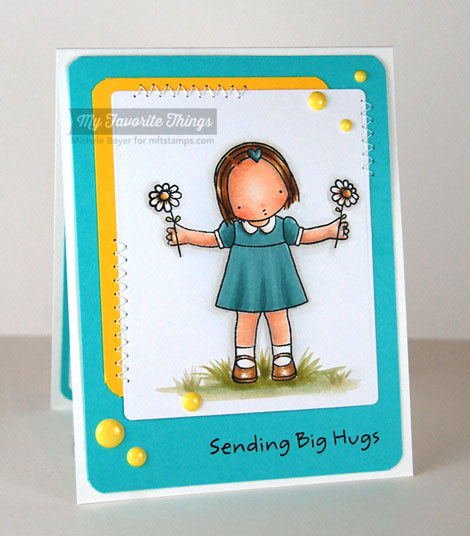
I stamped the girl first, then using a stamp positioner, I stamped the flowers.  (I used tape to mask off the parts of the flower stamp I didn’t want.  Tape, ink, remove tape, stamp.) Then I lengthened the stem with a multi-liner.

Inside, I added a second sentiment from the set (one I like to use often) and added a silhouette of the image.

Don’t forget to check out the MFT Blog for direct links to samples using all of the new products!   And as you look, don’t forget to comment for your chance to win one of TWO $100 Gift Vouchers!!! :)

Thanks SO much for stopping by!

Life is a Picnic card

Additional supplies/info:  Copic markers (E00, E11, BV000, R01, R02, YR04, YR07, YR09, E13, E15, E18, E50, E43, YG93, YG95, B97, B99, W00, W1), 0.25 black Copic Multi-liner, Signo White Pigment Pen, X-Press It 1/2″ foam tape. Finished size 4 1/4″ x 5 1/2″.
.
Sending You Sunshine card

Additional supplies/info:  Copic markers (Y17, Y38, YR04, YG03, YG17, E50, E53, R81, R83, R85, C00, C1), X-Press It 1/2″ foam tape, Signo White Pigment Pen.  Finished size 4 1/2″ x 4 1/2″.
.
Sending Big Hugs card

Additional info/supplies:  Copic markers (E00, E11, BV000, R01, R02, Y21, E31, E35, E37, E47, E50, BG72, BG75, BG70, W00, W1, YG91, YG93, YG95, Colorless Blender), enamel dots.  Finished size 4 1/4″ x 5 1/2″.

MFT June Preview, At the Office-Gift Card Tutorial

Hi everyone!  I have two more previews to share before MFT‘s June New Product Launch tonight at 10 p.m. EST.  On both,  I used new At the Office stamp set with Office Supplies Die-namics.

First, I used Office Supplies Die-namics to create a clipboard shaped card from Kraft card stock.  Notebook Paper Background was stamped onto Whip Cream card stock with Sno Cone ink then the left side was cut using Notebook Edge. The sentiment was stamped in Blu Raspberry and Razzle Berry inks.

Inside, I stamped a second sentiment from At the Office onto another piece of Notebook Paper Background.

Next, I created a card with gift card holder using Office Supplies Die-namics.  Here’s the front.

Here’s what I did:

Cut a 6 7/8″ x 4 1/8″ block of Safety Orange card stock.  Score and fold at 1 5/8″ and 4 7/8″.

Cut envelope “flaps.”

Adhere top flap, applying glue to left side only.  Adhere magnetic disc (+side) to inside flap as shown.

Adhere – side disc to + side disc.  Remove paper from adhesive side of magnet and close flap to center.  The + side magnetic should now adhere in proper position to inside of card.  Repeat with bottom envelope flap.

Cut card stock to fit inside (center) panel and adhere to cover magnets.  Die-cut Vertical Gift Card pocket.  Fold along score lines and adhere to inside of card.  (I used d0uble-sided tape.)   I used stamps from At The Office, stars from Sun, Moon & Stars Die-namics as well as gold enamel dots to decorate the inside.

Close card, and adhere two die-cut Brick Red circles to back of envelope, applying adhesive to left side only of lower circle.

Thanks so much for stopping by!  I’ll be back tonight at 10 p.m. EST for the New Product Launch!

Please note that links to new products will not be in effect until time of release, Tuesday, June 10, 10 p.m. EST.