Monthly Archives: June 2014

MFT June Previews, Always Remember to Smile

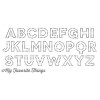
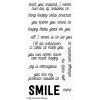
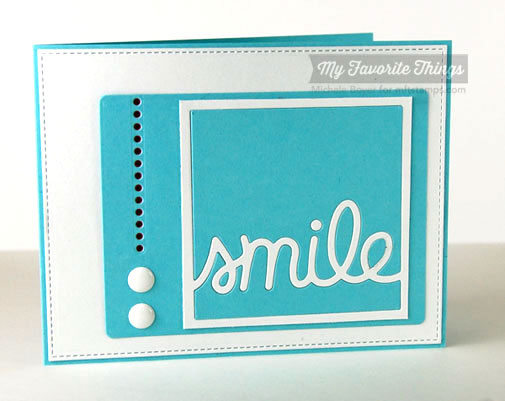
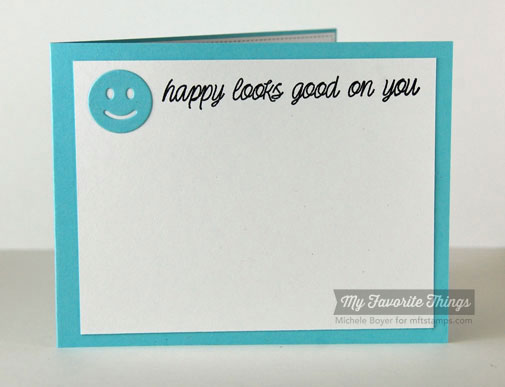
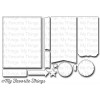
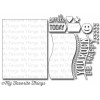
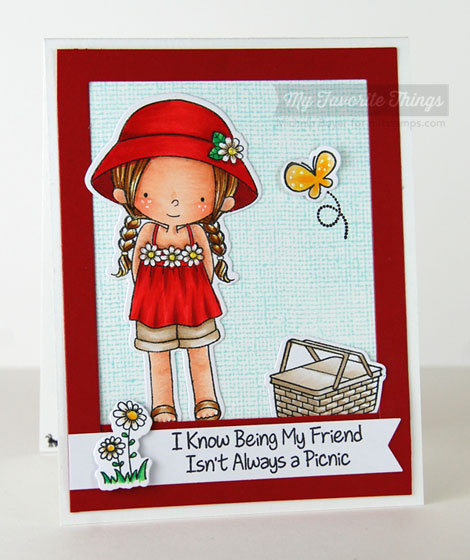
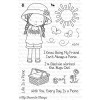
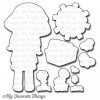
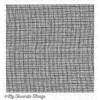
Hi everyone!  Welcome to another day of MFT June previews!  Today I’ve used a fun new Die-namics set, Peek-a-Boo Alphabet Uppercase, along with Smile stamp set and Stripes Cover-Up Die-namics.

I die-cut the striped panel from Sweet Tooth card stock then layered atop a Razzle Berry base.

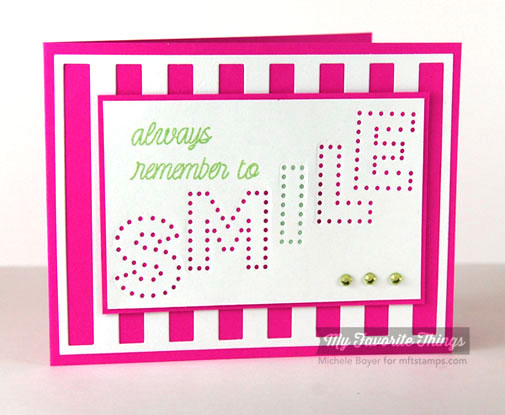
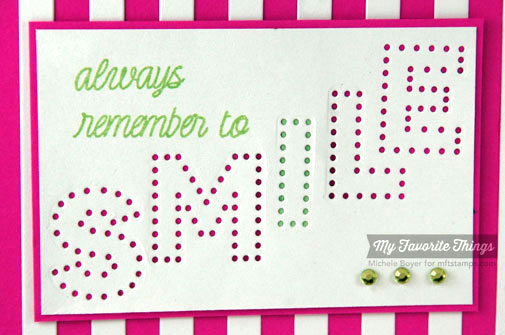
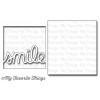
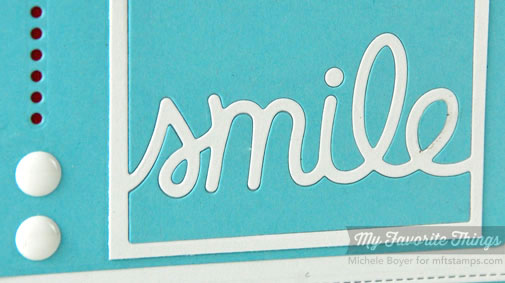
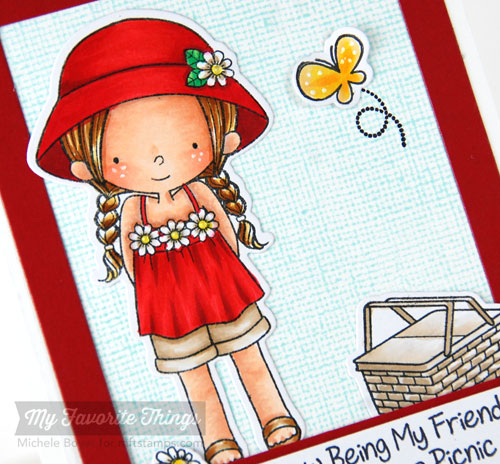
To die-cut the word “smile,” I taped each letter to a Sweet Tooth panel, then cut Razzle Berry and Limeade card stock pieces to fit behind.  “Always remember to” was stamped in Limeade dye ink.

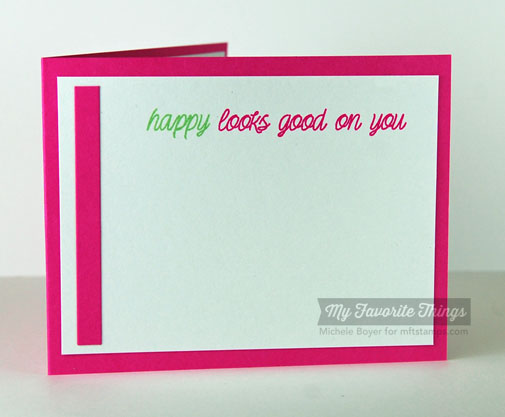
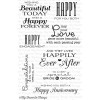
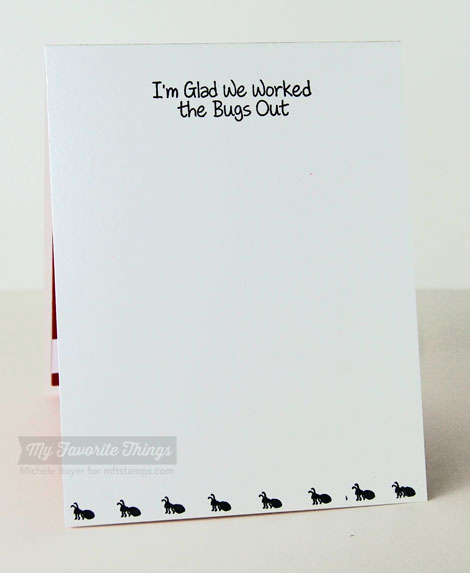
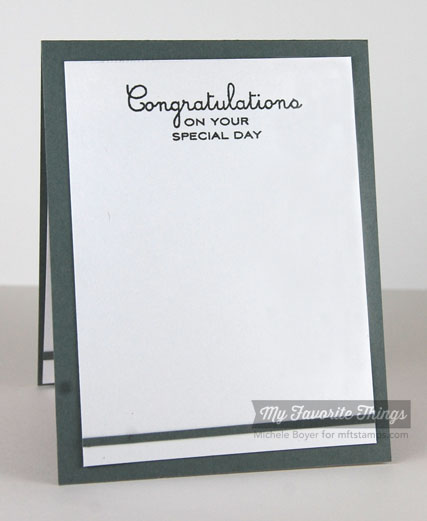
Inside, I stamped a second Smile sentiment using Limeade and Razzleberry inks.

Don’t forget to check out the MFT Blog for direct links to more Countdown samples, info on prizes and all you need to know about our June 10 release!

Thanks so much for stopping by!  I’ll be back tomorrow!

Please note that links to new products will not be in effect until time of release, Tuesday, June 10, 10 p.m. EST.

Additional supplies/info:  Doodlebug adhesive jewels, Kool Tak Clear Foam Squares.  Finished size  5 1/2″ x 4 1/4″.

MFT June Previews, Smile

Hi everyone!  I’m back for another day of the MFT June Release Countdown. Only four days to go!  🙂

Today I’ve used new TRANSFORM-ables Smile Die-namics with Sweet Tooth and Berrylicious card stock.

I used Blueprints 13 to cut the white “stitched” panel.  After die-cutting the “smile” block, I used the dotted strip from Blueprints 14 to die-cut the dots with Electric Red showing through.

Inside I added a smiley face (from Blueprints 11) as well as a sentiment from new Smile stamp set.

Be sure to check out the MFT Blog for direct links to more Countdown samples, info on prizes and all you need to know about our June 10 release!

Thanks so much for stopping by!  I’ll see you tomorrow!

Please note that links to new products will not be in effect until time of release, Tuesday, June 10, 10 p.m. EST.

Additional supplies/info:  My Mind’s Eye Enamel Dots.  Finished size 5 1/2″ x 4 1/4″.

MFT June Previews, Mr. & Mrs.

Hi everyone!  I’m back today with another preview of My Favorite Things‘ June 10 release!  (Only five more days!)  Today I’ve used new Always & Forever stamp set, Ampersand Die-namics and Large Polka Dot Stencil.

I like to use the stencils to emboss pattern onto card stock.  Here I used the Large Polka Dot Stencil with Sweet Tooth then layered atop a Nightshift Blue base.

The “Mr.” and “Mrs.” were stamped using Nightshift Blue dye ink with the ampersand die-cut from Nightshift Blue card stock.  (I cut two and layered for extra thickness.)

Inside, I stamped a sentiment from Together Forever.

Be sure to check out thMFT Blog for direct links to more Countdown samples, info on prizes and all you need to know about our June 10 release!

Thanks for stopping by!  I’ll be back tomorrow!

Please note that links to new products will not be in effect until time of release, Tuesday, June 10, 10 p.m. EST.

Additional supplies/info:   X-Press It 1/2″ foam tape.  Finished size 5 1/2″ x 4 1/4″.

MFT June Previews, Every Day is a Picnic

Hi everyone!  Welcome back to a second day of June 10 release previews with My Favorite Things!  Today I’ve used our new Birdie Brown stamp set, Every Day is a Picnic, along with coordinating Die-namics.

I began by masking off the edges of a Sweet Tooth card base then stamping Linen Background using Sno Cone ink.  The Rectangle Frame was cut from Electric Red card stock with all die-cut pieces cut from X-Press It Blending Card.

I stamped the images using Black Licorice hybrid ink then colored with Copic markers.   The butterfly was adhered only in the center so the wings are free to bend forward just a bit.

After coloring, I added dots of Glossy Accents to each flower center (hat, shirt and sentiment strip).

Inside, I stamped a second sentiment from the set along with a row of bitty ants along the bottom.

You can check out the MFT Blog for direct links to more Countdown samples, info on prizes and all you need to know about our June 10 release!

Thanks so much for stopping by!  I’ll be back tomorrow!

Please note that links to new products will not be in effect until time of release, Tuesday, June 10, 10 p.m. EST.

Additional supplies/info:  Copic markers (E00, E11, BV000, R01, R02, Y21, E31, E35, E37, R24, R29, R39, E40, E41, E42, E43, Y08, Y17, G14, G09), Copic Opaque White, Kool Tak Clear Foam Squares, Glossy Accents.  Finished size 4 1/4″ x 5 1/2″.

MFT June Previews, Together Forever

Hi everyone!  It’s already time to begin previews of MFT‘s June release!  This past month certainly flew by.

Today have two samples using Lisa’s new Together Forever sentiment set along with Bride & Groom Die-namics.

On my first card, I die-cut the bridge and groom from Black Licorice and Sweet Tooth card stock.   The sentiment was stamped using Black Licorice dye ink.  (I ♥ the fonts in this set.)

I cut the flourish multiple times to cover the skirt portion of the dress.  The bow tie was adhered with glue only in the center so I could bend forward each side.

Inside, I stamped a second sentiment from Together Forever and added a die-cut flourish in the corner.

On my second card I used the same supplies but substituted Steel Blue card stock for the black.

On the dress, I added a Steel Blue flourish and a few tiny pearls cut from a leftover pearl flourish.  (The embossed lines on the suit are there but aren’t showing well in the photo.)

Inside, I added a second sentiment and a tiny strip of card stock.

Be sure to check out the MFT Blog for direct links to more Countdown samples, info on prizes and all you need to know about our June 10 release!

Thanks so much for stopping by!  I’ll be back tomorrow!

Please note that links to new products will not be in effect until time of release, Tuesday, June 10, 10 p.m. EST.

Congratulations card

Additional supplies/info:  Kool Tak Clear Foam Squares.  Finished size 4 1/4″ x 5 1/2″.
.
Special Bride & Groom card

Additional supplies/info:  Kool Tak Clear Foam Squares, X-Press It 1/2″ foam tape, adhesive pearls. Finished size 4 1/4″ x 5 1/2″.

We Mix Well

Hi everyone! I have a Paper Smooches card to share today using new Kitschy Kitchen stamp set.  Love the retro style of the images.  🙂

After stamping the mixer onto X-Press It Blending Card, I added just a touch of blue to the bowl and a bit of an outline to the mixer to add definition.  The bowl then was colored using Copic markers, the circle die-cut then carefully (and slowly) stitched onto the patterned paper.

Quick and easy.  🙂

Thanks for stopping by today!  I’ll be back very soon!

Additional info:  Copic markers (Y21, YR23, R83, R85, YG03, BG70).  Finished size 4 1/2″ x 4 1/2″.