Monthly Archives: September 2014

Halloween Happenings with MFT

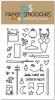
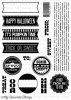
This month the MFT Design Team is preparing for a frightfully sweet Halloween season — from party invitations and spooky greetings to home decor and delightfully wicked favors.  First, I created a spooky message using background stamps and lots of Die-namics.

Boo-Sept-CC-500

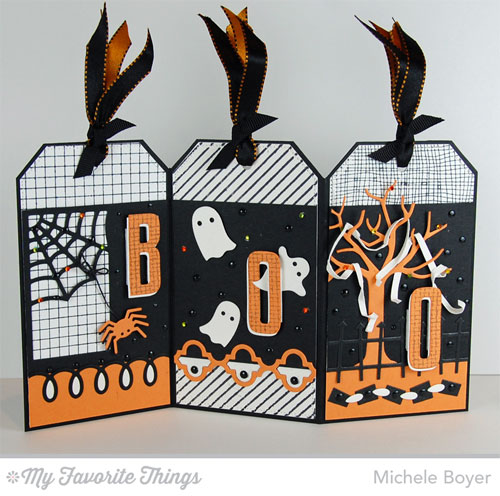
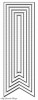
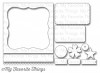
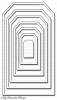
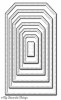
I used the largest Traditional Tag die to trace a tri-fold of Black Licorice card stock.  I stamped and layered  Grid, Diagonal Stripes and Cheesecloth backgrounds, cut with the largest Pierced Traditional Tag die.

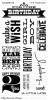
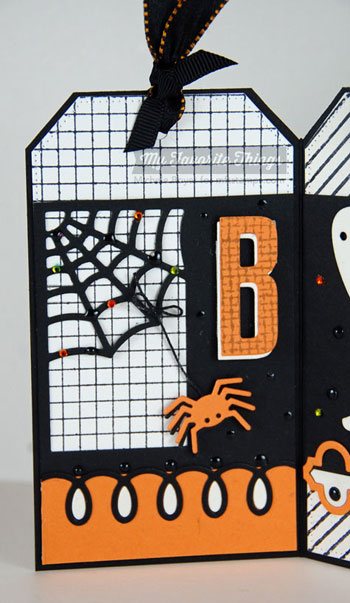
“BOO” was cut using High-Rise Alphabet Uppercase, stamped with Burlap background and raised on foam tape.  On the “B” panel, I used Paper Bag Peek-a-Boos and Looped Border.

Boo-Sept-CC-CU1b

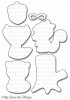
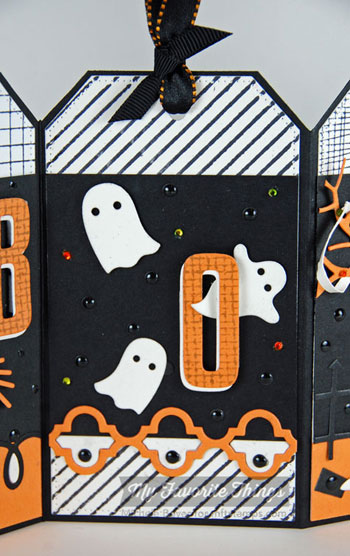
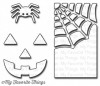
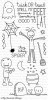
On the first “O” panel, I used Spooky Scene and a Moroccan Tile Trio border.

Boo-Sept-CC-CU2b

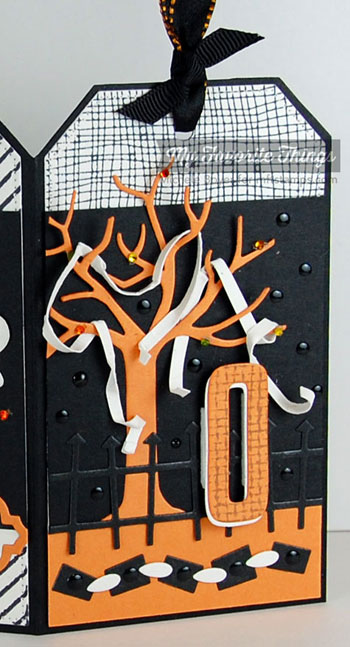
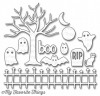
And on the last panel, I used the tree and fence from Spooky Scene and created a border along the bottom made from negative pieces from the fence and Looped Border.   All shiny black dots were created using Glossy Accents. To toilet paper the tree, I cut thin strips of card stock then curled it around a small wood skewer before “hanging.”

Boo-Sept-CC-CU3b

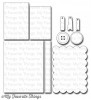
Next, I did a bit of “recycling,” using cans that once held coffee, pineapple chunks and tomato sauce.

Trick-or-Treat-Can-Set-500

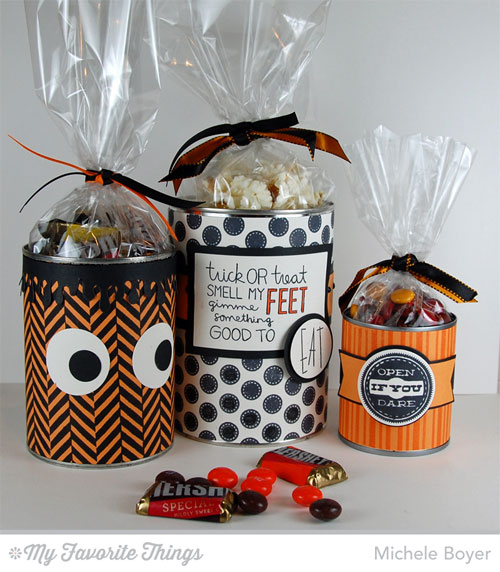
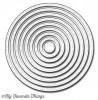
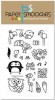
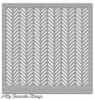
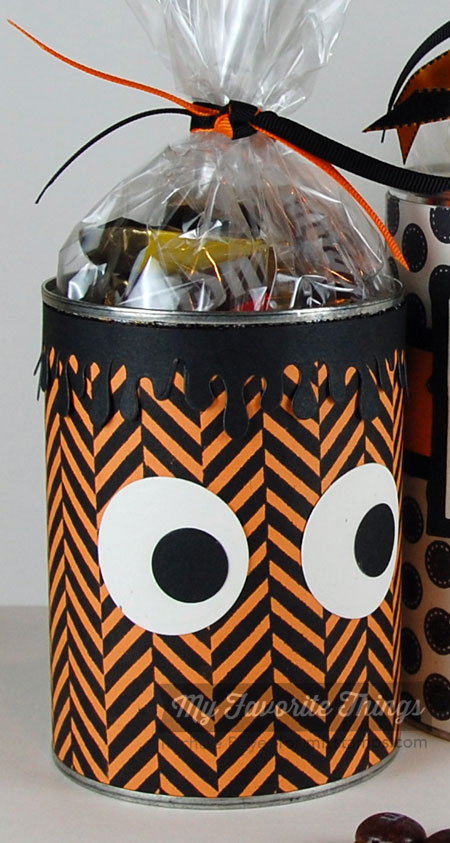
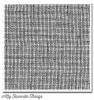
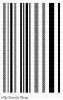
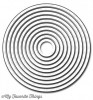
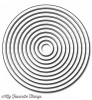
My favorite was probably the easiest/quickest of the three.  I stamped a Textile Background onto Orange Fizz card stock using Black Licorice ink, added eye balls cut from Circle STAX 1 and “hair” using Dripping Goo Edge.

Trick-or-Treat-Can-Set-CU1a

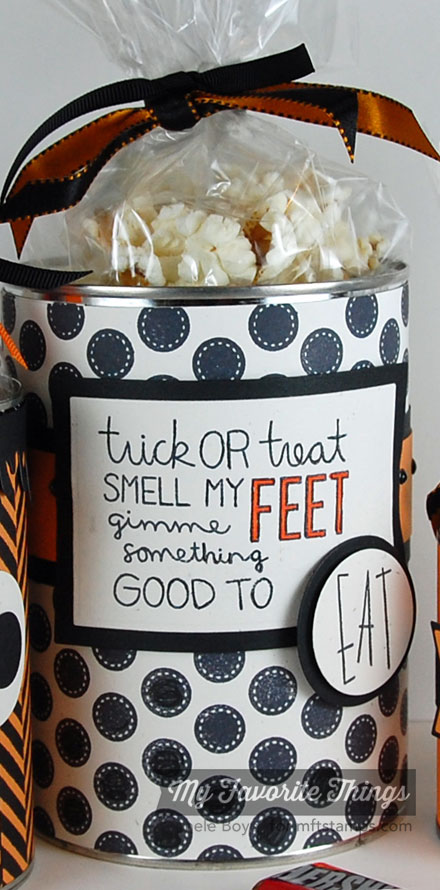
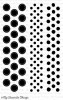
On the second can, I stamped Darling Dots onto Primitive White card stock and used the sentiment from Trick or Treat (Miss Tiina).  

Trick-or-Treat-Can-Set-CU2a

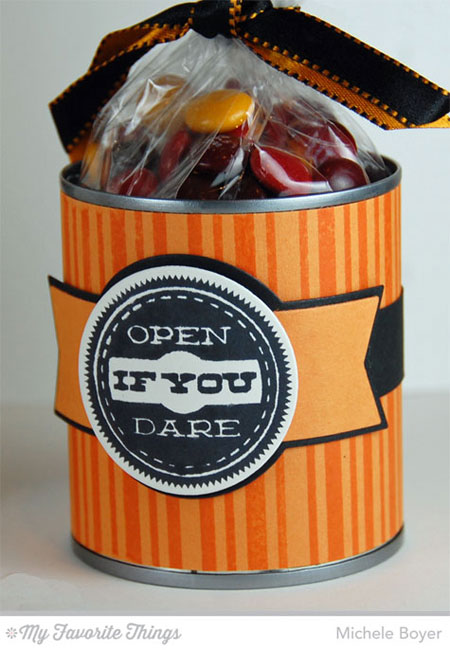
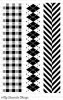
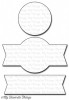
 Lastly, a small tomato sauce can was covered with stripes from Plaid Background Builder and a sentiment from Trick or Sweet, die-cut using Layered Treat Tag Die-namics.

Trick-or-Treat-Can-Set-CU3a

I actually created a third project but will share that in a few days.  (I don’t want to bore you.)  😉

Thanks for stopping by!

BOO Accordian

Additional supplies/info:  Hero Arts Gemstones, Glossy Accents, Kool Tak Clear Foam Squares, X-Press it 1/4″ foam tape, ribbon.  Finished size 9″ x 5 1/4″ (excluding ribbon)
.
Treat Cans

Additional supplies/info:  Coffee can, pineapple chunks can, tomato sauce can, Glossy Accents, X-Press It 1/2″ foam tape, X-Press It 1/2″ and 1/4″ double-sided high tack tape.

Quick and Easy (but as heartfelt as ever)

If you’re like me, you never have a sympathy card when you need one.  Or if you do have one, it might not be “just right.”  So today, in a pinch, I created a super quick and easy card.  But that being said, my heartfelt sympathies are the same as if I’d spent hours stamping, positioning and embellishing.

I used MFT‘s Grand Peaceful Wildflowers, stamped in Berrylicious dye ink.  

With-Sympathy-475

 The lighter impressions were created by stamping the flowers a second time without reinking the stamps.  I love the softness that creates.

With-Sympathy-CU

 I included a second, short sentiment inside with an additional flower silhouette.

With-Sympathy-In

I’ll be back tonight with this month’s Creative Challenge!  It was lots of fun so I hope you’ll come back to check it out! 

Additional supplies/info:  Black enamel dots, Corner Chomper.  Finished size 4 1/4″ x 5 1/2″.

your life is a canvas

Hi everyone!  TGIF!  🙂

I love all artsy images so when I saw Uptown Girl Abigail the Artist in one of Stamping Bella‘s latest releases, she went right into my cart.  I ♥ her.  (I don’t see her in the store today.  She may be currently out of stock.)

Live-is-a-Canvas

 She’s stamped onto X-Press It Blending Card and colored with Copic markers.  I dusted off my sewing machine and zig-zagged around the edges for a bit of texture.  It’s an easy way to add interest with a bigger image.

Live-is-a-Canvas-CU

I wanted to include that awesome sentiment that came with the image but it was a little large for my card size so I finished the inside, adding the remainder of the sentiment there.

Live-is-a-Canvas-In

Thanks for stopping by!  Enjoy your weekend!

Additional supplies/info:  Stamping Bella “Uptown Girl Abigail the Artist,” Copic markers (E00, E11, E21, E33, E35, E50, E51, E53, RV25, RV29, R89, Y21, B14, B28, G24, G29, YR07, YR18, V17, C00, C1, C3, C5.  Finished size 4 1/4″ x 5 1/2″.

Oh Nuts

Hi everyone!  It’s been a couple weeks since I played along with MFT‘s weekly sketch challenge so I was sure to fit one in today.  I used Miss Tiina’s new Cute Critters along with Woodgrain, Burlap and Fine Check Backgrounds.  (I love Miss Tiina’s new line and can’t wait to see what’s next!)

To create the sentiment, I stamped the word “nuts” in Chocolate Brown ink then die-cut the “OH” from Chocolate Brown card stock using Little Letters Die-namics.

Oh-Nuts-475r

Images were stamped onto X-Press It Blending Card and colored with Copic markers.

Inside, I stamped “Happy Birthday” from Celebrate You and “a little late” from Birthday Sentiments, both in Chocolate Brown dye ink.

Oh-Nuts-In

Here’s this week’s sketch.  All details about the sketch challenge can be found on the MFT blog and in this week’s newsletter.

Print

Thanks for stopping by! 

have a cute little Christmas

Hi everyone.  I have had a lot of fun creating with Paper Smooches latest release. And I’ve gotten a head start on my Christmas cards.  🙂

Today I used Holly Jolly, a little bird from Chilly Chums, a stocking from Hangups and the little bird (on the ground) from My Peeps.

Cute-Little-Christmas-475

All stamping was done on a panel of X-Press It Blending Card with images colored using Copic markers.  The garland was embossed in gold and the bit of scalloped trim was die-cut using Borders 2.

For added interest, the little bows were cut out and adhered only in the centers, and the stocking was stamped a second time, cut out and raised on foam tape.

Cute-Little-Christmas-CU

Thanks for stopping by.  Have a great day!  🙂

Additional supplies/info:  Copic markers (R29, R39, R89, E33, E35, E41, E42, BG10, W00, W1), Copic 0.1 Wine Multiliner, gold embossing powder, Platinum Stickles, enamel dots.  Finished size 4 1/4″ x 5 1/2″.

Scrapbook & Cards Today Fall 2014

Have you seen the Fall issue of Scrapbook & Cards Today?   What a gorgeous cover!

SCT_fall_2014_cover_2

The fall issue is now available in select stores and on-line, for free, right  HERE. (I might have a little something in the Reader’s Gallery).   It’s a  beautiful publication.  I hope you’ll check it out.  🙂


MFT September Release Rewind

Hi everyone!  I’m back for Day 2 of MFT‘s September Release Rewind.  Honestly, there were so many great new stamps and Die-namics, I think I need three or four more rewinds.  

First, I used Diagonal Bars stencil with Words of Gratitude Die-namics and Thankful Thoughts stamp set.

So-Very-Grateful-RR-475

I added lots of fall color by sponging Banana Split dye ink, then Safety Orange and Tangy Orange over Diagonal Bars stencil onto Sweet Tooth card stock.  “Grateful” was cut from Black Licorice card stock and adhered over a masked off strip.

So-Very-Grateful-RR-CUInside, I masked off the top portion and sponged additional color.

So-Very-Grateful-RR-In

Next, I used Miss Tiina‘s adorable Cute Critters.  The images were stamped/masked onto X-Press It Blending Card, colored with Copic markers then cut out and adhered over a Burlap Background stamped in  Kraft onto Brick Red card stock.

hey-foxy-475r

The strip across the top was stamped using new Fine Check Background, the circle and flower are from Blueprints 19 and FOXY was die-cut using Little Letters Die-namics.

hey-foxy-CUrInside, I stamped the fox in Brick Red ink and added a sentiment from Fall Foliage using Black Licorice ink.

hey-foxy-Inr

Be sure to check out the MFT Blog for direct links to more Release Rewind posts.

Thanks for stopping by today!  🙂

So Very Grateful card

Additional supplies/info:  Sponge Applicator, sequins, X-Press It 1/2″ foam tape. Finished size 4 1/4″ x 5 1/2″
.
hey FOXY card

Additional supplies/info:  Copic markers (E07, E08, E09, E40, E41, E42, R01, R02, E31, E33, E35, E37, E47).  Finished size 4 1/4″ x 5 1/2″.

MFT Sept New Product Launch – PI PB&J x 3

Welcome to MFT‘s September New Product Launch!  All new products you’ve seen previewed over the last week are now available to you right HERE!

Be sure to visit each of the MFT Designers’ September Product Launch posts linked on the MFT Blog and leave a comment by the end of the day on Thursday, September 18th for your chance to win one of two $100 Gift Vouchers. (You can do some fun shopping with $100!) The winners will be chosen at random and the prizes will be sent out on September 19th.

I have three cards to share tonight, all using new Pure Innocence Peanut Butter & Jelly.

My first card combines PI PB&J with coordinating Die-namics and new Blueprints 19.  I really like this color combo of Kraft and Razzle Berry with just a touch of Gumdrop Green.

Better-Together-Pink-500

The cute PI girl was die-cut from X-Press It Blending Card, stamped in Black Licorice hybrid ink and colored with Copic markers.  The plaid strip was created using Plaid Builder with Razzle Berry and Gumdrop Green inks, and Grid Background was stamped using Razzle Berry ink as well.

Better-Together-Pink-CU

Inside, I added a second panel of Grid Background and another strip of plaid.

Better-Together-Pink-In

My second card has more of a clean and simple look with the focus being on the colored images.  I combined PI PB&J with One of My Favorite Peeps.  The sentiment panel and flower were both cut using Blueprints 19.

Perfect-Pair-475

As above, images were stamped/masked onto X-Press It Blending Card and colored with Copics.

Perfect-Pair-CU

Inside, I added the PI from It’s a Sign along with additional sentiments.

Perfect-Pair-In

Lastly, I created a card using PB&J with new Fine Check Background and High Rise Uppercase Alphabet.

Better-Together-Green-500

 Gumdrop Green ink was stamped onto Gumdrop Green card stock, with letters cut from the same.

Better-Together-Green-CU

 Inside, I completed the sentiment and stamped two partial silhouettes.

Better-Together-Green-In

Don’t forget to check out the MFT Blog for direct links to samples using all of the new products!   And as you look, don’t forget to comment for your chance to win one of TWO $100 Gift Vouchers!!! :)

Thanks SO much for stopping by!

Better Together card (pink)

Additional supplies/info:  Copic markers (E00, E11, BV000, Y21, E31, E33, E35, RV25, RV29, E40, E43), X-Press It 1/2″ foam tape, Kool Tak clear foam squares.  Finished size 5″ x 5″
.
Perfect Pair card

Additional supplies/info:  Copic markers (E00, E11, BV000, R01, R02, Y21, E31, E35, B91, B93, R81, R83, R85, RV19, BG70, W00, W1, W3, Blender Pen), corner rounder. Finished size 4 1/4″ x 5 1/2″.
.
Better Together card (green)

Additional supplies/info:  Copic markers (E11, E13, E15, E18, E35, E37, E40, E41, G24, YG17, Y21, YR23, R02, V09), Signo white pigment pen, corner rounder, X-Press It 1/2″ foam tape.  Finished size 5 1/2″ x 4 1/4″.

Inspired by…

Hi everyone.  I’m sure you’ve seen the Creative/Inspirational blog hop threading throughout blog land.  I am so incredibly flattered to have been nominated by my friend Broni Holcombe as someone who inspires her. What an honor!  

My Photo

I’ve admired Broni’s work for such a very long time, since our days in SCSs Dirty Dozen.  Maybe even before that.  Lately I’ve been admiring Broni’s water colored projects, like this.  And this.  And especially THIS.   I will be breaking out the watercolor paper very soon.  I had the pleasure of meeting Broni a few years ago. She is so sweet, and SO funny in addition to being so very talented.

You can find Broni’s Inspiration post here. Along with this honor, Broni asked that I answer a few questions and share some other artists who inspire ME!

1.    What am I working on?  It’s been an incredibly busy time here so I’ve been working on design team projects for My Favorite Things and Paper Smooches pretty much non-stop…and at the last minute.  I usually have my work completed ahead of time as stress does nothing for my creativity.  But this month things haven’t exactly worked out that way. I’m also trying to toss in some publication submissions so  there are several things all going on at once.  (You don’t want to see my stamp table or desk.  It’s scary.)   

2.  How does my work differ from others of its genre?  I try to think outside of the box as often as possible, so maybe that is how my work is different?  (I’m not really sure how to answer that as I don’t think I’m very different at all.)

3.  Why do I create what I do?  I’ve always been a rather creative person.  To me, it is very satisfying to have a pile of supplies on my table and come up with something I’m proud to share or send to a friend.  I also love to color and try to incorporate some form of Copic ink into my projects when possible.  My new craze is the airbrush so you’ll be seeing more of that.  I’m so excited to ditch the cans!    

4.  How does your creative process work?   I often get ideas in the middle of the night.  I don’t know why.  It’s strange, but sometimes I’ll wake up and my mind just kicks into overdrive.  Or I’ll be driving one of my kids to some sort of practice or game and things just pop into my head.  There are also times when nothing seems to work (like right after vacation–Worst.  Time. EVER).  Then I’ll check out Pinterest or some favorite blogs and/or sketches to try to get the creativity flowing again. 

Whew.  That was hard.  🙂

Now for the easy part!  I get to share a couple artists who inspire ME.  🙂

Barbara Anders  –  Paper Pursuits

1-barbara


Barbara can do anything.  Clean and simple, shabby, water color, videos.  😉   Any style of paper crafting.  She’s like a paper magician!  (lol)  I literally love everything she creates.  Barbara is also a wonderful person.  I’ve met her a couple times, once I believe with Broni.   She’s kind, helpful, funny and quick-witted.  Another friend I wish I had more time to spend with/laugh with.  If you haven’t been to Barbara’s blog, you must.  She’s amazing.

Lori CraigMake a Difference

1-lori

Lori’s style is like a breath of fresh air to me.  I’m not quite sure how to describe it… A little scrappy?  A little clean and simple?  Always fresh.  Does that even make sense?  She’s an amazing colorist as well.  I’ve been lucky enough to get to know Lori over the years and I’m proud to say she is a great friend who inspires me both creatively and personally.  

Thanks so much to Broni for nominating me!  I truly am flattered.  And please check out Barbara and Lori.  You won’t be disappointed!  Have a great day!

Joy to the World

Hi everyone!  It’s time for another sample using Paper Smooches‘ latest release. Today I’ve used A Blessed Christmas with Blessed Icons dies.

Joy-to-the-World-475

 I adore this cute little angel.  She was die-cut from X-Press It Blending Card, stamped using MFT’s Black Licorice hybrid ink then colored with Copic markers. After coloring, I brushed over her wings with a clear Wink of Stella pen.  It’s so easy to apply, dries very quickly and adds just a touch of sparkle.  If you look closely, you might be able to see it.  She’s popped up on foam tape and adhered over Flag Tags and a Stitched Frame.

Joy-to-the-World-CU

 Thanks for stopping by!  Have a great day!  🙂

Additional supplies/info:  Copic markers (E00, E11, Y21, E31, E35, R81, R83, R85, BG10, BG70), enamel dots, silver cord.  Finished size 4 1/4″ x 5 1/2″.