
Welcome to MFT‘s October New Product Launch! All new products you’ve seen previewed over the last week are now available to you right HERE!
Be sure to visit each of the MFT Designers’ October Product Launch posts linked on the MFT Blog and leave a comment by the end of the day on Thursday, October 16th for your chance to win one of two $100 Gift Vouchers. (You can do some fun shopping with $100!) The winners will be chosen at random and the prizes will be sent out on October 17th.
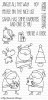
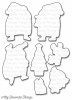
I have three cards to share tonight, all using Birdie Brown’s new Jingle All the Way.
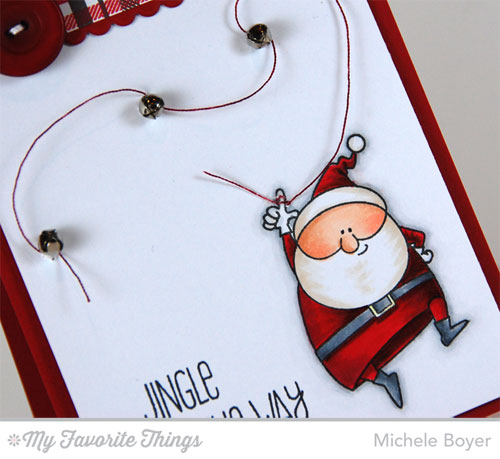
On my first card, I stamped the Santa onto X-Press It Blending Card, colored with Copics and adhered a string of bells to his finger. (He’s jammin’.) Across the top, I added a strip of Plaid Background Builder using Electric Red and Steel Grey inks, topping off with an Electric Red button. The scalloped border is from Blueprints 19.
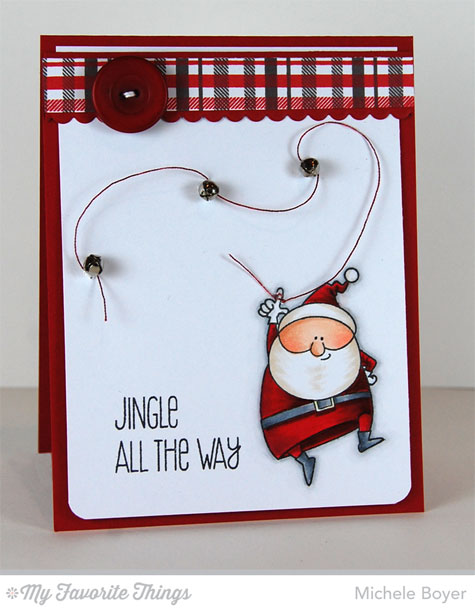
The string was dyed using a Copic maker and the bells are stitched in place with a dot of Glossy Accents for added stability.
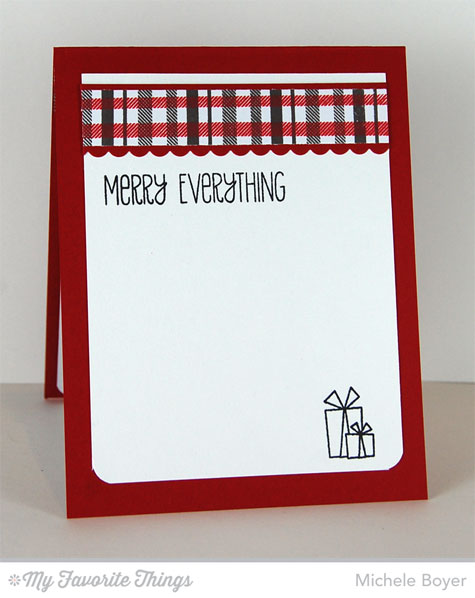
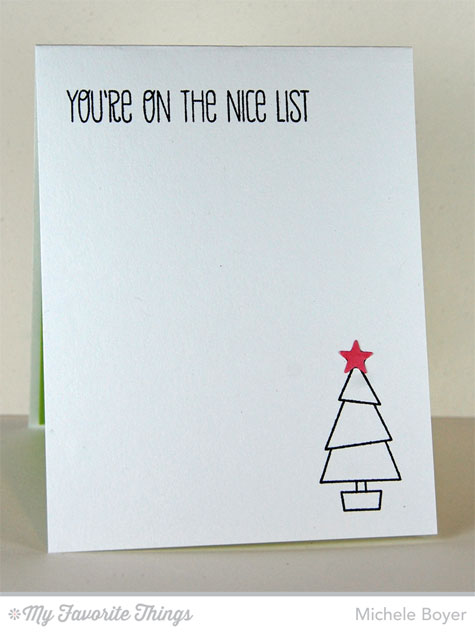
Inside, I added a bit of leftover plaid, sentiment and image.
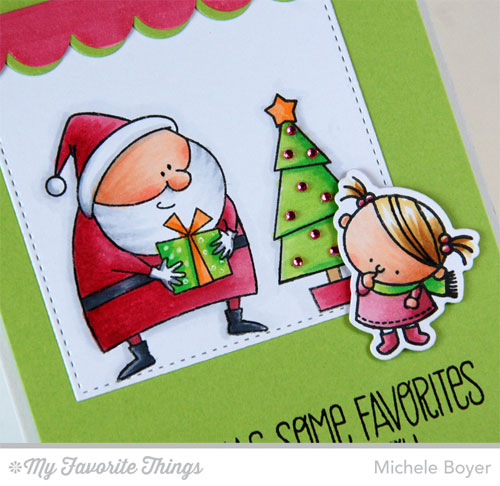
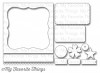
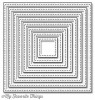
 On my next card, I used Jingle All the Way stamp set with coordinating Die-namics, Stitched Square STAX and a scalloped “awning” from Blueprints 8. The top (pink) layer was cut from X-Press It Blending Card and colored with a Copic marker to match colors used in the image.

On the tree, I adhered tiny pink gemstones.
 Inside, I added a tiny star, die-cut using Blueprints 8 and colored with a Copic marker.
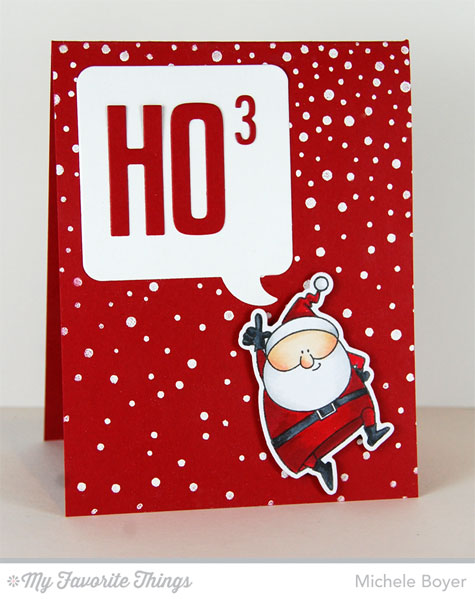
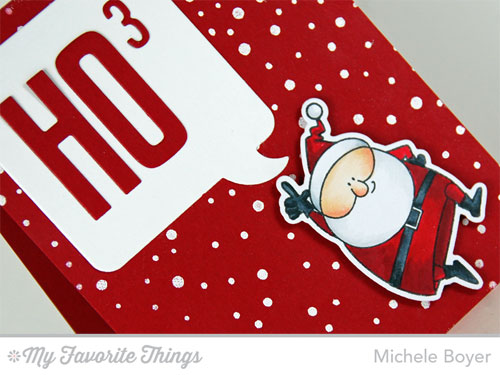
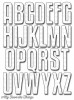
The sentiment idea on my last card was taken from the Jingle All the Way stamp set, but I wanted the letters more pronounced so I die-cut them from Electric Red card stock using High Rise Uppercase Alphabet and Negative Dot Numbers Die-namics, highlighted in a Speech Bubble Frame.
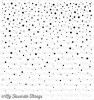
To create the snow, I used Snowfall background, stamped in Sweet Tooth ink then white embossed.
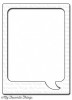
To create the smaller frame, I die-cut the shape once, then taped the die-cut bubble back into the die, adjusting the position so the top was recut to the desired height. (Clear as mud?)
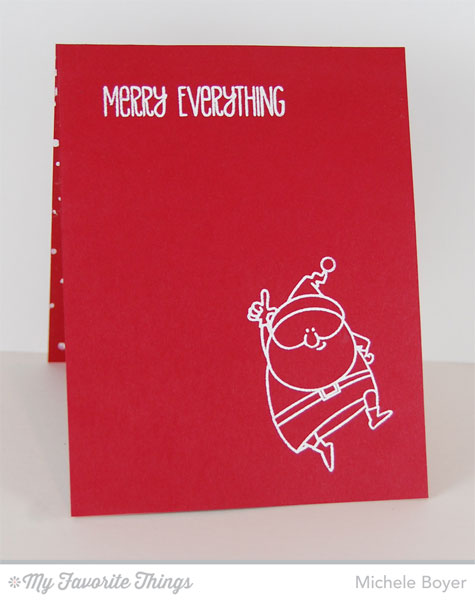
I stamped a second sentiment and image inside, again using Sweet Tooth ink and white embossing.

Don’t forget to check out the MFT Blog for direct links to samples using all of the new products! And as you look, don’t forget to comment for your chance to win one of TWO $100 Gift Vouchers!!! ![]()
Thanks SO much for stopping by!

Jingle All the Way card
 |
 |
 |
 |
 |
 |
 |
 |
|
|
|
|
|
|
 |
 |
 |
|
|
|
|
|
|
|
|
|
|
 |
 |
 |
 |
|
 |
|
|
|
|


82 responses to “MFT Oct. New Product Launch – HO³”