
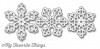
Hi everyone. Welcome to the second day of MFT‘s Release Rewind. I have two cards to share today, plus a tutorial. On both of my cards I used the gorgeous new Snowflake Fusion Cover-Up with Pierced Snowflakes Die-namics. (I’m a big fan of both!)
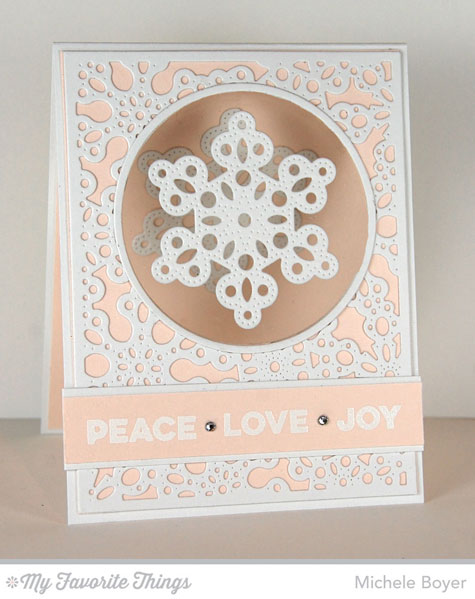
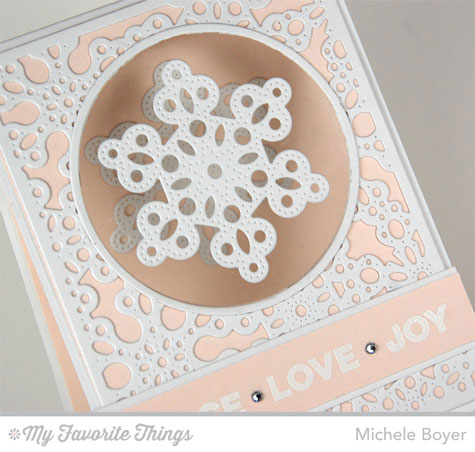
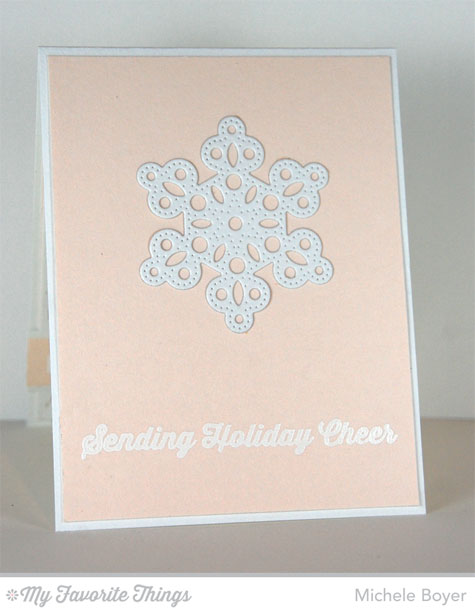
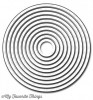
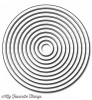
First, I used Insulation Pink and Sweet Tooth card stock to create a soft “peaceful” holiday card. I cut each of the circular openings, one layer at a time. The circle was cut from the snowflake panel first, then I marked that opening with a pencil onto the pink panel. I die-cut that circle, then used that opening to mark the location on my white card base. Once completed, all layers perfectly aligned.
My card features an acetate window tucked between the Sweet Tooth base and the Insulation Pink layers. What I really like about this card is the gorgeous snowflake attached to the front of the acetate. But how did I do that without adhesive showing on the other side? I used this same technique on THIS blue card. Here’s how to get a smooth, clean appearance on the back of the snowflake/other side of the acetate.
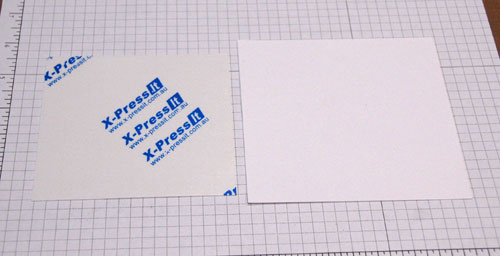
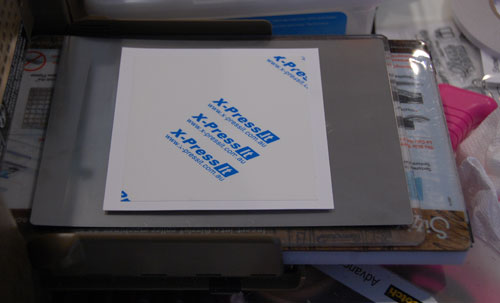
Cut a piece of X-Press It High Tack Double-Sided Adhesive Sheet slightly smaller than your card stock block. (It’s perfect for this. Super sticky. It will not loosen or peel away.) Here, I used Sweet Tooth for the snowflake.
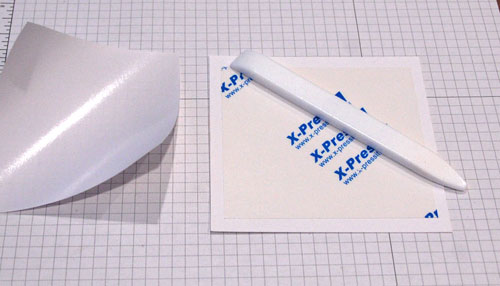
Remove backing from adhesive paper and apply to card stock, pressing firmly in all areas. I use a bone folder to apply even pressure across the surface.
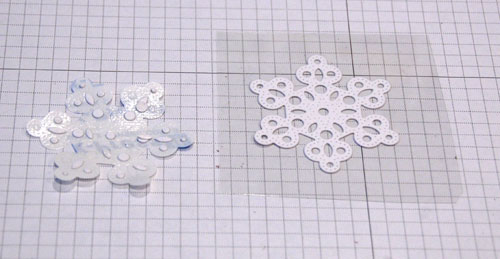
Flip paper over so the double-sided paper is on the bottom. Tape die in place.
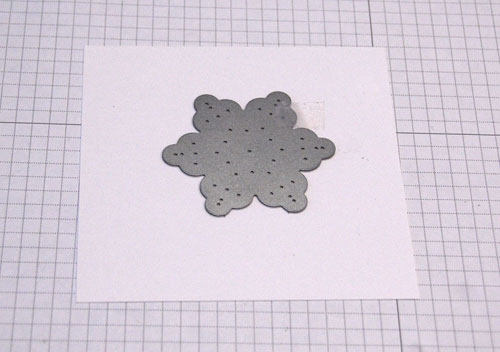
Run stack through die-cutting machine. I use THIS thin metal shim to add just a touch of additional pressure to the stack. (It also helps to emphasize the embossed lines on some dies, and tiny negative pieces come out much easier when the cut is made with the metal adapter. If you don’t have one, you need one.)
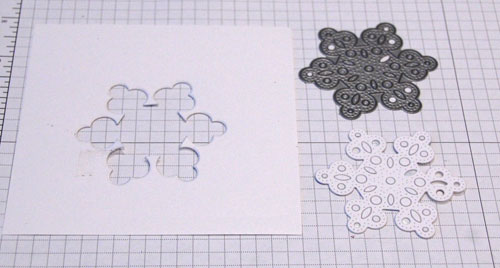
Remove die-cut snowflake from die and remove adhesive backing. Many of the negative pieces will stick to the backing. Remove any strays and adhere snowflake to center of acetate block.
Using double-sided tape, adhere acetate to back of Insulation Pink panel. See how neat and clean the back of the snowflake is? It doesn’t even look like adhesive. ♥
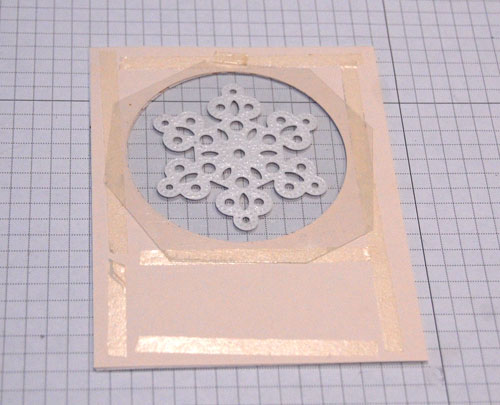
Adhere panel to card front, aligning circular openings and decorate as desired.
Inside, I aligned a second snowflake with the one on the front so when the card is flat and closed, it cannot be seen. Sentiments are stamped using Merry Messages and Sweet Tooth ink then white embossed.
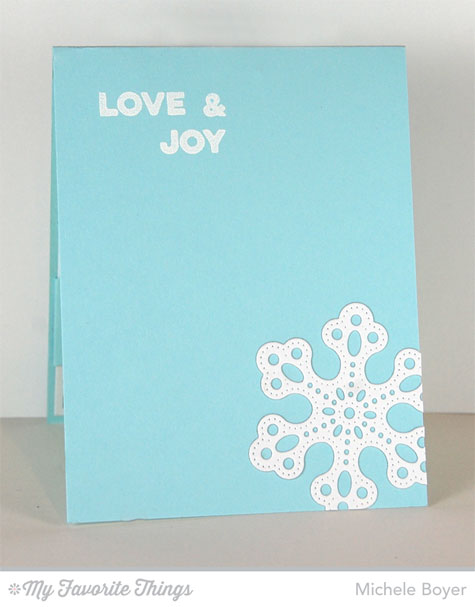
And because I love these two dies so very much, I created a second card, this time using Sno Cone card stock with Sweet Tooth, and Peace, Love, Joy Die-namics for the sentiment. (My use of Swarovski crystals was inspired by Jody’s sample here. So pretty.)
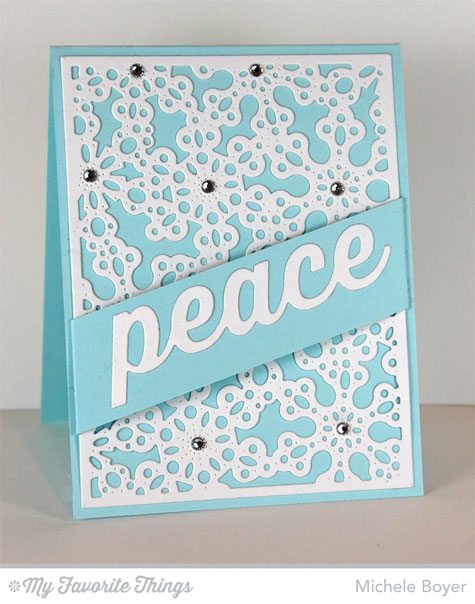
I adhered another of my favorite Pierced Snowflakes inside, along with a Merry Messages sentiment, stamped in Sweet Tooth ink and white embossed.

If you followed along with me all the way to the bottom here, THANK YOU! 🙂 I hope you’ll check out the rest of the design team’s Release Rewind samples. You can find a full list of participating DT on the MFT Blog.

Just in case you haven’t finished your shopping or finalized your decisions, you can find all of the latest releases RIGHT HERE.
Thanks for stopping by! 🙂

Peace Love Joy card
 |
 |
 |
 |
 |
 |
 |
 |
|
|
|
 |
|
|
|
|


