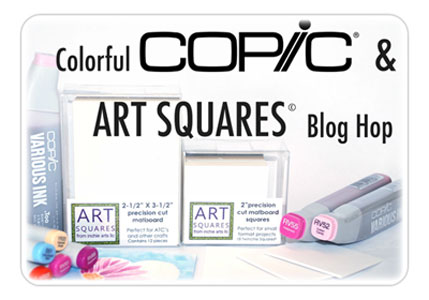
Welcome to the Colorful Copic & ART SQUARES blog hop!
You are in for a treat today as Copic pairs up with the ever popular Art Squares by Inchie Arts. There are so many things to love about this pairing!
Did you know:
- Art Squares are the perfect canvas for creating small-format art!
- They come in six sizes (1″, 1.5 “, 2″, 3″, 4” and ATC).
- Art Squares come in seven colors (black, dark gray, light gray, kraft, dark cream, light cream and white).
- They are perfect for wet or dry mediums.
- Copic markers and inks look amazingly vibrant and deliciously rich on Art Squares!
- Copic multiliners glide smoothly across the surface.
- Work on the “top” or toothy side for the best results.
- You can mix and match your mediums! No warping, bending or curling.
You can find more information about both Copic products and Inchie Art Squares by clicking on the images below.
![]()
![]()
Our teaching and design teams have been challenged to put marker (or ink) to these precision-cut matboard surfaces and see what happens!
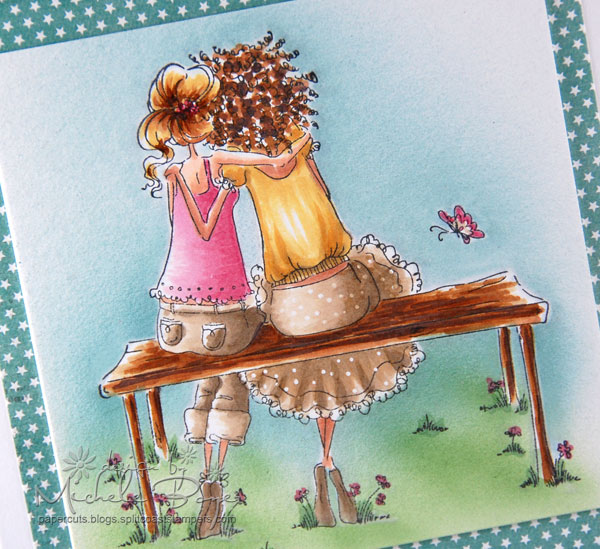
For my sample, I used Copic markers on a 4″ Art Square to color Stamping Bella’s Uptown Girls Belinda & Bernadette the Bench Buddies. ♥
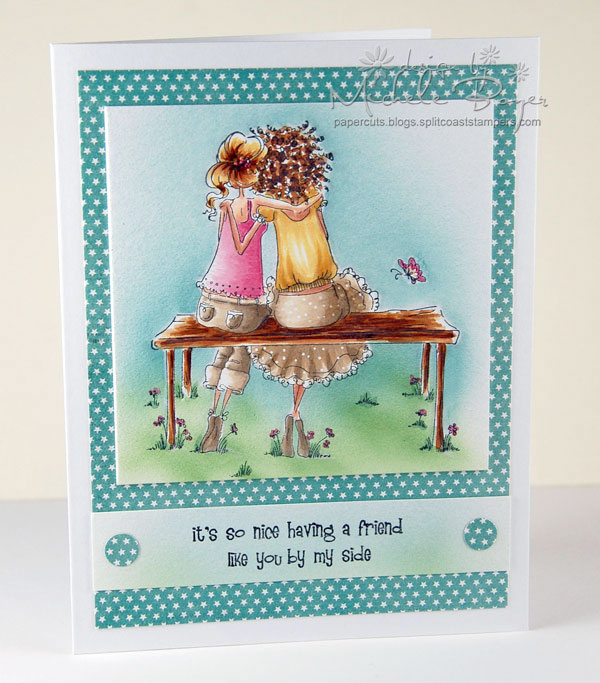
I used My Favorite Things’ Black Licorice hybrid ink to stamp the image, just as I would on card stock and used the following Copics: E00, E11, E31, E33, E35, E41, E42, E43, E44, E59, E79, R81, R83, R85, R89, Y21 and YR23.
After coloring, I adhered a mask then airbrushed around the image using BG70, BG72, G21 and G24.
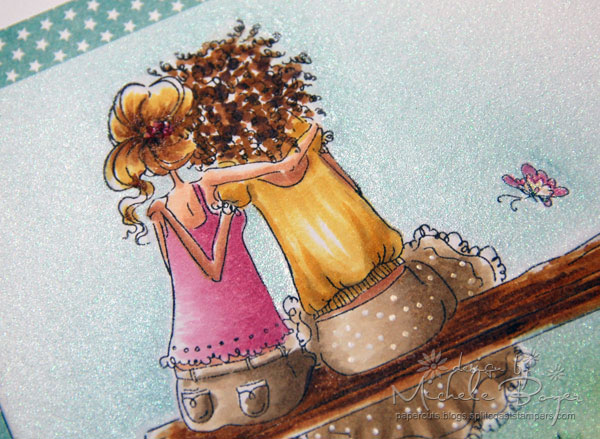
While the mask was in place, I also somewhat heavily sprayed MFT’s Sheer Mix-ables Mist over the background. So shimmery!
Hop along with these talented designers as they show you some more interesting and exciting ways to pair up two great products!
- Elizabeth Allan/Jill Foster
- Michele Boyer
- Lori Craig
- Sharon Harnist
- Michelle Houghton
- Dina Kowal
- Cindy Lawrence
- Lisa Lee
- Debbie Olson
- Colleen Schaan
- Sherrie Siemens
- Marianne Walker
Thanks so much for visiting! 🙂