
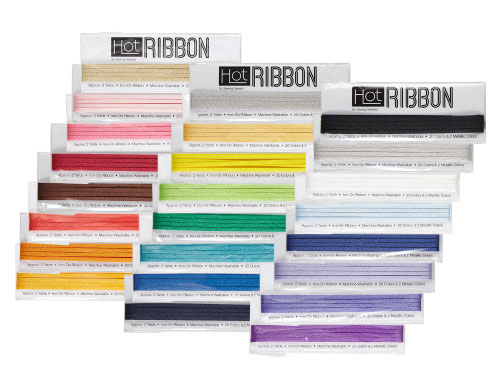
Today I am deviating from my standard paper crafting posts to share a bit about Hot Ribbon, a fun new product now available from Copic. Here’s a bit of info from the website:
Add a unique design or color accent to any article of clothing, fabric, or fiber art with Hot Ribbon! Hot Ribbon is a laser cut strip of polyester that irons on to any porous surface without sewing or the mess of glue. It comes in 22 colors, plus gold and silver metallic; you can even color the white Hot Ribbon with your Copic markers and expand your palette even further!
 Features
- Each package contains two yards of Hot Ribbon (183 cm)
- Product comes in four 18” x ⅛” strips (46 cm x 3 mm)
- Hot Ribbon can be cut into thinner strips without fraying
- Irons on with no sewing or gluing required
- Works on any porous surface
Hot Ribbon is so easy to adhere with a Clover Mini Iron (which I talked about yesterday, here).
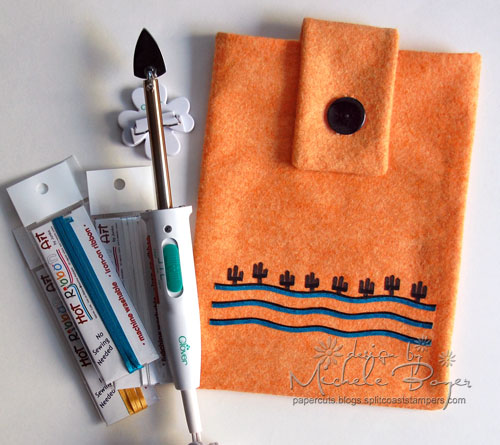
I’ve used this sewing design in the past to create a mini iPad sleeve. This one, a little bigger, will hold a super-secret iPad Air. Shhhh….
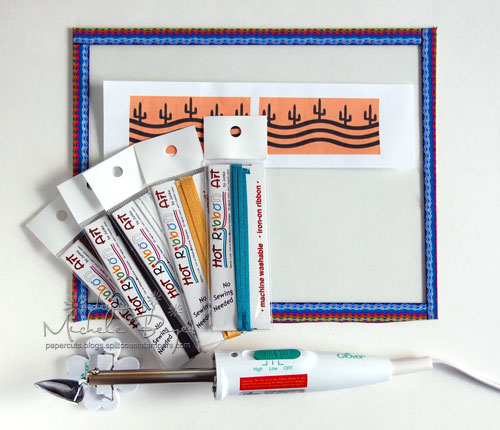
There are two methods for adhering Hot Ribbon – Direct and Tempered Glass Transfer. For my pattern, which was printed from a computer, I felt Tempered Glass was the way to go. (I adhered washi tape around the edges of my glass to eliminate any risk of cutting myself.)

I first placed my pattern beneath the glass. I cut small pieces of black Hot Ribbon to fit the cacti and laid them on the glass over the pattern. I found it helpful to use the pointy end of my scissors for precise placement. The pieces were then “tacked” together and to the glass with a Clover Mini Iron set to low heat. Once the cacti were in place, I adhered the black ribbon, little by little, tacking to the glass following the pattern. I then followed with the blue-green ribbon.
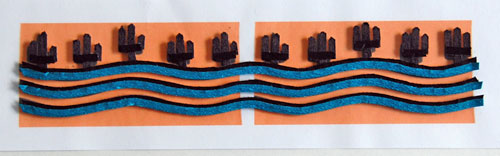
Once complete, I used a kraft knife to gently lift the assembled design from the glass.
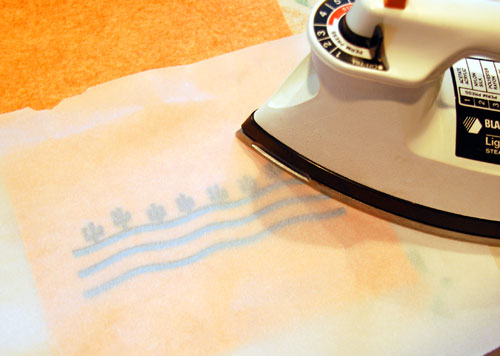
I trimmed the ends, positioned each strip on the felt and covered with a non-stick pressing sheet. (I used Parchment Paper.) To permanently bond the ribbon, I set my iron to medium-high heat then pressed across each area of the design for about 30 seconds.
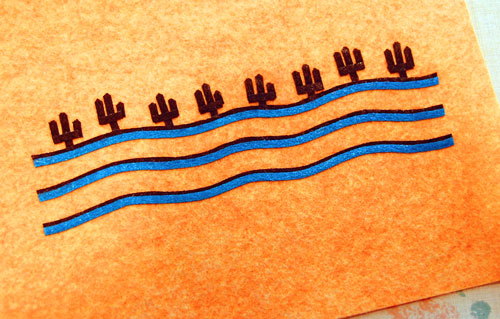
Isn’t the blue-green pretty? So shimmery!
You can find more tips and information on Hot Ribbon HERE. It’s really cool, super easy and lots of fun! 🙂


2 responses to “Fun with Hot Ribbon”