
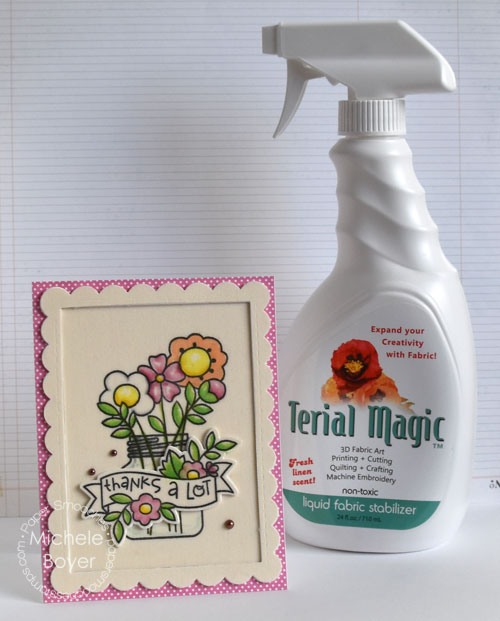
Hi everyone! Today I’m sharing a bit about Terial Magic, now available from the Imagination International store. Terial Magic is a fabric stabilizer that turns fabric into a fray free, paper-like material. Yep, it’s pretty cool. Of course it’s awesome for anyone who sews, i.e. quilting, needlepoint, etc., but it’s also great for paper crafters. Once fabric is treated, you can stamp on it, die-cut it, even print digital images, clipart or templates using your personal printer! It’s amazing for creating fabric flowers, bows and so much more. If you are a quilter or seamstress as well as a paper crafter, you can very easily create cards, gift bags, embellishments or scrapbook elements to coordinate with fabric used on larger gifts or projects.
As shown in the steps below, material is saturated with Terial Magic, dried until damp and then ironed to set.
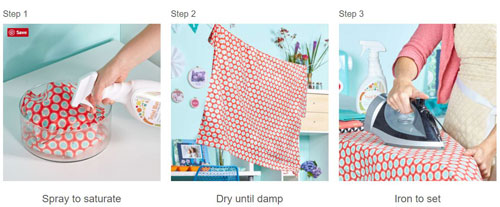
Terial Magic can be left in the material or washed out if the stabilizing quality is no longer needed once the project is complete. You can read more about it as well as find answers to frequently asked questions HERE.
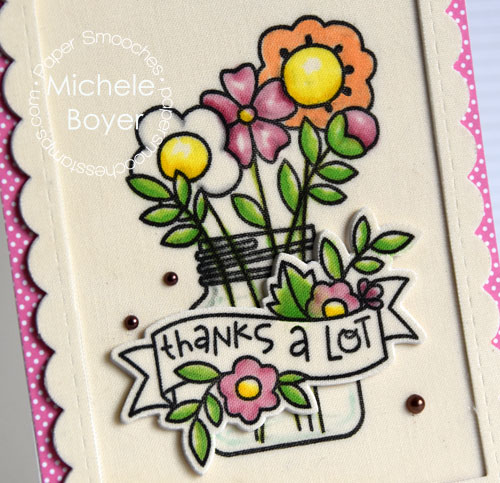
Copic markers – BG10, C1, R81, R83, R85, Y06, Y08, YG03, YG07, YR01
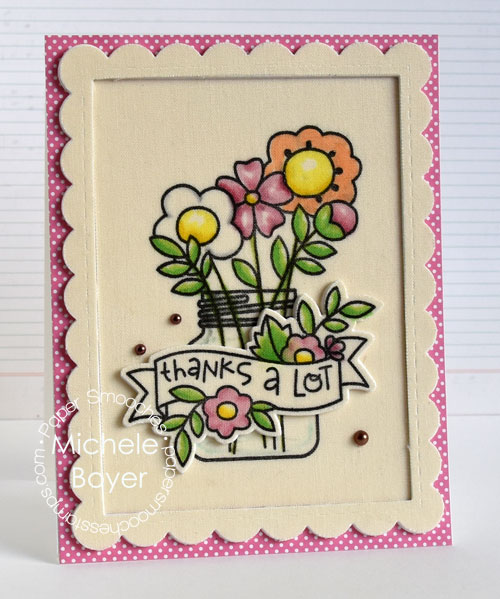
On my card using Best Buds stamps and dies by Paper Smooches as well as Frame in Frame 2 Cutting Plate by Taylored Expressions, I used some leftover previously treated fabric to create the main focus. The material adds texture and an interesting quality. (I will share previously created Terial Magic projects soon.)
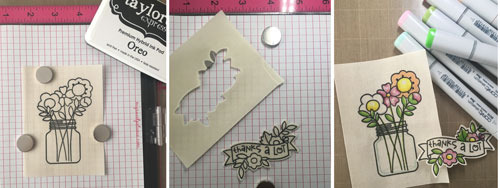
Once the frame was cut, I used my MISTI and TE Oreo hybrid ink to stamp my images. It is helpful to set the ink with an iron to minimize bleeding, however, I did not heat set my images. I just used caution in coloring (with Copic markers) and had minimal bleeding. The type of fabric will also have an effect on bleeding so I recommend testing on a scrap of fabric before working on your final piece.
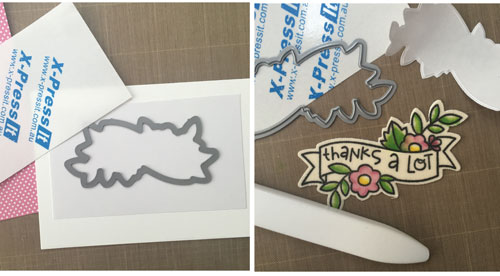
To adhere the die-cut image and panel to card stock, I used X-Press It Double-sided Adhesive Sheets. This works on some treated fabrics and not others. Again, it depends on the type of fabric. I adhered a piece of card stock to one side of the adhesive sheet, die-cut the shape, removed the release paper from the adhesive and carefully aligned my colored fabric. Pressing over firmly with a bone folder helps to adhere. To add dimension, I adhered three to four layers of die-cut card stock behind the sentiment piece and frame.
Feel free to link your project using Terial Magic here on this post. I am in the very beginning stages of Terial Magic possibilities and would love to see what you create!
Thanks so much for visiting!


3 responses to “Terial Magic in Paper Crafting”