
Hello everyone! Today I have two cards to share where I’ve played a bit with Queen & Company‘s new glitter washi tape. There are 40 from which to choose! (That’s a lot! And all so pretty!)
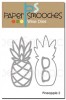
First I created a super sparkly crown for my pineapple.
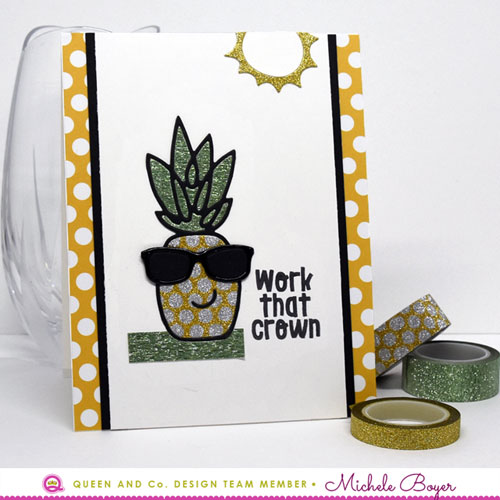
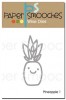
Before die-cutting Pineapple 1 and the Weather sun (both by Paper Smooches), I simply laid strips of the tape onto a block of copy paper, carefully aligning the edges so no white space showed in between. I’m happy to say even the circles were easy to align. 🙂
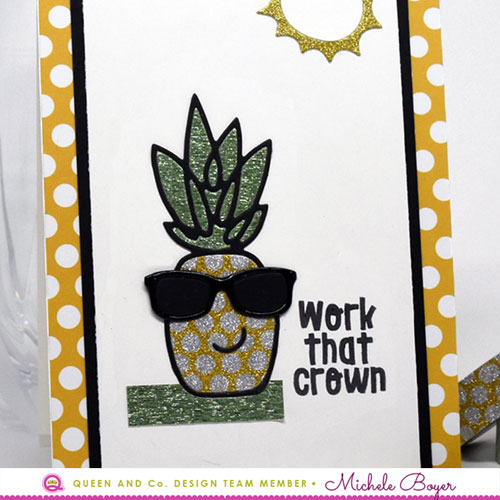
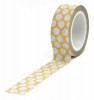
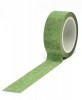
The pineapple top was filled with Green Lines glitter washi and the body with Gold Dot. Once I had the blocks of tape applied to the paper, I die-cut the images as usual.

Next I used glitter washi tape to make pretty, sparkly silver stars and a heart.
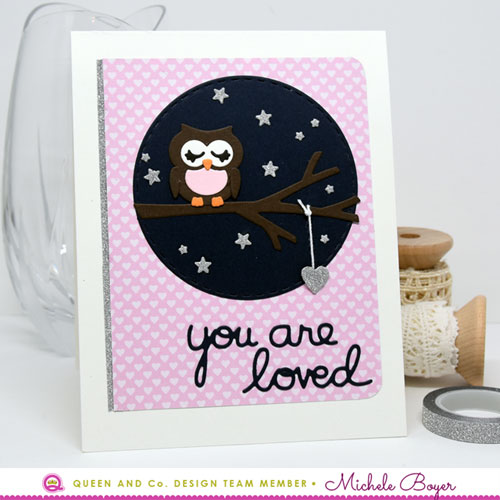
I used the same technique as above but this time I only needed one strip of tape for the stars. (Two for the heart.)
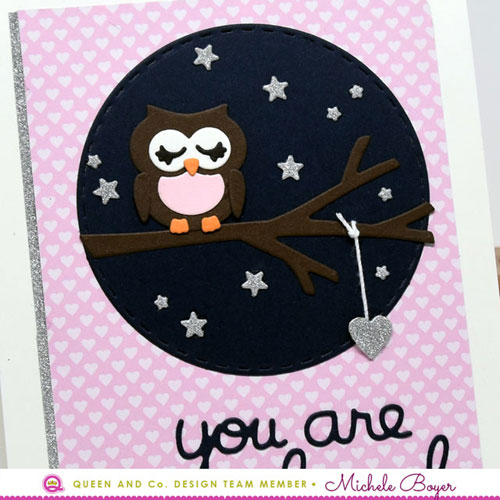
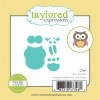
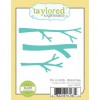
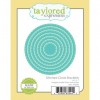
Once the stars were die-cut, I adhered them around a cute owl and branch (both by Taylored Expressions). I tied a bit of white string to the lower branch then adhered the other end behind the heart which was then adhered with a clear foam square.


Thanks so much for visiting today!


One response to “Fun With Glitter Washi Tape”