Monthly Archives: April 2017

What’s Up Buttercup?

Hi everyone! I so very much enjoyed coloring Power Poppy‘s Countryside Bouquet digital stamp (here), I decided to try another. (I want to color more flowers.) This time I used Cuppa Buttercup.

Power Poppy Cuppa Buttercups digital stamp

I also returned to Copic’s Coloring Foundations – Coloring Flowers with Copic Markers for coloring inspiration.

Coloring Foundations – Coloring Flowers with Copic Markers

I used the buttery yellow marker combination shown below as well as the suggested (YG) greens for the leaves.

Inside page of Coloring Foundations – Coloring Flowers with Copic Markers

One thing I learned from the book today is that shadow can be added to leaves using a V05 marker. Layering V05 over the green creates a deeper green shadow, not violet at all. I thought that was interesting. I never would have thought to try that on my own.

Power Poppy Cuppa Buttercups digital image (close-up)

Copic markers – BG10, BG70, V05, W00, W1, W2, W3, Y02, Y08, YG17, YG41, YG45, YR14

To create the bluish/gray cup, I lightly colored with BG70 and BG10 then warmed the color by layering W00 and W1 over top.

You can find all sorts of inspiration, education, downloadable color charts, free line art and more on the Copic website. Explore! 🙂

Thanks  for stopping by!

1amichele siggy 

Stand Tall (paper smooches)

Hi everyone! Today I’m popping in to share a card I created using Paper Smooches‘ recently released pineapple-themed stamps and dies. 🙂

Paper Smooches Pineapple Crush 2, Harlequin die

I wanted to use the Stand Tall sentiment from Pineapple Crush 2 and, to go along with it I wanted to create a taller pineapple. So…I first laid out and adhered the little diamonds from a Harlequin background die onto a scrap piece of copy paper. I then cut only the bottom portion using the Pineapple 1 die. I slid the die up, aligning the sides as best as I could and then cut the top portion, using scissors to clip the part (sides) in between. (To die-cut one end at a time, I placed the die and paper on my cutting pad with the portion I did NOT want cut hanging off the top edge of the cutting pad then repeated the process with the other end. Clear as mud?)

Paper Smooches Pineapple Crush 2, Harlequin die (close-up)

Copic markers – YG95, YG97, YG99

I die-cut the top portion twice then stacked those as well. The inside pieces of the top were colored a bit with Copic markers to help add some dimension.

Thanks so much for stopping by today!

1amichele siggy

Fun With Glitter Washi Tape

Hello everyone! Today I have two cards to share where I’ve played a bit with Queen & Company‘s new glitter washi tape.  There are 40 from which to choose! (That’s a lot! And all so pretty!)

First I created a super sparkly crown for my pineapple.

Using glitter washi tape on die-cut images

Before die-cutting Pineapple 1 and the Weather sun (both by Paper Smooches), I simply laid strips of the tape onto a block of copy paper, carefully aligning the edges so no white space showed in between. I’m happy to say even the circles were easy to align. 🙂

Using glitter washi tape on die-cut images (close-up)

The pineapple top was filled with Green Lines glitter washi and the body with Gold Dot. Once I had the blocks of tape applied to the paper, I die-cut the images as usual.

Next I used glitter washi tape to make pretty, sparkly silver stars and a heart.

Glitter washi tape stars

I used the same technique as above but this time I only needed one strip of tape for the stars. (Two for the heart.)

Glitter washi tape stars (close-up)

Once the stars were die-cut, I adhered them around a cute owl and branch (both by Taylored Expressions). I tied a bit of white string to the lower branch then adhered the other end behind the heart which was then adhered with a clear foam square.

Thanks so much for visiting today!

1amichele siggy

The Time to Relax (stamping bella)

Hi everyone! It’s time for another challenge with Stamping Bella! (The weeks just go by faster and faster!) Last week’s challenge was to create anything at all. Since it’s the first Friday of the month, the Stamping Bella team is using April’s Stamp of the Month, Uptown Girl Reilly Needs to Relax.  She’s 20% off through April 3oth.

Stamping Bella Uptown Girl Reilly Needs to Relax

I kept my card very simple, just coloring with Copic markers. I trimmed a small amount from the left and right edges to make room for a tiny bit of patterned paper.

Stamping Bella Uptown Girl Reilly Needs to Relax (close-up)

Copic markers – BG70, E00, E00, E01, E11, E30, E31, E33, E35, E51, E57, E59, G94, G99, R56, R89

Next week’s challenge is to create using this {Mojo}Bella sketch as inspiration:

April 14 {Mojo}Bella sketch challenge

Use any current Stamping Bella image then email your card to [email protected] by next Thursday to be featured on the SB blog and to be entered to win some Bella Bucks! (All challenge details can be found HERE.)

1amichele siggy

Taylored Expressions New Release-Wonderful World and Mama & Me

Hi everyone! I hope you’ve enjoyed the Taylored Expressions‘ April release previews over the last several days. All new stamps and dies are now available in the TE store. Before you head over, I have two more samples to share.

First, I used a sentiment from Wonderful World with Whole Wide World die set.

Taylored Expressions Wonderful World

I created a background by blending Mermaid Lagoon and Cracked Pistachio Distress ink onto Sugar Cube card stock. I spritzed some water atop then added a bit of subtle glitter with a clear Wink of Stella brush. I then added a few of the tiniest stars from Little Bits Celebration Confetti.

Taylored Expressions Wonderful World (close-up)

I blended the same inks onto another block of white card stock then die-cut the globe pieces, adding an extra layer to the land.

On my second card I used Mama & Me with new coordinating dies along with On the Line Cutting Plate.

Taylored Expressions Mama & Me

A blue/cloudy sky was created by blending Salt Water Taffy ink over a Cloud Border “stencil” and the banner flags were colored with Copic markers.

Taylored Expressions Mama & Me (close-up)

Copic markers – B01, C1, C2, C3, C4, R000, R00, YV32, Y11, YG03

The sweet elephants were adhered over two layers of Wispy Grass before I tied the Sweet Little One flag to the baby’s tail. 

To see more projects, please head over to the TE Blog for a complete list of our designers. Also on the TE Blog today, you’ll find a list of winners from the preview posts. Maybe you are one of them!

Thanks so much for visiting!  🙂

1amichele siggy

Taylored Expressions Previews – Wise Owl Grad Cards

Hi everyone! Today I have two grad sets to share, created using new stamps and dies from Taylored Expressions‘ upcoming April 6 release. (Tomorrow!)

First I used new Matchy Matchy Grad stamp and die combo. The coordinating Matchbox was embellished with a sentiment from the same set as well as some stars from Little Bits Celebration Confetti.

Taylored Expressions Matchy Matchy Grad and Matchbox

To create the round card, I folded a piece of Chocolate Truffle card stock then taped the Stitched Circle Stacklet die in place with one edge of the die just over the folded edge. I ran that through my Big Shot then die-cut a second (single layer) of Chocolate Truffle to adhere on the front to cover the fold.

Taylored Expressions Matchy Matchy Grad close-up

Copic markers – BG11, E31, E37, W1, W5, W7, Y17, YR18

To allow the card to stand without rolling around, I cut a small sliver from the bottom of the back circle.

Taylored Expressions Matchy Matchy Grad and Matchbox

Inside the card, I stamped a sentiment from Matchy Matchy Grad in Chocolate Truffle ink. 

Next, I used new Little Bits Owl with Simply Said Grad, Block Party Grad and new Matchbox Accessories-Suitcase.

Taylored Expressions Little Bits Owl, Simply Said Grad & Matchbox Accessories-Suitcase

Using Block Party Grad, I created a “perch” of sorts for the new Little Bits Owl. He’s tossing a Little Bits Hats Off grad cap into the Build a Scene clouds along with some Little Bits Grad Confetti.

Taylored Expressions Little Bits Owl, Simply Said Grad & Matchbox Accessories-Suitcase (close-up)

The Matchbox Suitcase Accessories are so cute for turning the Matchbox into a suitcase! On the outside of the suitcase, I stamped and embossed clouds from Matchy Backgrounds.

Taylored Expressions is celebrating Release Week with some fabulous giveaways! Visit the TE Blog to answer Taylor’s Question of the Day for a chance to win a prize from the latest release!

question of the day

I hope you’ll stop back tomorrow when I’ll have two final samples using TE’s new stamps and dies. Thanks for visiting!

1amichele siggy

Taylored Expressions Previews – Super Mom and Paintbrushes

Hi everyone! I’m back today to share two more samples from Taylored Expressions‘ upcoming April 6 release. 🙂

First, I’ve used new Super Mom stamp and die combo along with Block Party-Mom die.

Taylored Expressions Super Mom

The cloud and brick papers are from TE’s Build a Scene 6″x 6″ paper pack. I adhered a strip of Oreo card stock atop the brick to create a roof or chimney for Super Mom to stand upon. (She flew there, you know.) 🙂

Taylored Expressions Super Mom (close-up)

Copic markers – B28, B99, C00, C1, C5, C6, C7, 110, R29, R89, Y17, Y18, Y19

The “SUPER” letters were die-cut using Mini Caps Alphas & #s. They’re the perfect size to use with the Block Party-Mom die. Beside the SUPER sentiment, I adhered a single Lemon Meringue Enamel heart shape.

Next, I used new Little Bits Paint Brushes with a sentiment from A Life She Loved.

Taylored Expressions Little Bits Paint Brushes

After die-cutting the paint brush pieces from Toffee and Sugar Cube card stock, I assembled the brushes and used a silver Sharpie to color in the brush band.

Taylored Expression Little Bits Paint Brushes (close-up)

Copic markers – B24, B26, G07, G17, R29, R39, V05, V07, Y08, Y18

I used Copic markers and Glossy Accents to add color and shine, and I added strips of striped Rainbow Brights paper beneath the top and bottom borders.

Taylored Expressions is celebrating Release Week with some fabulous giveaways! Visit the TE Blog to answer Taylor’s Question of the Day for a chance to win a prize from the latest release!

question of the day

I’ll be back tomorrow with more previews! Thanks for visiting!

1amichele siggy

Taylored Expressions Previews – Bloomers and Bandages

Hi everyone! Welcome to the first day of previews of Taylored Expressions April 6 release! Today I’m featuring new flower dies, a pitcher vase and new bandage dies. So much fun!

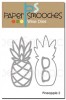
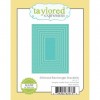
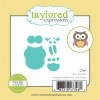
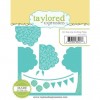
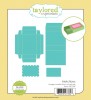
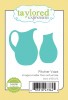
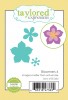
My first card uses Bloomers 6 dies along with  Pitcher Vase (designed to be used as a shaker element or on its own).

Taylored Expressions Bloomers and Pitcher

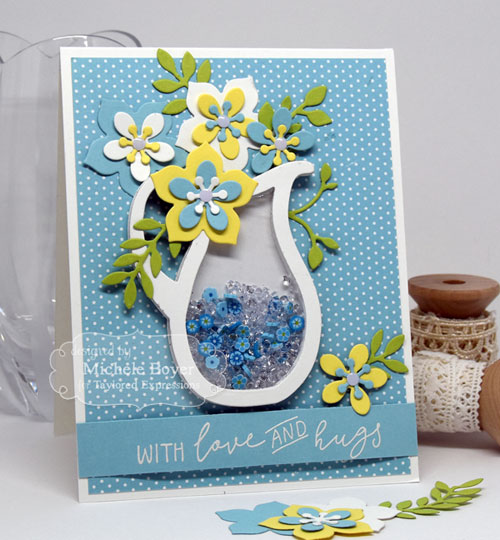
Rather than cut foam tape to fit around the perimeter, I die-cut 11 or so layers of Sugar Cube card stock, adhering the layers together to form the shaker frame. (Sometimes that is so much easier than dealing with foam tape.)

Taylored Expressions Bloomers and Pitcher (close-up)

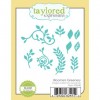
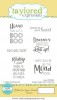
I die-cut the flowers from Sprinkles, Potato Chip and Sugar Cube card stock with some Bloomers Greenery cut from Granny Smith card stock. The sentiment, from new In & Out-Get Well, was stamped in Sugar Cube pigment ink then heat embossed.

bloomers6

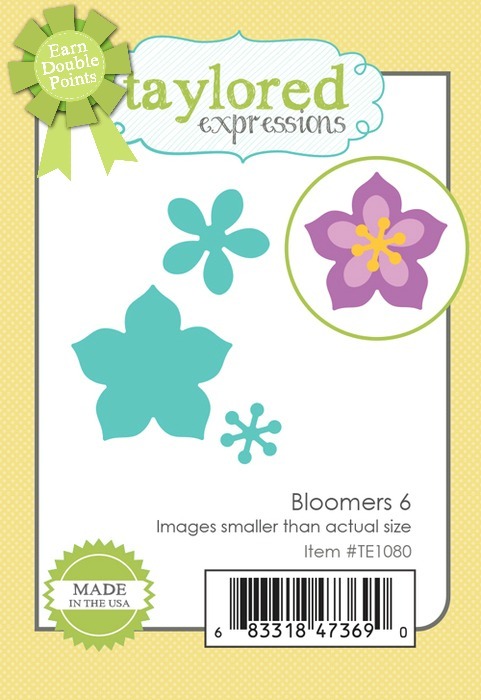
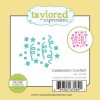
For a limited time, earn DOUBLE CRAFTY POINTS on our Bloomers 4, 5, 6, 7 and Mini Bloomers 2 Dies! If you’re not a Crafty Points member, it’s free and easy to join. Just create an account at the TE webstore and you’re automatically enrolled to begin earning crafty points with every purchase. You’ll earn 20 Crafty Points on the purchase of one or more of our Bloomers 4, 5, 6 and 7 die sets and 22 Crafty Points on the purchase of Mini Bloomers 2! Offer valid on qualifying purchases made between 9am CST on Thursday, April 6, 2017 and 11:59 pm CST on Sunday, April 9, 2017 and only while supplies last. Crafty Points are only available on purchases made via our retail site: www.tayloredexpressions.com.

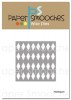
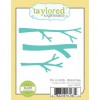
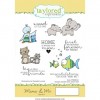
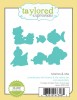
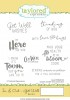
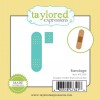
My next card uses super cute Little Bits Bandages with a sentiment from Listen to Your Heart stamp set.

Taylored Expressions Little Bits Bandage

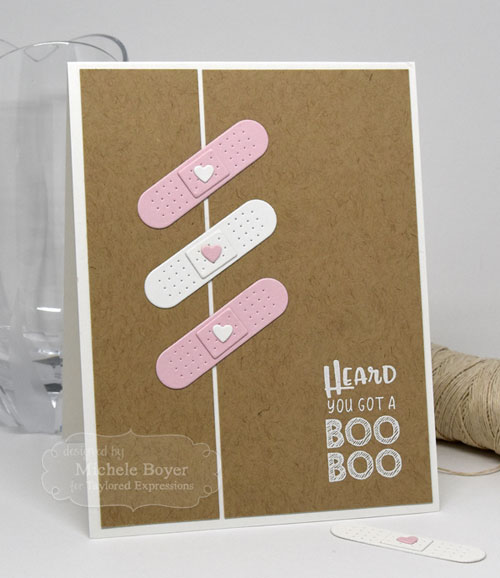
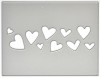
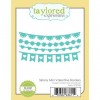
I die-cut the bandages from Cupcake and Sugar Cube cardstock, then placed a small heart from Skinny Mini Valentine Borders in the center of each bandage pad. These bandages are so cute!

Taylored Expressions Little Bits Bandage (close-up)

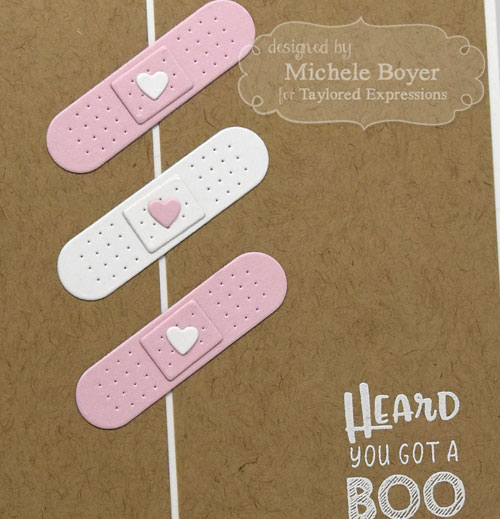
The sentiment, from Listen to Your Heart, was stamped in Sugar Cube pigment ink then white embossed.

Taylored Expressions is celebrating Release Week with some fabulous giveaways! Visit the TE Blog to answer Taylor’s Question of the Day for a chance to win a prize from the latest release!

question of the day

I’ll be back tomorrow with more previews! Hope to see you then!

Thanks for visiting!

1amichele siggy


Coloring Flowers with Copic Markers

Hi everyone! Today I’m sharing a card I created using Power Poppy‘s lovely Countryside Bouquet digital stamp set. It’s one of my favorites of Power Poppy’s digital images. So pretty. From the set I used only the image, choosing a different sentiment from Cuppa Buttercups Digital stamp set.

Power Poppy Countryside Bouquet

I don’t really have “go-to” colors for floral images as I seem to mostly gravitate toward coloring people. I need to work on that though as I truly enjoy coloring nature/flowers.

Coloring Flowers with Copic Markers

To the rescue comes Copic’s Coloring Foundations – Coloring Flowers with Copic Markers. Inside is the best collection of suggested marker colors for flowers and leaves.

Not only does the book include many marker combinations, there are also step by step tutorials for bringing to life simple as well as complex images.

Wishing-You-a-Lovely-Day-with-Book-Open

On page 15 I found a bright yellow/orange color combination I wanted to use. I did something a little differnt in the centers as the flowers are not quite the same. I love the result. ♥

Power Poppy Countryside Bouquet

Copic markers – BG10, BG70, E57, E59, G12, G14, G28, R20, R21, R22, R24, W00, W1, Y08, YR02, YR04, YR09

Within the website you can find much more inspiration and instruction on coloring with Copic markers. Another great resource is Copic in the Craft Room on social media. It’s packed with inspiration, ideas and artwork using various Copic products.

Thanks so much for visiting today!

1amichele siggy