
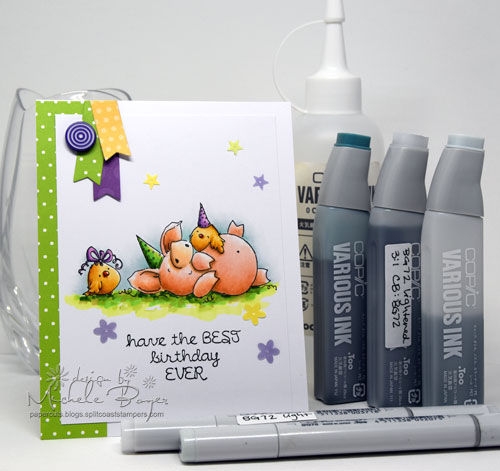
Welcome to another Bellarific Friday with Stamping Bella! This week the team is featuring July’s Stamp of the Month, Petunia has a Party which is 20% off through July 31. I’m also sharing how to create your own custom color Copic marker using Various Ink and Colorless Blender.
Sometimes I like to add a bit of blue or blue-gray around my images. BG70 is a very light blue-gray (or technically “blue-green“). It’s very nice for adding soft shading or bits of sky.
Copic markers – BG70, custom BG72, E31, E50, E51, E53, G28, R00, R01, R02, V12, V15, V17, Y23, YG01, YG03, YG06, YG17, YR18, YR21, YR23
I wanted a slightly darker blue-gray for the areas right up against my image. BG72 is far too dark so I created my own custom blend of a lighter BG72, perfect for blending with BG70.
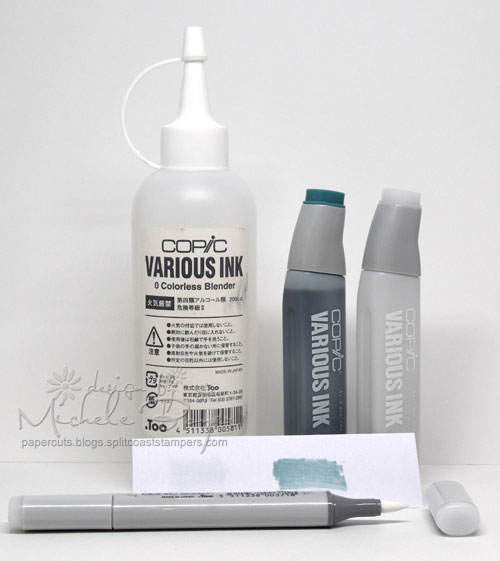
You can see on the swatch above just how much darker BG72 is than BG70. To create a nice “in between” color, I used Colorless Blender, an empty Colorless Blender Various Ink container and an empty Copic Sketch marker. Note that there is no number on the cap. (Empty Various Ink bottles are also available if an empty Colorless Blender refill bottle is not available.)
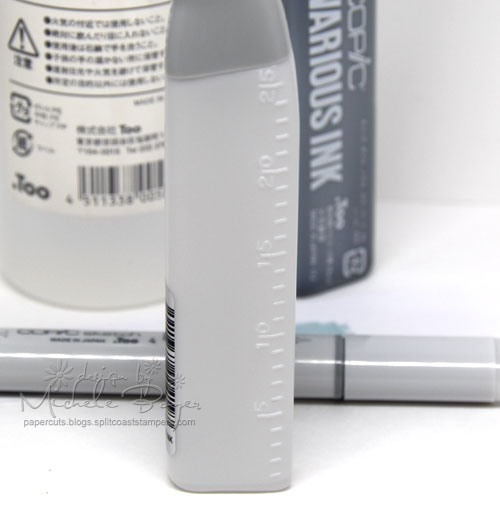
After removing the dropper from the refill bottle, I used the numbered measurements on the side of the container to add a ratio of 3:1 with three parts Colorless Blender, one part BG72. Once mixed, I used a cotton swab to test my blend on paper. When experimenting on your own, the ratio may change depending on how light or dark you want your custom color to be. By filling only a portion of the bottle, room remains for any adjustments. Once you know the exact ratio needed to create your custom color, the whole bottle can be filled.

Once I was happy with my custom color (indicated above as BG72L, L is for “light”), I replaced the dropper in the refill bottle then filled my empty marker and labelled it appropriately on the barrel as well as the cap. I also labelled the refill with the color as well as the formula so I can easily recreate it later.
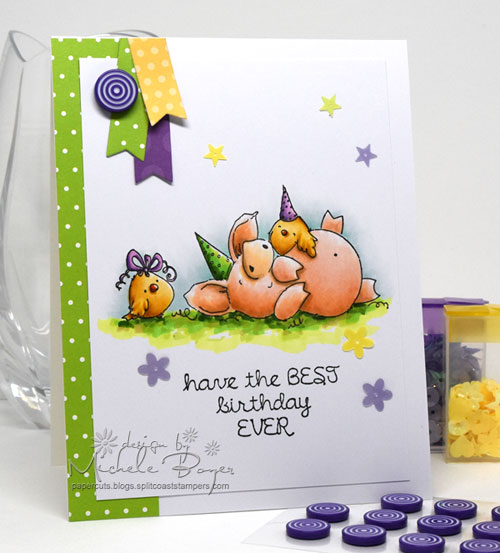
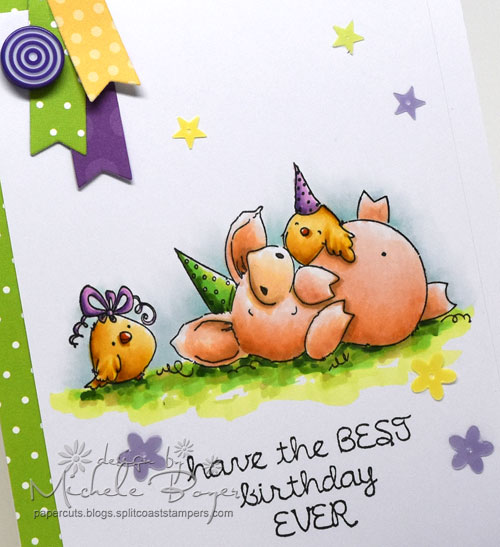
Once my card was assembled, I added a purple Lollies and sequins from Queen & Company. (Patterned papers are also from Queen & Company – Delightful Dots and Flirty Florals.)
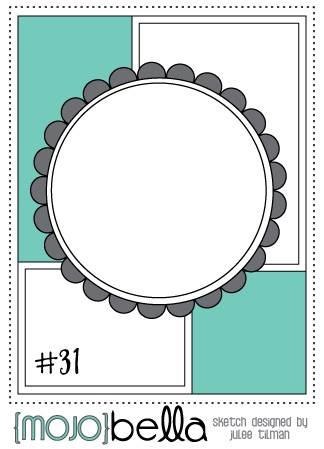
Next week’s challenge includes this sketch:
Use any current Stamping Bella image then email your card to [email protected] by next Thursday to be featured on the SB blog and to be entered to win some Bella Bucks! (All challenge details can be found HERE.)
Thanks so much for stopping by! 🙂


2 responses to “Creating Custom Copic Color for Petunia (stamping bella)”