Hi everyone! Today I’m sharing how to create a watercolor look using Copic Various Ink. It’s a fun technique that mimics watercolor although there is no water involved.
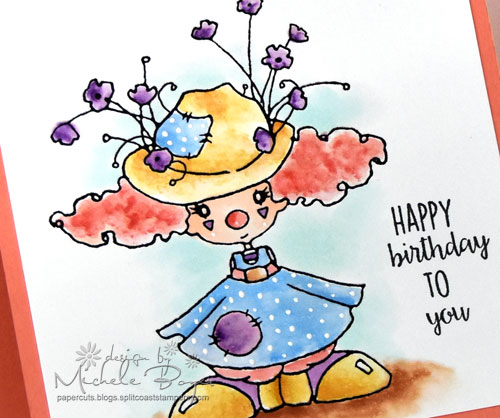
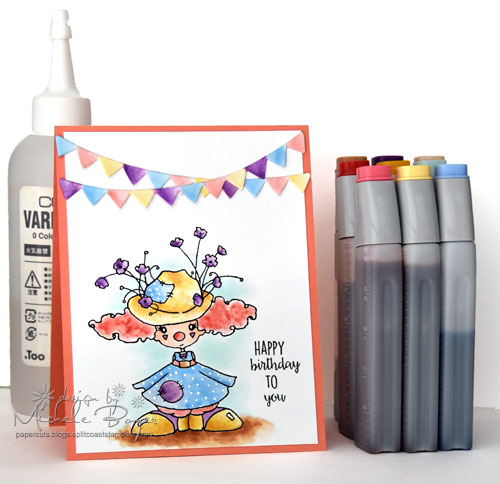
I used several ink refills (B32, BG10, E00, E33, R24, R32, V09, Y21, YR23) and Colorless Blending Solution to paint Miss Polly Clown digital image by A Day for Daisies. I think the style of A Day for Daisies’ images is perfect for watercolor.
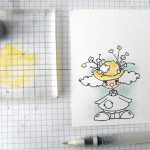
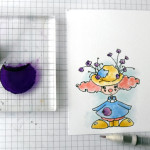
I simply applied a drop or two of ink onto one end of a large acrylic block then used a waterbrush filled with Colorless Blender to pick up the ink and apply to watercolor paper. I would have used a paint pallette but a certain (not so) little artist in my family is currently using it. At times throughout my coloring, I was not satisfied with the flow of Colorless Blender from my water brush so I dropped several drops of Colorless Blender onto the other end of my acrylic block and used the brush to pick up both (Colorless Blender first then the ink). In between colors, I cleaned the brush and acrylic block with additional Colorless Blender.
If you have no Various Ink on hand, the technique can be achieved with markers and Colorless Blender. Note that the color concentration will be less than that of the Various Ink so you’ll have to scribble a considerable amount of ink onto the acrylic block. Simply pick up with a Colorless Blender-filled waterbrush, or a paint brush dipped into Colorless Blender to apply. Regardless of whether Various Ink refill or marker is used, the resulting color will be lighter as the amount of Colorless Blender increases.
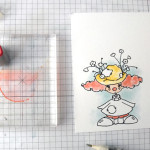
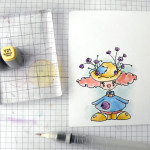
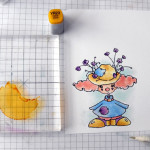
I started with the background, using BG10 to fill in color around the image. The Colorless Blender helps to fade the color out as the brush is moved further away from the image. Next, I colored the skin (E00) and then the hat (Y21).
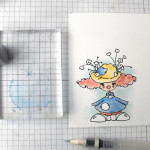
On the hair and britches, I used a base color of R32. After coloring the dress and hat patch with B32, I returned to Y21 to color portions of the shoes.
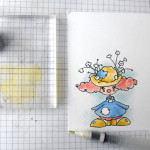
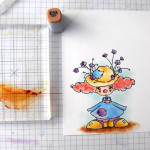
While V09 is a highly pigmented ink, the Colorless Blender allows for a very light application. I used only a tiny bit of V09 with the Colorless Blender on the dress patch, shoes and flowers. Once dried, I added a bit more color to create depth and variation. Next, I used R32 and Y21 to add a bit more color variation to the hat and hair, then used YR23 to create darker shadow on the hat and shoes.
To add even more variation to the hair, I added a bit of R24 then grounded my cute clown with E33.
Once I was satisfied with the coloring, I used Copic’s Opaque White to add bright white dots to the dress and patch on the hat. I also added a tiny dot beneath each triangle on the cheeks.
To finish my card, I stamped a sentiment from Stamping Bella‘s Tiny Townie Birthday Party then die-cut (from watercolor paper) and colored a Taylored Expressions Skinny Mini Party Border.
I hope you’ll try this fun technique. When you do, please come back and comment below with a link to your art. I would love to see it!
Thanks for visiting!





3 responses to “Watercoloring with Copic Various Ink”