Monthly Archives: August 2017

You’re My Unicorn (paper smooches)

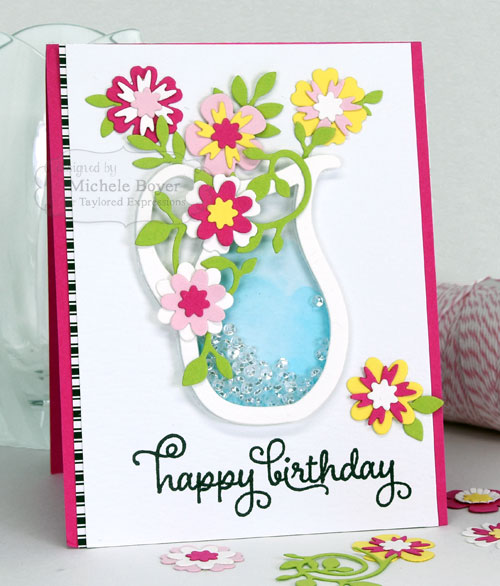
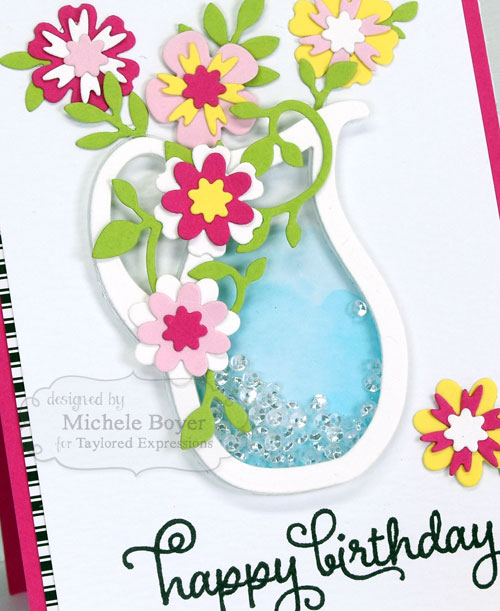
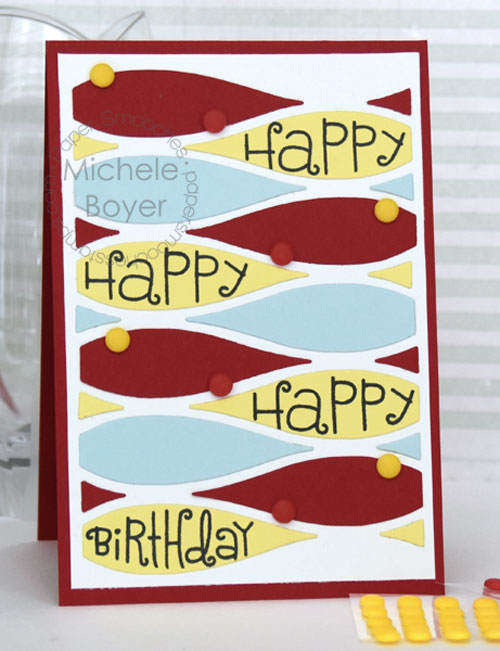
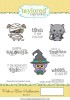
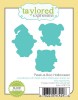
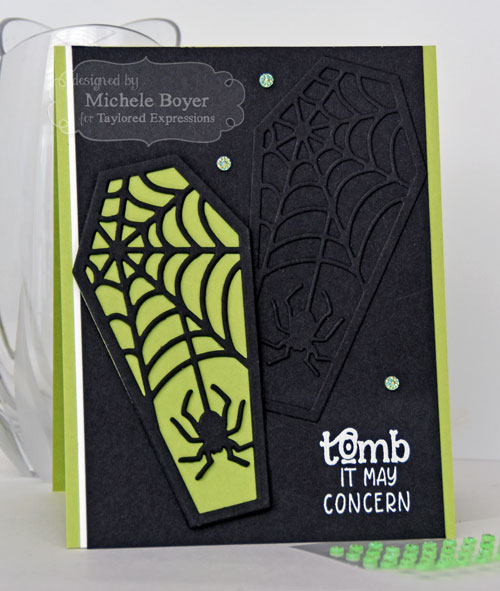
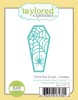
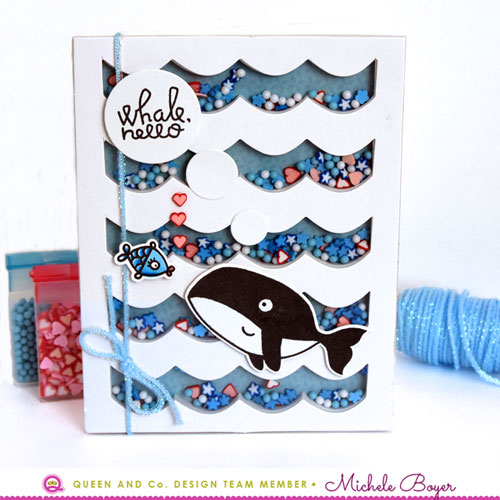
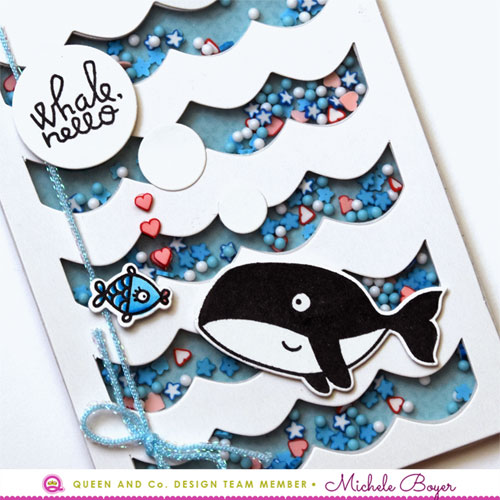
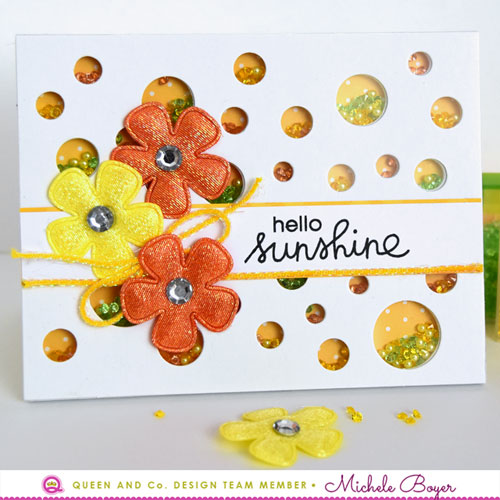
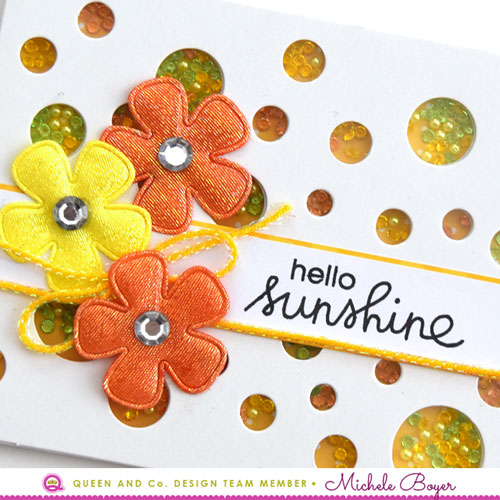
Hi everyone! Today I have another fun shaker card to share. I used new Unicorn die from Paper Smooches with Queen & Company‘s Rainbow Foam Front shaker card kit.

Paper Smooches Unicorn die, Queen & Company Rainbow Foam Front

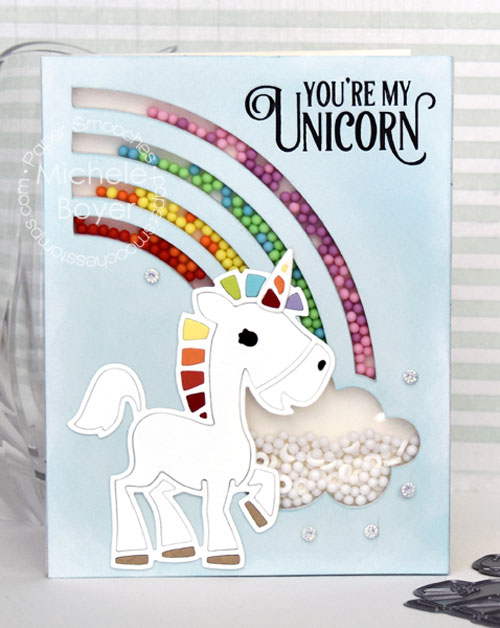
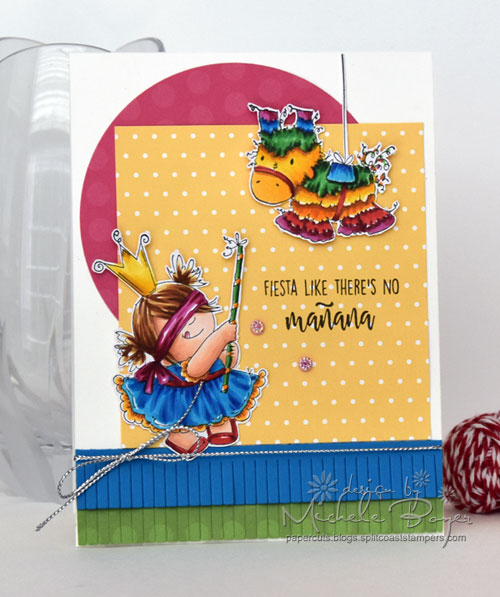
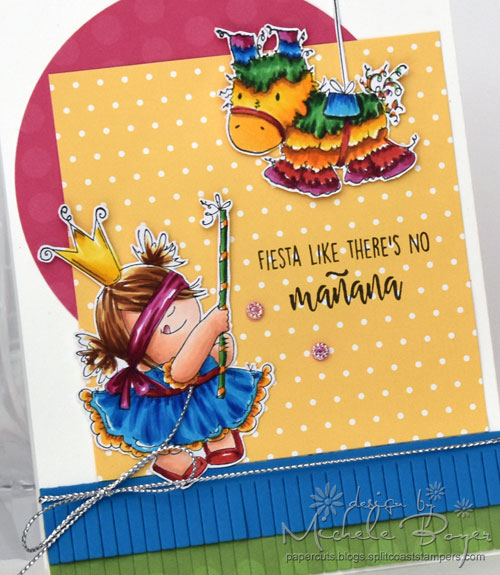
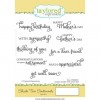
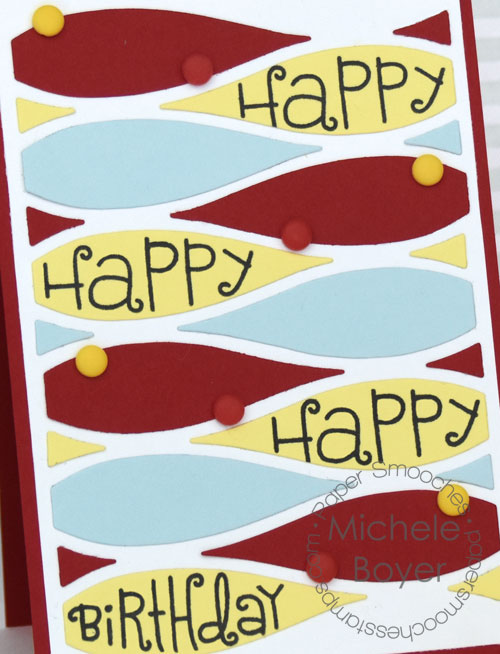
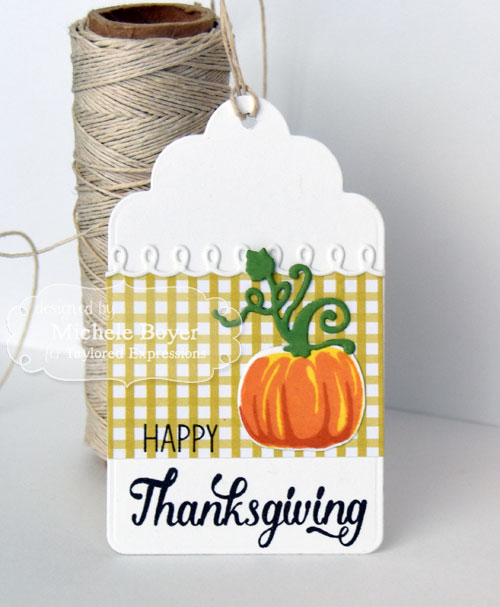
I first adhered the foam front to my card base (both included in the shaker kit). I filled the openings with Pops and Donuts then adhered the acetate. I sponged ink onto the white card front (also included in the Rainbow Foam Front kit) then stamped the sentiment from new Magical Sampler. There many cute sentiments in this stamp set!

Paper Smooches Unicorn die, Queen & Company Rainbow Foam Front close-up

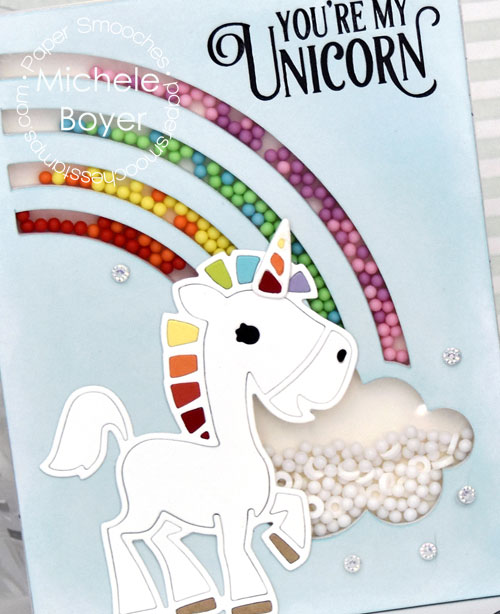
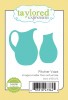
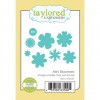
I die-cut the Unicorn from multiple colors of card stock then adhered the unicorn over the shaker. To finish my card, I adhered several white, super sparkly Q&C Petite Posies.

Thanks for visiting today!

1amichele siggy

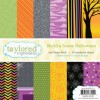
Stamps: Paper Smooches Magical Sampler  Dies: Paper Smooches Unicorn  Ink: Stazon Jet Black, Taylored Expressions Sprinkles  Paper: Taylored Expressions Sugar Cube, Red Pepper, Pumpkin, Candy Corn, Lemon Meringue, Granny Smith, Sprinkles; MFT Wild Wisteria  Other: Queen & Company Rainbow Foam Front Shaker Kit, Pops, Donuts and Petite Posies, Blending Tool

Fiesta Like There’s No Mañana (stamping bella)

Hi everyone! It’s time for another challenge with Stamping Bella! This week I’ve used Piñata Squidgy with one of my favorite sentiments from new Summer Sentiment Set.

Fiesta-500

Here’s the sketch we were to use as inspiration. I turned it on its side and subbed the piñata for the one rectangle.

Aug 11

So I “mostly” followed the layout. 🙂

Stamping Bella, Piñata Squidgy

Copic markers – B04, B06, B28, E00, E01, E11, E31, E33, E35, E37, E47, G14, G28, R00, R01, R24, R59, RV19, RV66, Y08, Y17, Y21, YR16, YR27

I stamped onto X-Press It Blending Card, colored with markers, then very carefully cut out each image as I don’t have the corresponding dies. I added a couple of super sparkly Petite Posies from Queen & Company and along the bottom, two strips of die-cut fringe.

Next week’s challenge is to create a thank you or thinking of you card. Use any current Stamping Bella image then email your card to [email protected] by next Thursday to be featured on the SB blog and to be entered to win some Bella Bucks! (All challenge details can be found HERE.)

Thanks so much for stopping by!

1amichele siggy

Stamps: Stamping Bella Piñata Squidgy  Dies: Taylored Expressions Fringe, MFT Circle STAX 2  Ink: Taylored Expressions Oreo  Paper:  X-Press It Blending Card, Taylored Expressions Sugar Cube, MFT Lush Lagoon, Queen & Company Dots Other: Copic markers. Queen & Company Purple Petite Posies, silver cord

Happy Birthday Shaker (taylored expressions)

Hi everyone! Today I have a fun shaker card to share using stamps and dies from Taylored Expressions with pretty toppings from Queen & Company.

Taylored Expressions - Michele Boyer

TE’s Pitcher Vase dies are designed for easy creating of shaker cards. I simply taped the two dies together with an even border around all edges to create the vase frame. While the dies were still taped, I also cut the frame shape from an adhesive sheet to create the foam border.

Taylored Expressions - Michele Boyer

The inside of the shaker was watercolored with distress ink then Queen & Company super sparkly diamond toppings were placed inside. 

I used Mini Bloomers and Bloomers Greenery dies to create the flowers and added a sentiment from Shade Tree Sentiments.

Thanks for visiting today!

1amichele siggy

Wavy Birthday Wishes (paper smooches)

Hi everyone! Today I’m sharing a card using Paper Smooches‘ new Wavy Wishes stamp set with Wavy Pattern dies.

Paper Smooches - Wavy Wishes

Wavy Wishes stamp set is this month’s TAM (Thanks a Million) set, which means it is free with any $60 retail purchase through August 31st.

I used the Wavy Pattern die to die-cut red, blue and yellow card stock pieces, then used the Wavy Pattern frame as a placement guide.

Paper Smooches - Wavy Wishes close-up

My MISTI allowed perfect placement of the stamped words. Once everything was stamped and assembled, I adhered some red and yellow rivets from Queen & Company.

1amichele siggy

Stamps: Paper Smooches Wavy Wishes  Dies: Paper Smooches Wavy Pattern Ink: Taylored Expressions Oreo  Paper: Taylored Expressions Cherry Pop, Potato Chip, Sprinkles  Other: Queen & Company Rivets

Awww, you shouldn’t have (stamping bella)

Hi everyone! It’s another wonderful Bellarific Friday with Stamping Bella! This week the team is featuring the August Stamp of the Month, Bedelia the Bunny, 20% off through August 31st.

Stamping Bella - Bedelia the Bunny

I stamped the image onto my favorite Copic compatible paper, X-Press It Blending Card, then colored with markers.

X-Press It Blending Card

One hundred percent of my Copic coloring is done on Blending Card. I’ve tried a few others but (in my opinion) none match the quality. I love that Blending Card is bright white, ultra smooth and allows for super smooth blending. Some other brands I’ve tried absorb a lot of ink and I feel the colors lose vibrancy. Not so with Blending Card. Also laser and ink jet compatible (great for digital images), acid free and archival, Blending Card is perfect for papercrafting and stamping. I keep a healthy stash of Blending Card on hand as I can’t imagine being without it. (Ever.)

Stamping Bella - Bedelia the Bunny (close-up)

Copic markers – BG70, custom BG72, C00, C1, E53, G40, R0000, R000, Y11, Y13, YG03, YG11

In coloring Bedelia, I used the lightest of red markers, leaving the inside of the ears, tail and feet white with just a touch of very light gray for a bit of shadow. Around the bunny, I used BG70 with my custom BG72.

Next week’s challenge includes this {Mojo}Bella sketch:

Aug 11

Use any current Stamping Bella image then email your card to [email protected] by next Thursday to be featured on the SB blog and to be entered to win some Bella Bucks! (All challenge details can be found HERE.)

Thanks so much for stopping by!

1amichele siggy

Stamps: Stamping Bella Bedelia the Bunny  Dies: Taylored Expressions Stitched Rectangle Stacklets  Ink: Taylored Expressions Oreo  Paper:  X-Press It Blending Card, MFT Insulation Pink Other: Copic markers.

Taylored Expressions August Release Now Available

Hi everyone! I hope you’ve enjoyed the Taylored Expressions‘ August release previews over the last several days. All new stamps and dies are now available in the TE store. Before you head over, I have two more samples to share.

Taylored Expressions Mum's the Word

First, I used new Mum’s the Word stamp/die combo. (I ♥ this mummy.)

Taylored Expressions Mum's the Word

Copic markers – E41, E43, YG03, YG06, YG17

The left and right mummies were stamped directly onto the paper while the center one was stamped separately, die-cut and popped up on foam tape.

Lastly, I used the owl from Peek-a-Boo Halloween and new Little Bits Ornate Frame.

Taylored Expressions Peek-a-Boo Halloween/Little Bits Ornate Frame After doing a bit of light sponging with Candy Corn ink, I die-cut a Chocolate Truffle branch (from On a Limb – Branches).

Taylored Expression Peek-a-Boo Halloween/Little Bits Ornate Frame

Copic markers – BG11, E31, E33, E35, E37, W4, W5, W7, W9, Y21, V15, V17, YR16, YR21, YR27

I punched two holes from the frame center then colored in eyeball shapes after adhering and tieing the frame to the branch.

To see more projects, please head over to the TE Blog for a complete list of our designers. Also on the TE Blog today, you’ll find a list of winners from the preview posts. You might be one of them!

Thanks so much for visiting!  🙂

1amichele siggy

Taylored Expressions August Previews Day 3 – Pumpkins and Crypts

Hello everyone! Today I’m sharing a few more projects using some of Taylored Expressions‘ August 3 release products.  🙂

Taylored Expressions - Simply Stamped Pumpkin Tags

First I have a trio of tags using new Simply Stamped Pumpkins with Simply Stamped Pumpkins dies.  The set includes a variety of sentiments that work with Thanksgiving or Halloween, with pumpkin faces or without.

Taylored Expressions - Simply Stamped Pumpkin Tags  Taylored Expressions - Simply Stamped Pumpkin Tags  Taylored Expressions - Simply Stamped Pumpkin Tags

The pumpkins were stamped in three different steps, first in Lemon Meringue, then Candy Corn and finally Pumpkin ink. My MISTI came in very handy, allowing for easy alignment of the layers.

The small photos above can be seen in a larger format by clicking on each.

My second card uses new From the Crypt – Creepy die, Label Stacklets 11 and a sentiment from Peek-a-Boo Halloween.

Taylored Expression From the Crypt-Creepy

I used the corresponding sized die from Label Stacklets 11 to die-cut the Granny Smith background, then simply adhered an additional Oreo Creepy die-cut on the right.

Tomb-it-May-Concern-CU

The sentiment was stamped in Sugar Cube pigment ink then white embossed.

Taylored Expressions is celebrating Release Week with some fabulous giveaways! Visit the TE Blog to answer Taylor’s Question of the Day for a chance to win a prize from the latest release!

question of the day

I’ll be back tomorrow at release time with two final samples. Thanks so much for visiting today!

1amichele siggy

Whale, hello

Hi everyone! I’m popping in today to share two cards I created using Foam Front Shaker kits from Queen & Company.

Whale-Hello-500b

My first card uses the fun Waves Foam Front kit along with Huge Hugs and Surf & Turf (with coordinating dies) from Paper Smooches.

Whale-Hello-CU-500b

Before adhering the pre-cut foam to my card base, I adhered a block of blue patterned paper from Queen & Company’s Picture Perfect Mat Stack. I filled the openings with Pops and Fimo Fun, adhered the whale and fish (stamped onto Blending Card and colored with markers) then tied some pretty blue Sparkle String.

Hello-Sunshine-500b

Next I created a shiny Hello Sunshine card using a Polkas Foam Front Kit, Delightful Dots Mat StackPearlies Bright and Pastel Diamond toppings.

Hello-Sunshine-CU-500c

For even more sparkle and shine, I adhered three Iridescent Flowers and a bit of yellow Sparkle String. (Sentiment from Summer Lovin’ by  Paper Smooches.)

These shakers are seriously the most fun. And so easy. Another great thing about the Queen & Company kits is that refills are available! Have a fave kit? Pick up a few refills! It’s awesome.  🙂

Thanks for visiting today!

1amichele siggy

Taylored Expressions August Previews Day 2 – Skulls, Candles and Cats, Oh My!

Hi everyone! I’m back today to share two more samples of Taylored Expressions‘ upcoming August 3rd release.

My first card uses new Sugar Skulls (with coordinating dies) as well as Simply Said Halloween and Skinny Mini Halloween Borders.


Taylored Expressions Sugar Skulls/Simply Said Halloween

These skulls crack me up. They’re kind of spooky and funny at the same time. 🙂 Along with the set comes a swirl, flower and the heart I lightly stamped in the background.

Taylored Expressions Sugar Skulls/Simply Said Halloween

Copic markers – C1, C3, C4, C6, C7, E35, V12, V15, V17, Y21, YG03, YG06, YG17, YR16, YR19, YR23

The skulls were colored with markers, die-cut and adhered with the center skull raised on foam tape. The sentiment is from new Simply Said Halloween, and along the left, I adhered a border of new Skinny Mini bats.

Next, I used new Little Bits Candelabra and Cat to decorate a fireplace (die-cut using By the Fireside).

Taylored Expressions Little Bits Candelabra and Cat

I added a Little Bits Spider & Web, with a sentiment from new Mum’s the Word stamp set. The tiny frame hanger was cut using an element from Sitting Pretty.

Taylored Expressions Little Bits Candelabra and Cat

The patterned paper background is from Build a Scene Halloween paper pack. I thought it worked perfectly as (Halloween) wallpaper.

Taylored Expressions is celebrating Release Week with some fabulous giveaways! Visit the TE Blog to answer Taylor’s Question of the Day for a chance to win a prize from the latest release!


question of the day

I’ll be back tomorrow with more previews! Hope to see you then!

Thanks for visiting!

1amichele siggy