Category Archives: Reverse Confetti

Happy Birthday Reverse Confetti!

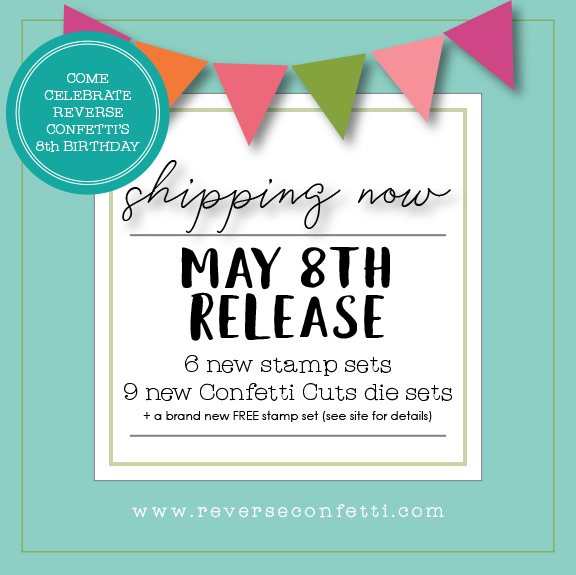
Hello everyone! It’s Reverse Confetti‘s 8th birthday and I am honored to be celebrating with them! You can find a list of all participants @ReverseConfetti on Instagram.

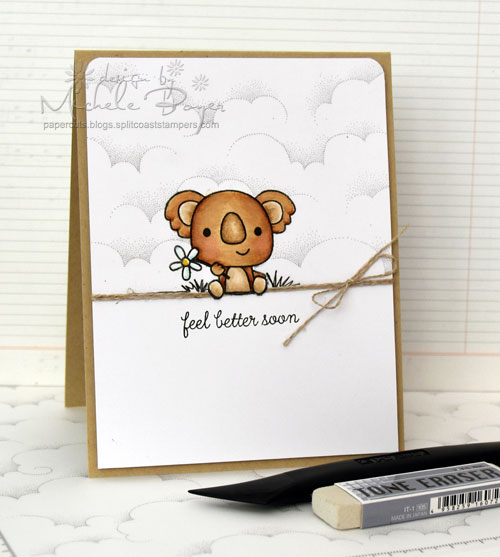
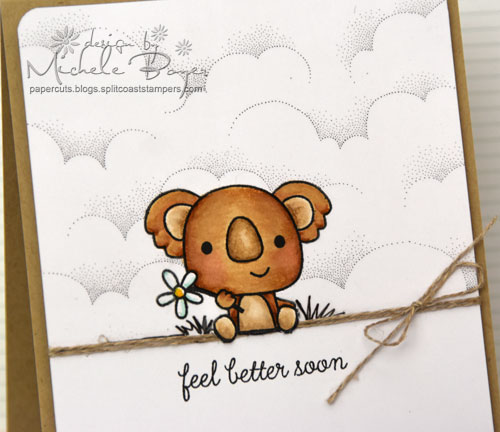
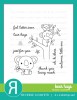
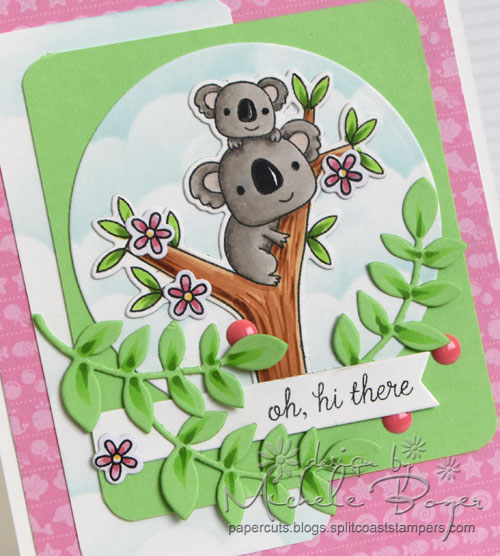
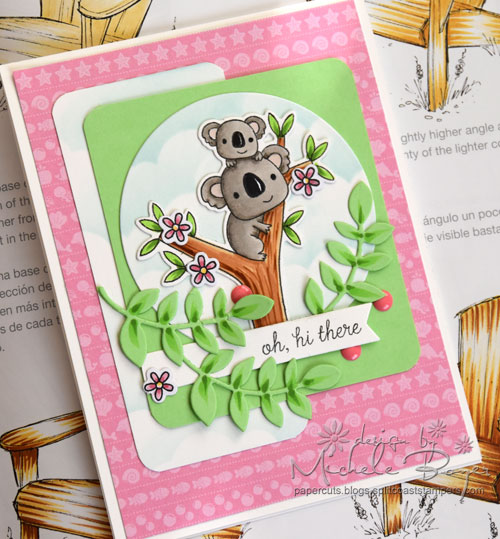
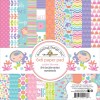
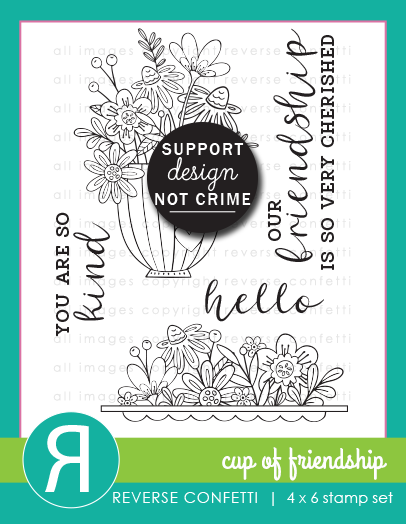
I’m sharing cards using two sets, lovely Cup of Friendship, Cup of Friendship Confetti Cuts and fun/versatile Celebrate Tag Confetti Cuts. Colored images were stamped onto X-Press It Blending Card and colored with Copic markers. Markers used are listed below each photo. All patterned paper is from Queen & Company‘s Flirty Florals 6×6 paper pad.

Reverse Confetti Cup of Friendship

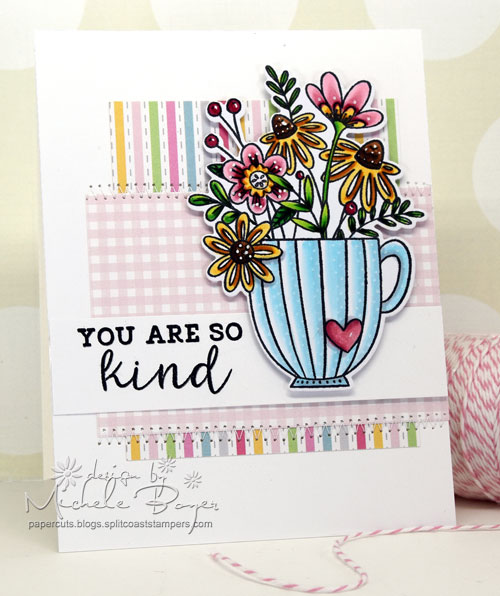
Copic markers – B000, B00, C1, E33, E35, E37, E49, G28, R83, R85, RV000, RV11, RV32, Y21, YG03, YG05, YG09, YR23, white Sharpie fine point

After coloring the Cup of Friendship, I die-cut the image then used a white fine point Sharpie to add dots to the flowers and cup. The cup is also popped up on foam tape.

Reverse Confetti Cup of Friendship

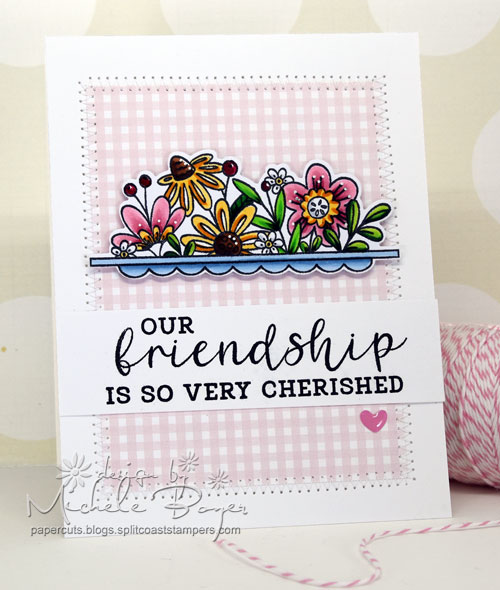
Copic markers – B91, B93, B95, C2, E35, E37, E49, G28, R83, R85, R89, RV11, RV32, Y21, YG03, YG05, YG09, YR23, white Sharpie fine point

Next I used the second image in the Cup of Friendship set, a lovely floral shelf. The image was die-cut then popped up on foam tape, tiny white dots added with my white Sharpie. Small enamel heart is by Doodlebug Designs.

Reverse Confetti Celebrate Tag

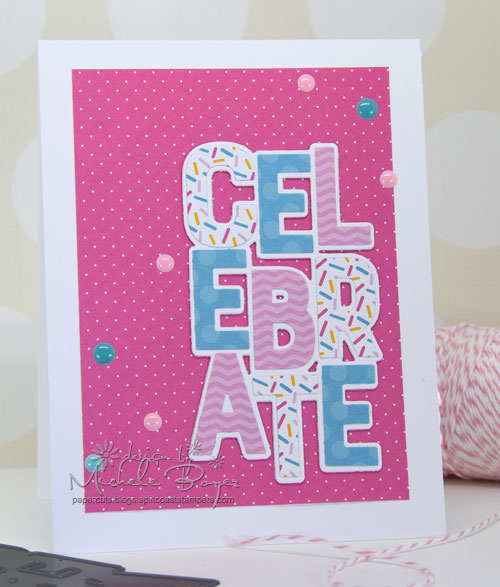
Here I used the background shape and letters from Celebration Tag Confetti Cuts with Queen & Company’s Sweet Shop patterned paper to create a fun celebration card. Once assembled, I added a sprinkling of enamel dots.

HAPPY BIRTHDAY, REVERSE CONFETTI!! Thanks so much for having me celebrate with you! ♥ ♥ ♥

1amichele siggy


Using Screen Tones to Create Quick and Easy Backgrounds

Hi everyone!  I tried a new (to me) product yesterday that I want to share. Available in the Imagination International, Inc. store are Screen Tones. In a nutshell, they are clear, printed stickers used to create backgrounds or to cover areas where you might otherwise stamp or sketch in designs.  They are transparent, repositionable, can be layered, mixed and matched and are incredibly easy to use! (You can find more detail HERE).

On my card, I paired a Sky Screen Tone with Reverse Confetti‘s cute Bear Hugs koala.

Michele Boyer - Reverse Confetti

Each screen tone sheet is 12.5″ x 9″ so there is plenty of area for use on many cards. You can check out the (over) 200 prints HERE.

Feel-Better-Soon-Screentones

They are super easy to use! I first stamped my image onto X-Press It Blending Card then cut a piece of Sky screen tone to size*. After removing the backing, I applied the screen tone over my image, pressing just enough (very lightly) to adhere the sheet over my card stock. I then gently used a kraft knife to cut away the portion of the screen tone that covered my image. My knife blade cut very easily through the screen tone without cutting through the card stock.

* It is recommended that the screen tone be cut to size then layed over the image without removing the backing, using a knife to cut away the excess screen tone and then removing the backing and placing the screen tone over the card stock/image. I removed the backing, then cut, using a gentle hand with my knife and it worked fine. If I were using a screen tone on a more artistic/”special to me” piece, I would have followed the adviced instructions, leaving the backing in place to protect my artwork. If I had accidentally cut through to the card stock here, I could easily restamp the bear so I wasn’t overly concerned with cutting through (but I tried not to).

Feel-Better-Soon-ST1

Once the outline was cut, I used the tip of my blade to peel away the portion of the screen tone covering the image. I then firmly adhered the screen tone to the card stock using a burnishing tool. There are different sizes available depending on the size of the are you want to burnish. You can see all HERE.  I used this one.

Feel-Better-Soon-ST2

I then colored my image with Copic markers and drew in some grass using a 0.3 black Multiliner. Multiliners can be used on top of the screen but the ink requires drying time or it will smudge.

Michele Boyer - Reverse Confetti

Copic markers – BG11, E31, E33, E35, E41, E42, E43, R20, Y19

There was a small area of cloud pattern at the bottom left that I did not want so I used a Tone Eraser to easily remove it.  I added linen thread to camoflauge the bottom edge of the screen tone and used my kraft knife to cut around the bear’s feet, allowing them to hang over the thread.

I’ll be back soon with another project using screen tones!  (They’re super cool!)

Thanks for visiting!

1amichele siggy

A Little Birdie Told Me…

Hi everyone! Just popping in with a quick (ish) card I created today for the 30 day coloring challenge on Instagram. (The challenge is not solely on Instagram. That’s just where I’ll upload most of my days’ coloring.)  I thank Kathy for helping to jump-start my missing mojo. I love this challenge. ♥

Today I colored cute giraffes from Reverse Confetti‘s Lift Me Up set. Sooo cute!

Michele Boyer - Reverse Confetti

After coloring with Copic’s, I die-cut using Lift Me Up Confetti Cuts, adhered to a Party Time Quick Card Panel and added a couple of Linked Garland Confetti Cuts.

Michele Boyer - Reverse Confetti

Copic markers – BG49, BG57, E31, E31, E33, E35, G29, R83, R85, Y17, YG03, YG07, YG17, YR21, YR23

If you’d like to see other coloring for the challenge, you can find me on Instagram HERE.

Thanks for visiting!

1amichele siggy

Coloring Wood (or a tree for cute koalas)

Hi everyone! Today I’m using new Bear Hugs stamp set and dies from Reverse Confetti. Oh my gosh, one of the cutest sets ever!

Michele Boyer - Reverse Confetti

Copic markers – E31, E33, E35, E37, R01, R20, R83, R85, W1, W2, W3, W5, W9, Y21, YG05, YG17

I’m also focusing on another technique featured in Intro to Coloring with Copic Markers published by Imagination International. On this post, I featured two-color butterflies. Today I’m coloring wood!

Michele Boyer - Reverse Confetti

The sample in the book uses a weathered wood chair, but the basic principles can apply to a tree as well.

1-2-3-4-color-tree

I first applied a streaky base coat of E31, moving my marker in the direction of the wood grain (1).  Next, I applied E33, holding the marker a bit more upright to apply thinner strokes (2). I then held E35 completely upright, using only the tip of the marker to apply lines of color (3). Once the ink was dry, I returned with E31 to blend only minimally (4).

Nose

In order to leave a white highlight on the bear noses, I carefully outlined each nose with the tip of a W9 marker, drew a line just to the left of the highlight area and filled in the area to the left of the line.

Michele Boyer - Reverse Confetti

I will be back soon with another technique featured in Intro to Coloring with Copic Markers. So many from which to choose!

Thanks for stopping by!

1amichele siggy