Category Archives: Simon Says Stamp

Just Believe (simon says stamp)

Hi everyone. Today I’m sneaking in one more card using Simon Says Stamp‘s new Secret Garden stamp set with coordinating dies . I also used their Believe die.

Michele Boyer - Simon Says Stamp

After stamping the fairy onto X-Press It Blending Card, I colored with Copics then added subtle sparkle to her wings and wand using a clear Zig Wink of Stella glitter brush.

Michele Boyer - Simon Says Stamp

Copic markers – BG10, BG11, C2, E00, E11, E31, E35, R01, R83, R85, RV32, Y21, YG03, YG07

I used the glitter brush over the sponged background as well as the Believe die-cut. (I just love that fairy. She’s so cute.)

Thanks so much for visiting today!

1amichele siggy

Hangin’ with my Gnomies (simon says stamp)

Hi everyone! Have you seen the latest Simon Says Stamp release? Oh my gosh, such cuteness! I just had to have Secret Garden with it’s coordinating dies.  (I also had to have one of the new wine themed sets. I’ll share that later.)

Michele Boyer - Simon Says Stamp

All of my images were stamped onto X-Press It Blending Card and colored with Copic markers. To “hang” the gnome from the sign, I cut a little slit around his hand to insert the bottom edge of the sign, and I cut off his feet (gasp!) so that I could extend them past the top edge of the sign. (That portion is raised on 1/2″ foam tape.)

Michele Boyer - Simon Says Stamp

Copic markers – E00, E07, E09, E11, E23, E31, E33, E35, E39, E41, E42, E43, E57, E59, G94, R01, W1, W2, Y21, YG63, YG99, YR23

To assemble all the pieces, I used X-Press It’s Medium Glue Pen and Wide Glue Marker. (My favorite is the wide marker.) Each dries strong and clear and can be used as either a permanent or temporary adhesive. If the nibs get dirty, they can be pulled out and rinsed or even reversed for a fresh nib. Super cool.  🙂

I’ll be using other elements from this super-cute stamp/die set very soon.  🙂

Thanks so much for visiting today!

1amichele siggy

Life can be tough. You are tougher.

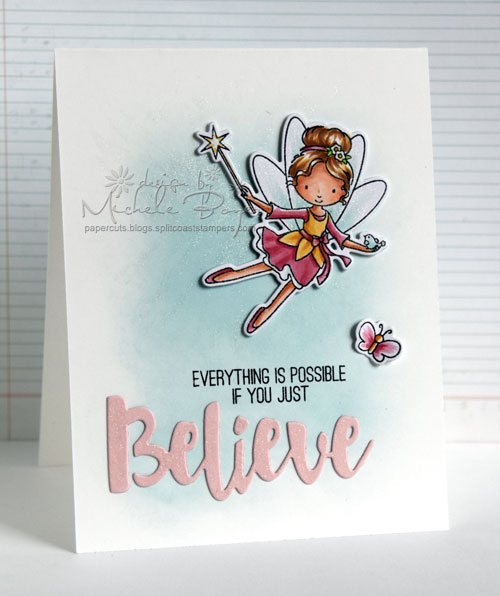
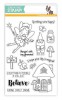
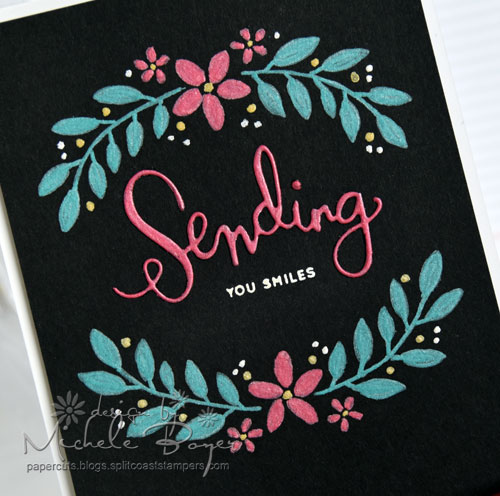
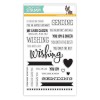
Hi everyone. I have a friend in need of a little encouragement so I thought I’d create a card just for her today. A while back, I bought Hand Lettered Encouragement by Simon Says Stamp for this sentiment alone.  The others are wonderful as well, but I especially love this one.

Pen-4

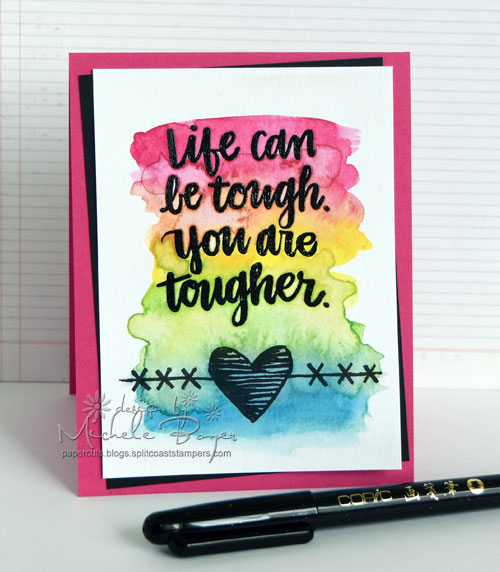
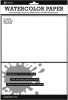
Since I wanted to emboss the sentiment, I first used a powder tool over watercolor card stock to prevent any stray specks of embossing powder from sticking where I didn’t want them. I stamped using VersaMark ink then heat embossed with black embossing powder.

Pen-1

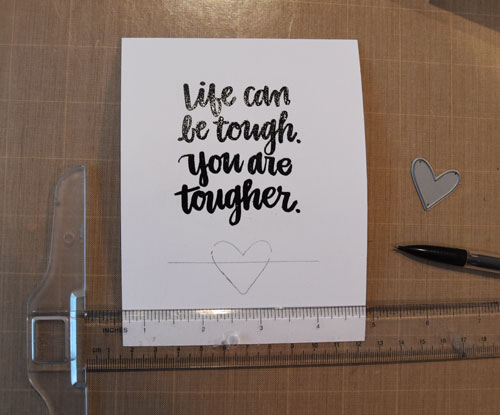
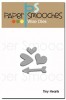
I used a t-square to draw a straight line then traced a heart die in the center.

Pen-2

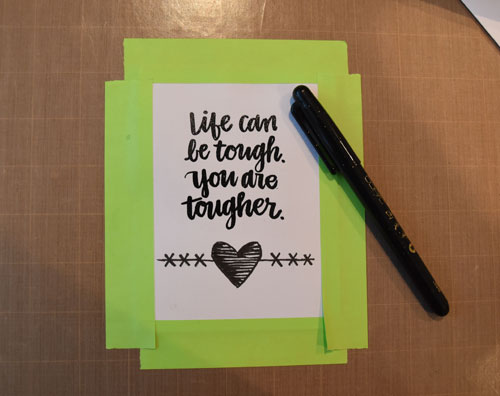
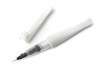
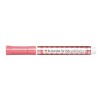
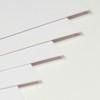
Next I used a Gasenfude brush pen (by Copic) to trace over my design. I used a very light touch while tracing then applied a bit more pressure in the thicker, shaded areas of the heart. (Please excuse the shadows in my photography. It’s been a rather dark, dreary day.)

Pen-3

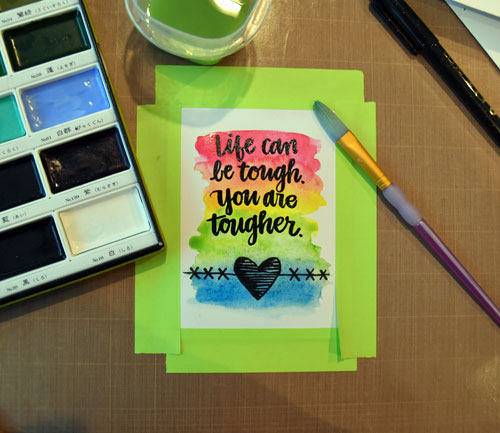
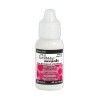
Once I was satisfied with the design,  I used my Kuretake Gansai Tambi watercolors to color over the stamp and pen work.  The pigment ink of the pen did not bleed at all. It’s Copic marker compatible as well. You can read more about it HERE and/or purchase HERE.

Pen-4-CU

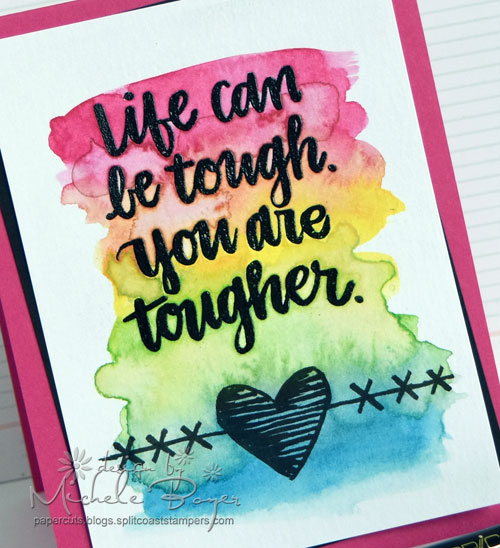
Once dried, I decided to add a bit more water to the design to create more of an uneven look. Life’s events can be crazy so I decided my watercolor here should be as well.

Thanks so much for visiting!

1amichele siggy

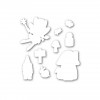
Stamps: Simon Says Stamp “Hand Lettered Encouragement”   Ink: VersaMark Card Stock: Taylored Expressions Oreo and Lollipop; watercolor  Other: Kuretake Gansai Tambi watercolors, Copic Gasenfude brush, Paper Smooches Hearts die, black embossing powder

Sending You Smiles (with new Kirarina Wink)

Hi everyone! We’ve spent the last two days trying to shovel out from the blizzard but in between, I managed to spend a bit of time in my craft room.  Now available from Imagination International are two new Kirarina Wink pens – Emerald and Violet.  I used Emerald on my project along with Old Rose, Dandelion and White Pearl. (I love them on black card stock.) You can read a bit more about the Kirarina Wink pens HERE.

I’ve used For to Us (it’s not just for Christmas!) and Sending and Wishing along with the coordinating Sending die from Simon Says Stamp. (Sending and Wishing with both dies can be purchased all together here.)

Michele Boyer - Simon Says Stamps

Here’s how I created my card:

1-Stamp-black

First stamp the swag onto black card stock using black ink. If your ink disappears very quickly, try another brand. Some show better than others.

2-Color-images

Use Kirarina Wink pens to trace and color the image.

3-Color-Diecut

Die-cut “Sending” from black card stock then color with Old Rose. Once dried, I colored over the die-cut a second time.

4 Adhere-diecut

Adhere beneath the colored swag.

5-Repeat-stamp-and-color

Stamp the second swag in black ink and color.

Michele Boyer - Simon Says Stamps

Kirarina Wink – Emerald, Old Rose, Dandelion, White Pearl

Lastly, I used my powder tool over all areas, then stamped the remainder of the sentiment in white ink and embossed with white powder.  🙂

Thanks so much for visiting today!

1amichele siggy

Quick and Easy Sympathy Cards (because sometimes two just aren’t enough)

Hi everyone. 🙂

While I always try to have a couple sympathy cards on hand, this week, sadly, two were not enough. Since time is short for me this weekend, I  turned to my One Sheet Wonder template, chose one of the card layouts and quickly turned out six cards.

Our-Thoughts-and-PrayersRev

I needed four this week 🙁  but while I had all of the supplies on my table, I decided to create a few extras for Jennifer McGuire’s Lasting Hearts Card Drive which you can read about HERE. There are several ways to participate so please check out the details on her blog.

Also note that Simon Says Stamp has brought back their hugely popular Prayers stamp and die set, which I’ve used here. With every purchase SSS is donating 25%. I absolutely love this set and consider it one of those necessary staples for card making.

Thanks for stopping by! Have a great weekend!

1amichele siggy

Revisiting the One Sheet Wonder

If you’re like me, you probably have a sheet (or twenty) of patterned paper tucked away somewhere, unused. Why not put it (or them) to good use with the One Sheet Wonder, an oldie but goodie technique that provides patterned pieces for use on a set of cards.

Michele Boyer - Simon Says Stamp

To create this entire stack of cards, I used Simon Says Stamp’s Sending & Wishing stamp set and dies with Hero Art’s Stamptember exclusive Prayers stamp set and die and one 12″ x 12″ sheet of Recollections’ Pink Roses patterned paper (from Michael’s). The only extras required are card bases and matting (card stock) for the patterned pieces. I love the results, but even more so I love having a stack of pretty all occasion cards on hand to send at a moment’s notice.

Michele Boyer - One Sheet Wonder

I put pencil to paper and created a template that resulted in 14 QUICK and EASY cards. I really don’t know why I didn’t think to do this sooner. Imagine how quickly you could create a set of holiday cards!

Michele Boyer - One Sheet Wonder Card Sketches

On the Craftsy Paper Crafts blog today, you can find larger photos of my One Sheet Wonder template and corresponding card sketches as well as tips for creating your own One Sheet Wonder and keeping all those pieces organized.  I hope you’ll check it out and give it a whirl! I know I’ll be using my template again soon!

Thanks for visiting!

1amichele-siggy1

Bokeh over Watercolor (a tutorial)

Hi everyone!  I’ve been playing around a bit with different watercolor techniques and decided this is definitely one of my favorites!

I created a bright watercolor background then added different sizes of white dots. It’s super cool (I think). 🙂

Finished-wcbokeh

I dropped vibrant pink and yellow inks onto wet watercolor paper, then tipped the paper to allow the inks to mix in some areas, creating bright spots of orange mixed in with the pink and yellow. Once dried, I sponged circles of white pigment ink over to create a bokeh appearance.

Finished-wcbokeh-CU

I die-cut and adhered “wishing” from Simon Says Stamp‘s Sending & Wishing and white embossed the remainder of the sentiment. The small arrow and heart were cut using Paper SmoochesTiny Hearts Dies.

If you’d like to try this technique, you can find a step-by-step tutorial HERE on the Craftsy blog.

Thanks for stopping by!

1amichele siggy