
Hi everyone. 🙂 There’s a new monthly feature at MFT, the My Favorite Things Design Team Creative Chat. We’ll be challenged to explore our creative spaces and share valuable organizational methods, tools and shopping strategies with you. You’ll be able to peek into our creative spaces, ask questions and share your own ideas in the MFT forum. Fun? 🙂
This month we were asked the following questions:
- How do you store and organize your Die-namics?
- Any fun or helpful Die-namics purchasing strategies you’d like to share?
- How do you store extra Die-namics die-cuts?
Visit Kim’s Blog for a full list of designers that have taken up the challenge and get ready to delve into the minds of our creative team!
Until this challenge came about, I had no organization for my Die-namics. The border dies were standing in a jelly jar, rather tightly packed, and the other dies were just tossed into a plastic container in one big messy pile. I have so many dies now that it was becoming a nuisance to “hunt” for the one piece I wanted. This challenge was the perfect “boot-in-the-pants” to get organized.
Everything here is quite frugal. Totally not fancy or exciting. I didn’t purchase anything new but simply made use of what I already had around the house.
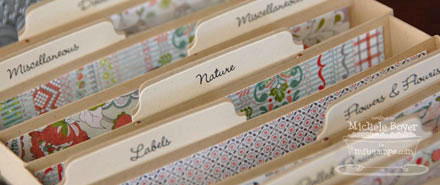
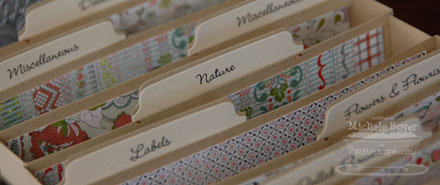
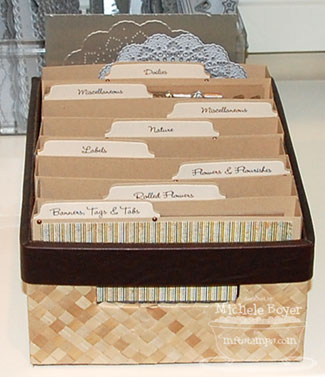
I created eight box-bottom “files” for my Die-namics. (Directions below on creating the files.) I die-cut labels for each using MFT’s File Tab Die-namics. I attached the labels with brads rather than a strong adhesive so that I can rearrange or re-label as needed.
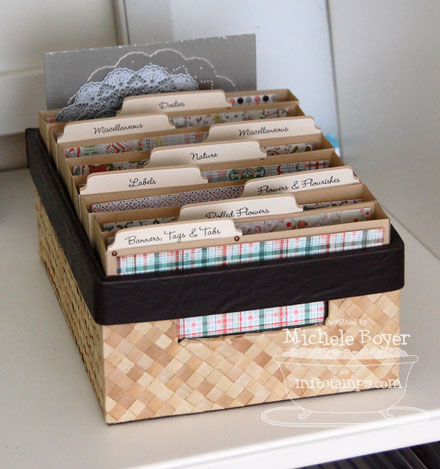
For now, I have “Banners, Tags & Tabs,” “Rolled Flowers,” “Flowers & Flourishes,” “Labels,” “Nature,” two “Miscellaneous” files, and one for “Doilies.” I would suggest, however, that you attach the tabs before you assemble the files. I would hate for you to accidentally push a needle under your pinky fingernail while punching holes for the brads. Just sayin’….
For die sets with multiple or smaller pieces, I’ve placed each set in a small ziploc bag and filed accordingly. (I found several sizes of small baggies at Walmart in their craft section.)
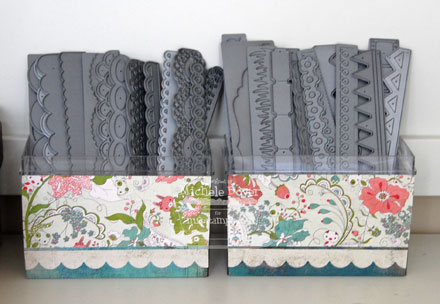
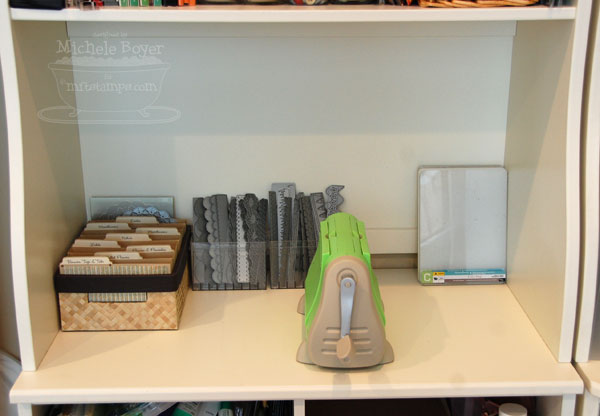
My border dies are now kept in two base containers that once held my Copics. I was going to toss the containers, but then thought they would be perfect (for now) for holding my border dies. I placed scallops and lacy-ish dies in one and miscellaneous in the other. I covered the fronts with patterned paper, using Simply Scallops Die-namics to spruce up a bit. I may add a flower or two later.
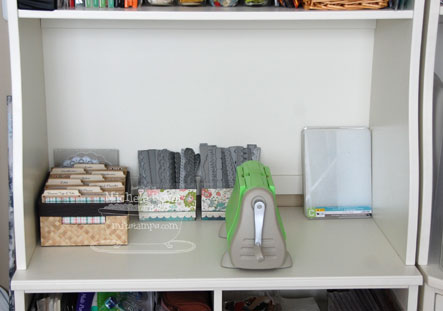
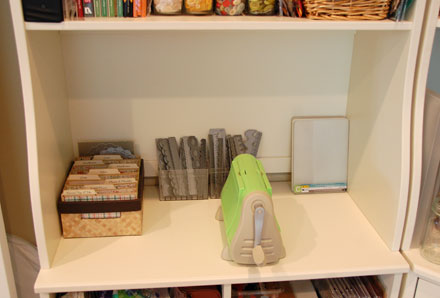
Here is my little die-cutting area (while it’s clean…which isn’t often). Someday I hope to get a Vagabond but for now, I’ll crank away with my little Cuttlebug.
 Below my die-cutting shelf, I have another little area that houses my felt, cork, Nestabilities and a little plastic container of extra die cuts. (That’s the container that used to hold all of my Die-namics. Eek!) I try not to keep too many unused die-cuts, but sometimes they come in handy.
As for buying tips, I don’t have any. I buy what I want, when I can afford it, and I think you should too. 🙂
How did I make the files? In an effort to keep this post from being TOOOO long (which it probably already is, lol), my photos below are thumbnails. If you click on each you can see it in a larger format.
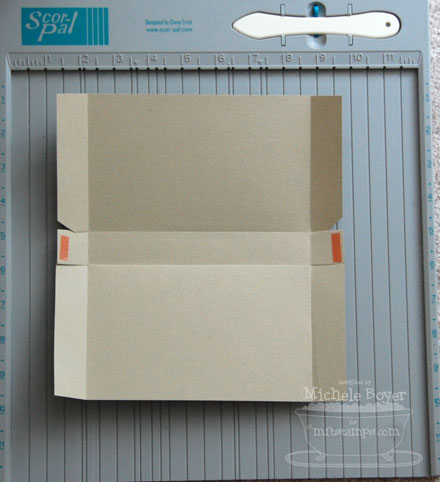
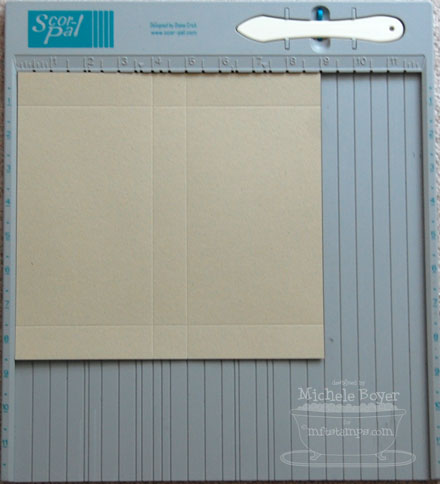
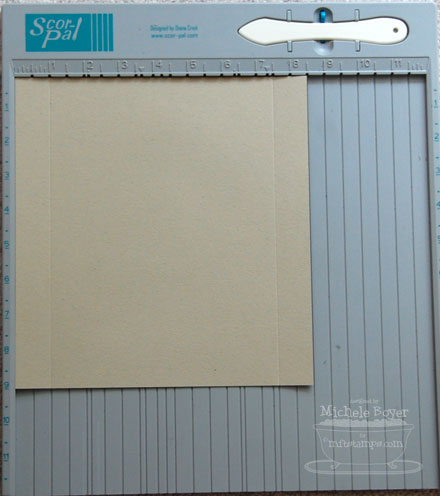 My basket is a little less than 6 3/4″ wide, 9″ long and 3″ deep so I wanted my folders to be 6 1/2″ wide, 1″ deep and 4″ tall. I cut my Fossil cardstock to 8 1/2″ x 9″. With the 8 1/2″ side horizontal to the top of the Scor-Pal, score at 1″ and 7 1/2″.
.
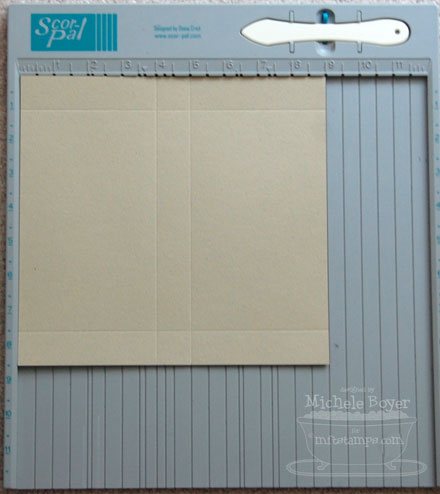 Turn your cardstock and score at 4″ and 5″. This will form your box bottom.
.
.
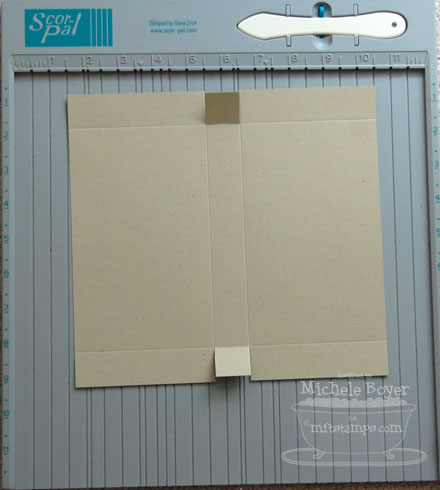 Clip the 4″ and 5″ score lines up to the 1″ horizontal score lines.
.
.
 Clip one corner from inside edge on both sides of one flap. This will help the folds come together without bulking.
.
.
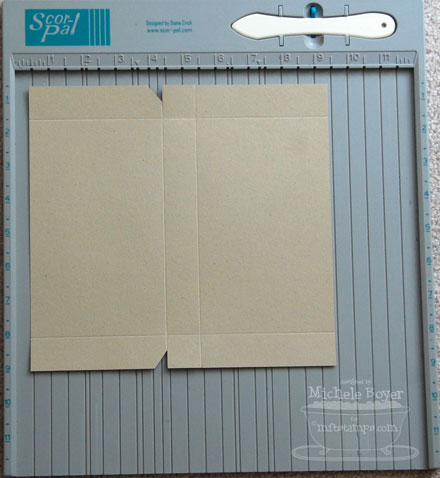
 Using a bone folder or scoring tool, firmly crease all score lines; unfold.
Apply adhesive to small tabs.
.
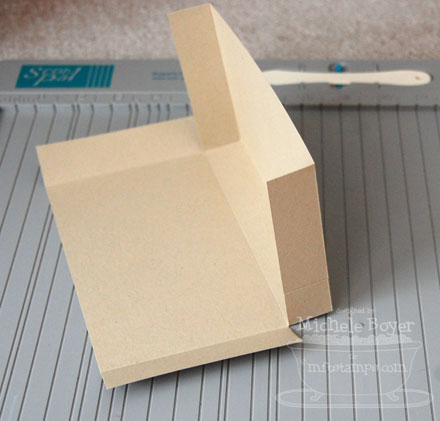 Remove red film from adhesive and adhere small tabs to outside edge of “corner-cut” tab. (The small tab will be “sandwiched” between the two longer tabs and invisible from the inside and outside.)
.
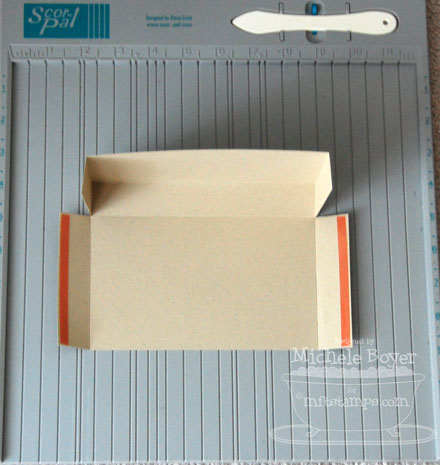 Apply adhesive to remaining long tabs.
.
.
.
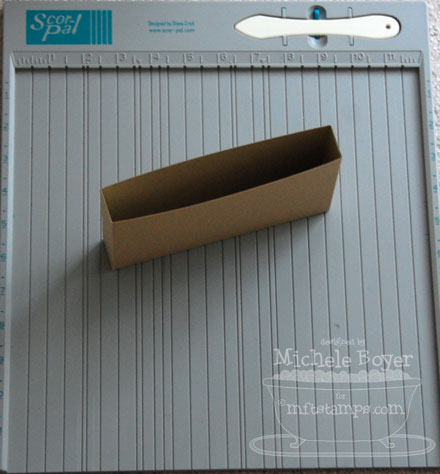 Remove red film and adhere tabs to form box.
Decorate as desired. I applied patterned paper to the front and (back) inside of the first box, and just the (back) inside of the remaining boxes as that is all that is visible while boxes are in the basket.)
If you read this far, thank you! lol. If you have any questions, please feel free to ask. 🙂
Thanks for visiting! Have a great day! 🙂


Pingback: My Favorite Things » Blog Archive » My Favorite Things Design Team Creative Chat
Pingback: Porządkowanie wykrojników – reaktywacja… | blog Kreatywny